 Save
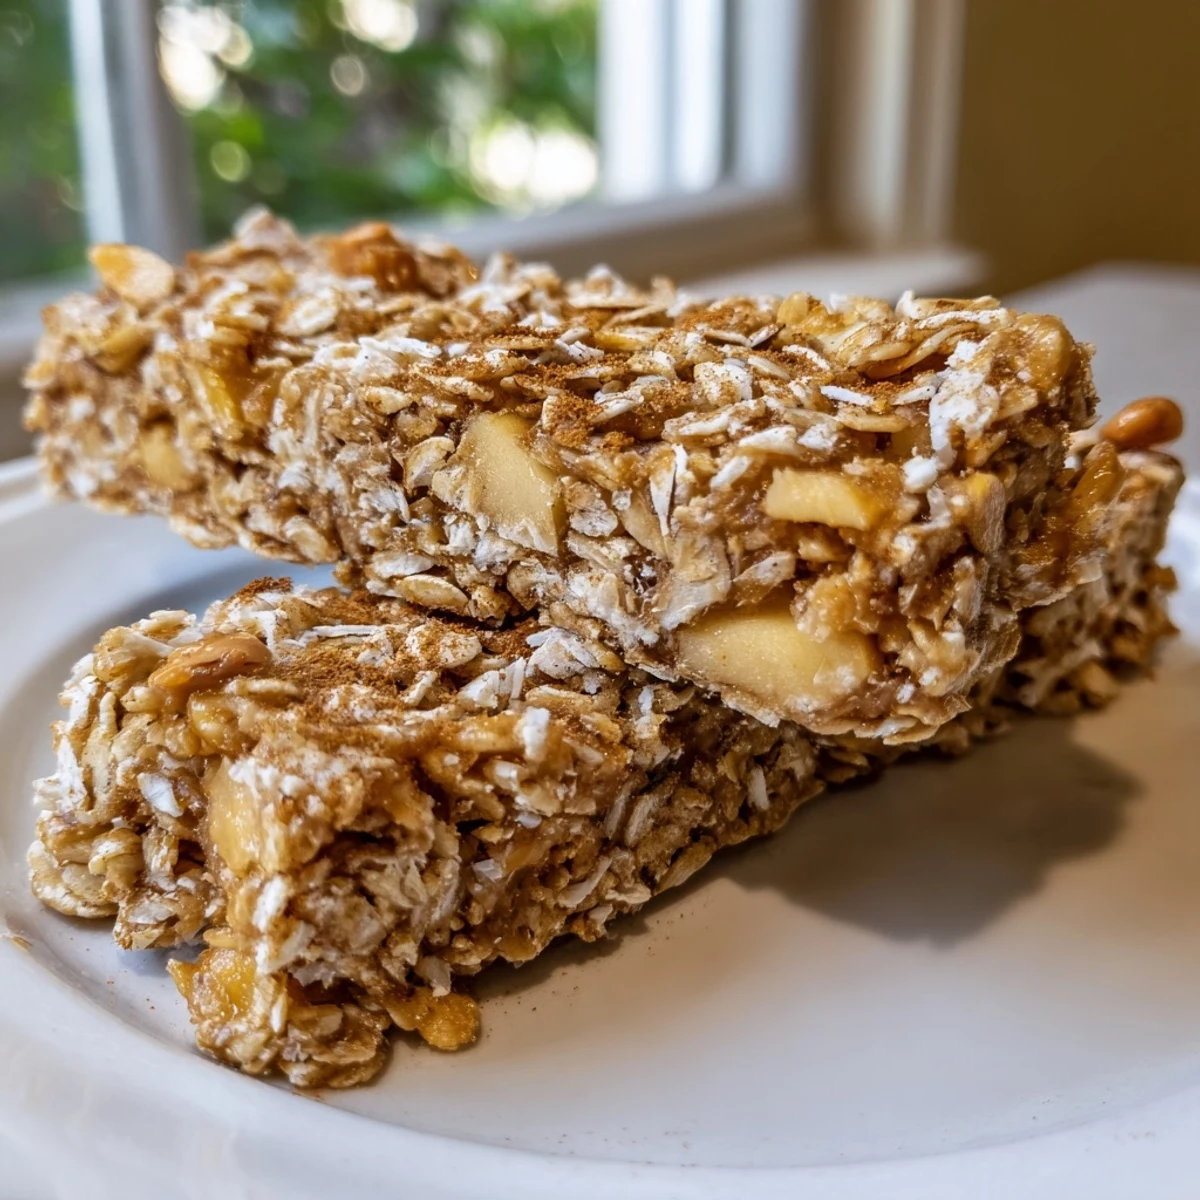
Save These soft and chewy granola bars combine wholesome oats with sweet dried apple and rich creamy peanut butter. Ready in just 15 minutes with zero baking required—simply mix, press, and chill. The honey-sweetened binding mixture keeps everything perfectly together while adding natural sweetness. Customizable with your favorite nuts, seeds, or dried fruits. Keep them refrigerated for the best texture and easy slicing. Perfect for meal prep, lunchboxes, or anytime snacking.
Last autumn, during that weird week when everyone seemed to be getting sick but I was desperately trying not to, I started making these granola bars at 11 PM because store-bought snacks suddenly felt inadequate. Something about the cinnamon and dried apple made the whole kitchen smell like a cozy bakery, and honestly, that small comfort got me through a pretty stressful deadline season. Now I keep a batch in the fridge constantly, and my roommates have stopped asking whose turn it is to buy snacks.
My sister claimed she hated granola bars until she tried these, and then proceeded to eat four in one sitting while studying for finals. Watching someone convert from skeptical to obsessed over something so simple made me realize that the combination of peanut butter and apple is wildly underrated, especially when its this easy to throw together.
Ingredients
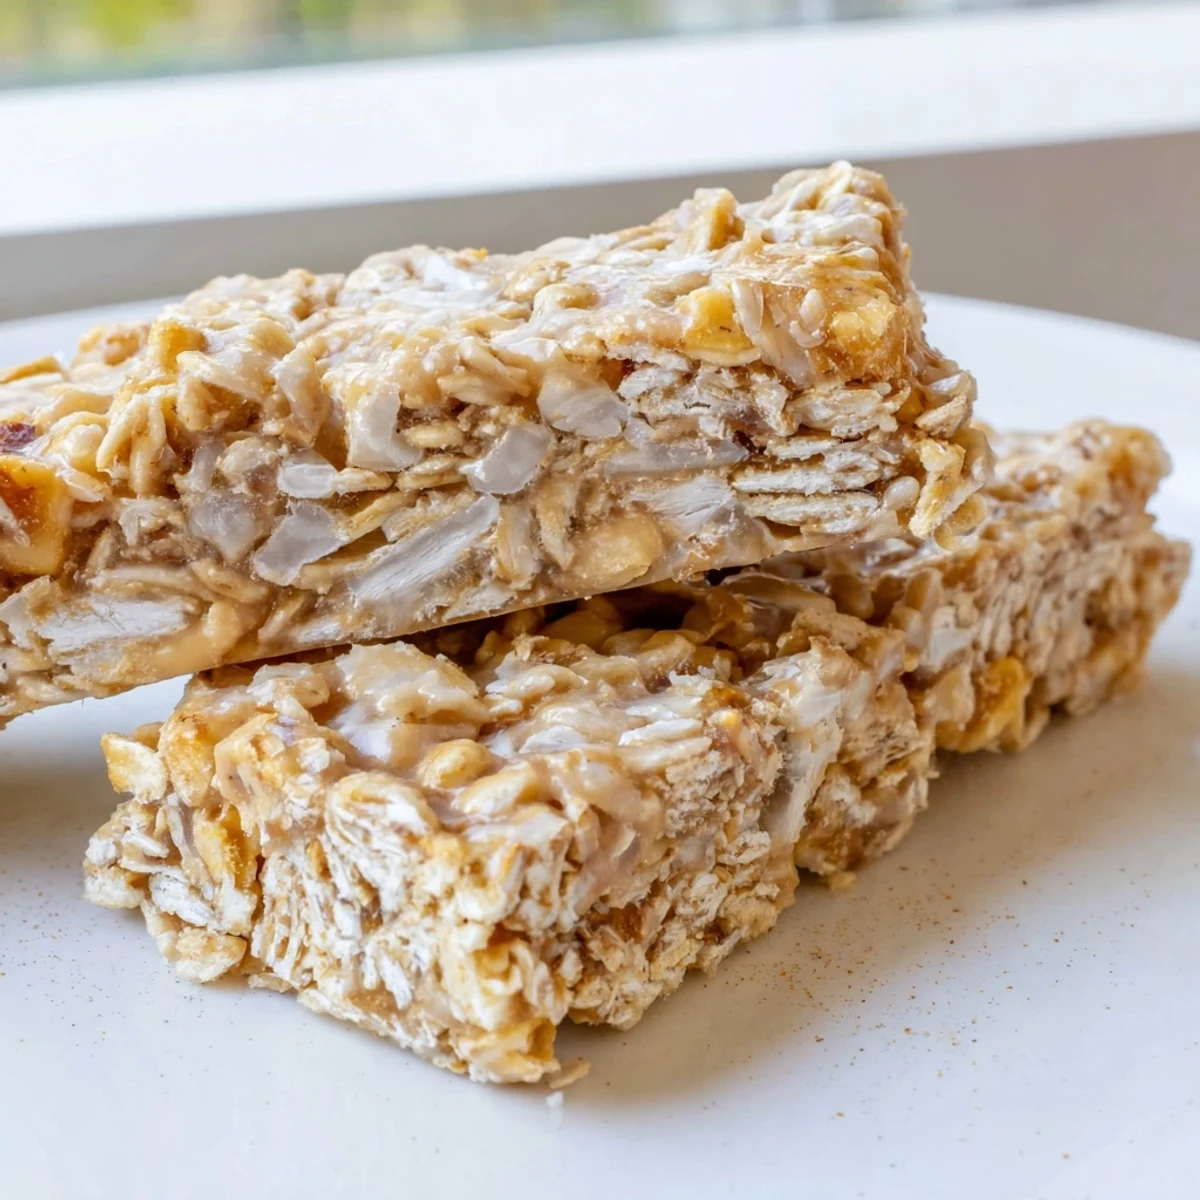
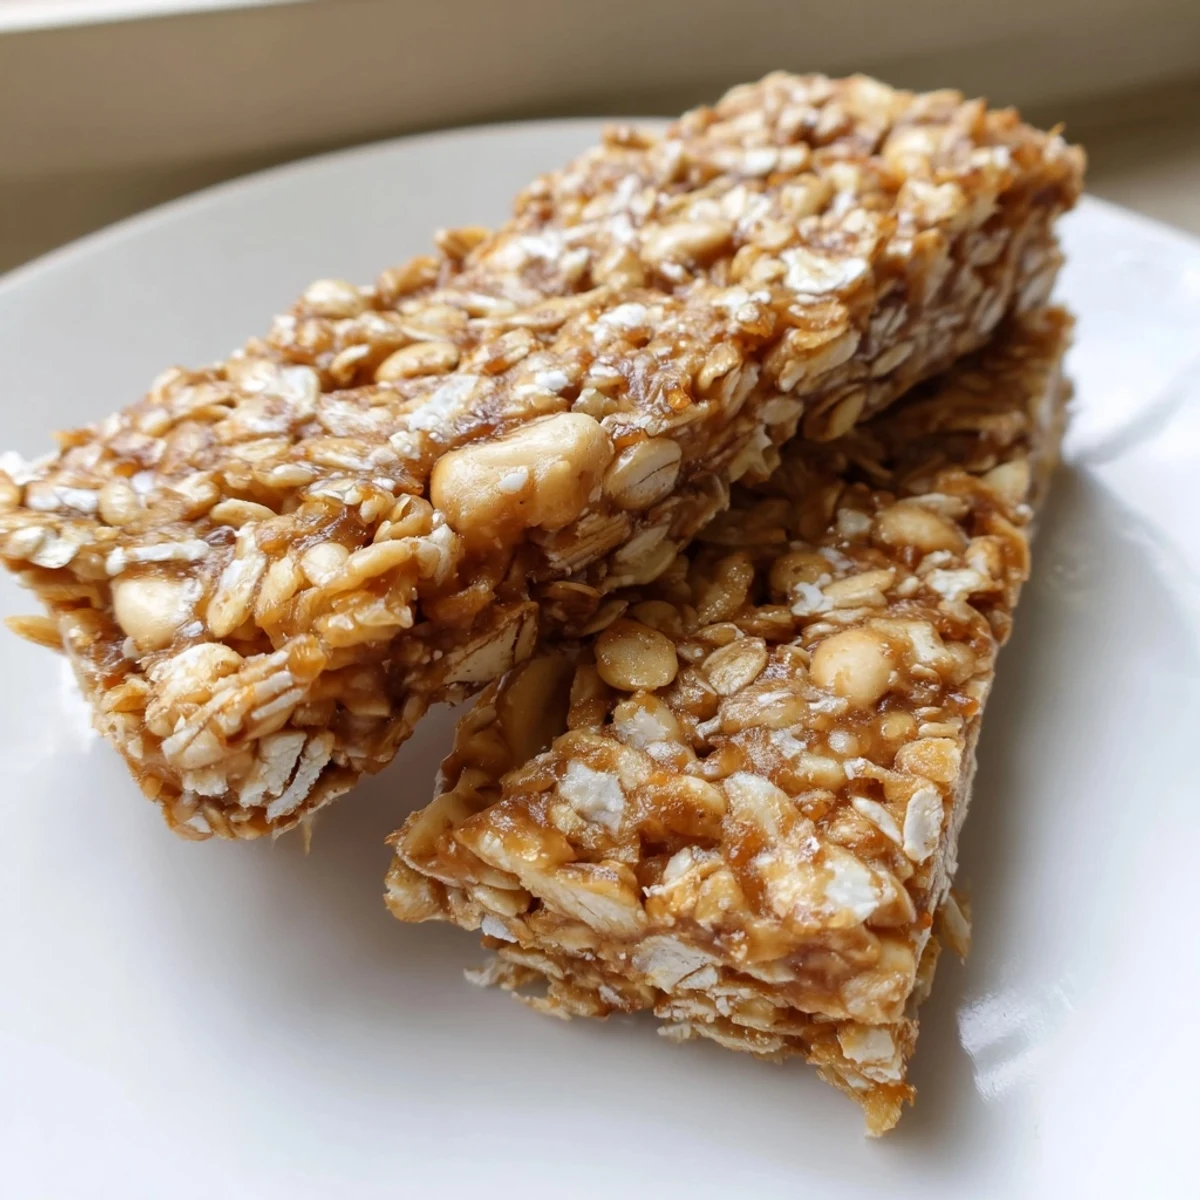
- Old-fashioned rolled oats: These give the bars their chewy texture, and quick oats just make everything too dense and mushy
- Crispy rice cereal: The secret to that satisfying crunch that keeps every bite interesting
- Dried apple: Chop it into small pieces so you get little bursts of sweet-tart flavor throughout
- Natural creamy peanut butter: The kind you have to stir, because processed peanut butter makes the bars taste weirdly artificial
- Honey: Acts as the glue holding everything together, but maple syrup works if you need it to be vegan
- Coconut oil: Helps the bars firm up in the fridge without making them rock hard
- Vanilla extract: Don not skip this, it somehow makes all the flavors taste complete
- Cinnamon: Warm spice that makes these taste like fall even in July
- Salt: Just enough to make the sweetness pop without tasting salty
Instructions
- Prep your pan:
- Lining an 8x8-inch pan with parchment paper, leaving extra hanging over the sides so you can lift the whole thing out later like a pro
- Mix the dry ingredients:
- Combining oats, cereal, dried apple, coconut, peanuts, cinnamon, and salt in a large bowl until everything is evenly distributed
- Melt the wet mixture:
- Warming the peanut butter, honey, and coconut oil in the microwave or on the stove until it is smooth and pourable, then stirring in the vanilla
- Combine everything:
- Pouring the wet mixture over the dry ingredients and stirring until every single oat and piece of cereal is coated in that sticky goodness
- Press firmly:
- Transfering the mixture to your prepared pan and pressing down really hard with a spatula or your hands, because loose granola bars just fall apart when you try to eat them
- Chill until set:
- Refrigerating for at least one hour, because patience is the difference between granola bars and granola crumbles
- Cut and store:
- Lifting the whole slab out using the parchment overhang, cutting into 12 bars, and keeping them in the fridge so they stay perfectly firm
 Save
Save These became my go-to contribution to every potluck and study group after my friend Sarah literally texted me at midnight asking for the recipe because she could not stop thinking about them. There is something deeply satisfying about making something from scratch that feels indulgent but is actually pretty wholesome.
Make Them Your Own
The base recipe is fantastic, but I have found that swapping in different dried fruits or nuts keeps things interesting. Try dried cherries and almonds, or pumpkin seeds and dried cranberry for a holiday version.
Storage Secrets
These bars definitely hold their texture best when kept cold, so the refrigerator is your friend here. They will last a week, but in my experience they rarely make it past day three because they are so snackable.
Serving Ideas
Sometimes I crumble a bar over yogurt for breakfast, and other times I will dip half in melted chocolate for a dessert that feels fancy but takes two minutes. You can also wrap individual bars in plastic wrap for grab-and-go breakfasts during busy weeks.
- Warm a bar in the microwave for 10 seconds if you have been storing them in the fridge and want that fresh-baked texture
- Package a few bars to take on hikes or road trips since they travel surprisingly well
- Double the recipe and freeze half, because you will regret it when you run out
 Save
Save There is something deeply satisfying about reaching into the fridge and grabbing a homemade snack instead of whatever processed thing you would have bought instead. These granola bars have saved me from hangry moments more times than I can count.
Common Recipe Questions
- → How long do these bars stay fresh?
-
Store in an airtight container in the refrigerator for up to 1 week. The cold temperature helps maintain their firm texture and prevents them from becoming too soft or sticky.
- → Can I make these vegan?
-
Yes, simply substitute the honey with maple syrup or agave nectar. This keeps the binding properties while making them completely plant-based.
- → Why must these be refrigerated?
-
The coconut oil and peanut butter need to stay firm to hold the bars together. Room temperature can cause them to soften and lose their shape. Chilling also makes cutting cleaner and easier.
- → What can I use instead of peanut butter?
-
Almond butter, sunflower seed butter for nut-free, or cashew butter all work well. The consistency should be creamy and stir-able for best results coating the dry ingredients.
- → Can I freeze these bars?
-
Absolutely. Wrap individual bars in plastic wrap and freeze for up to 3 months. Thaw in the refrigerator for a few hours before enjoying.
- → Why aren't my bars holding together?
-
Make sure to press the mixture firmly into the pan using your hands or a spatula. The mixture needs to be compacted tightly. Also ensure you've chilled for the full hour before cutting.
