 Save
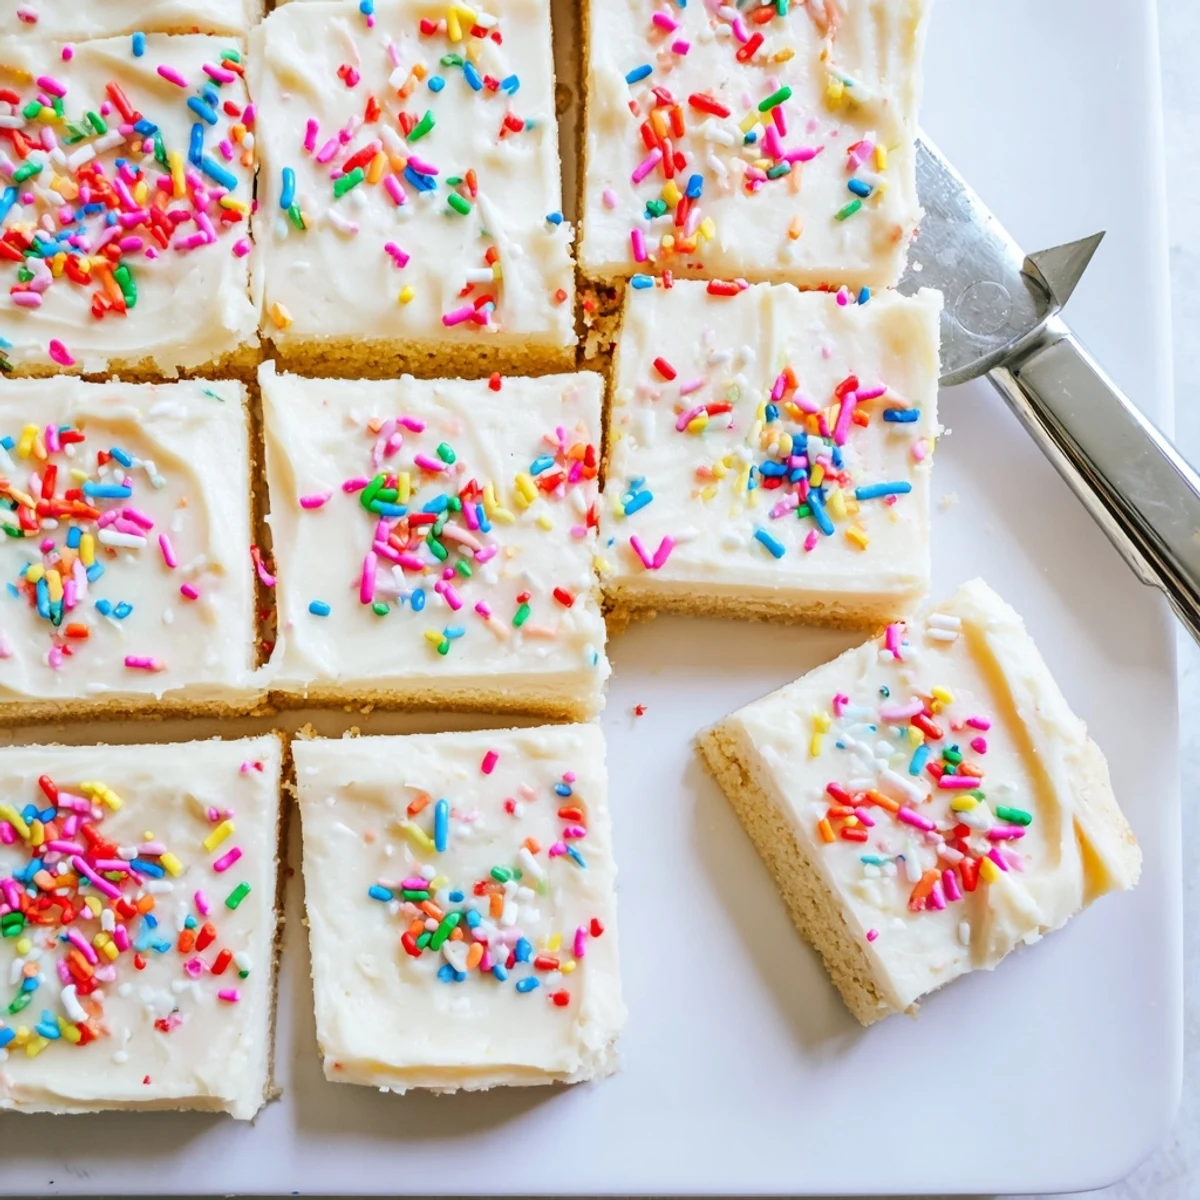
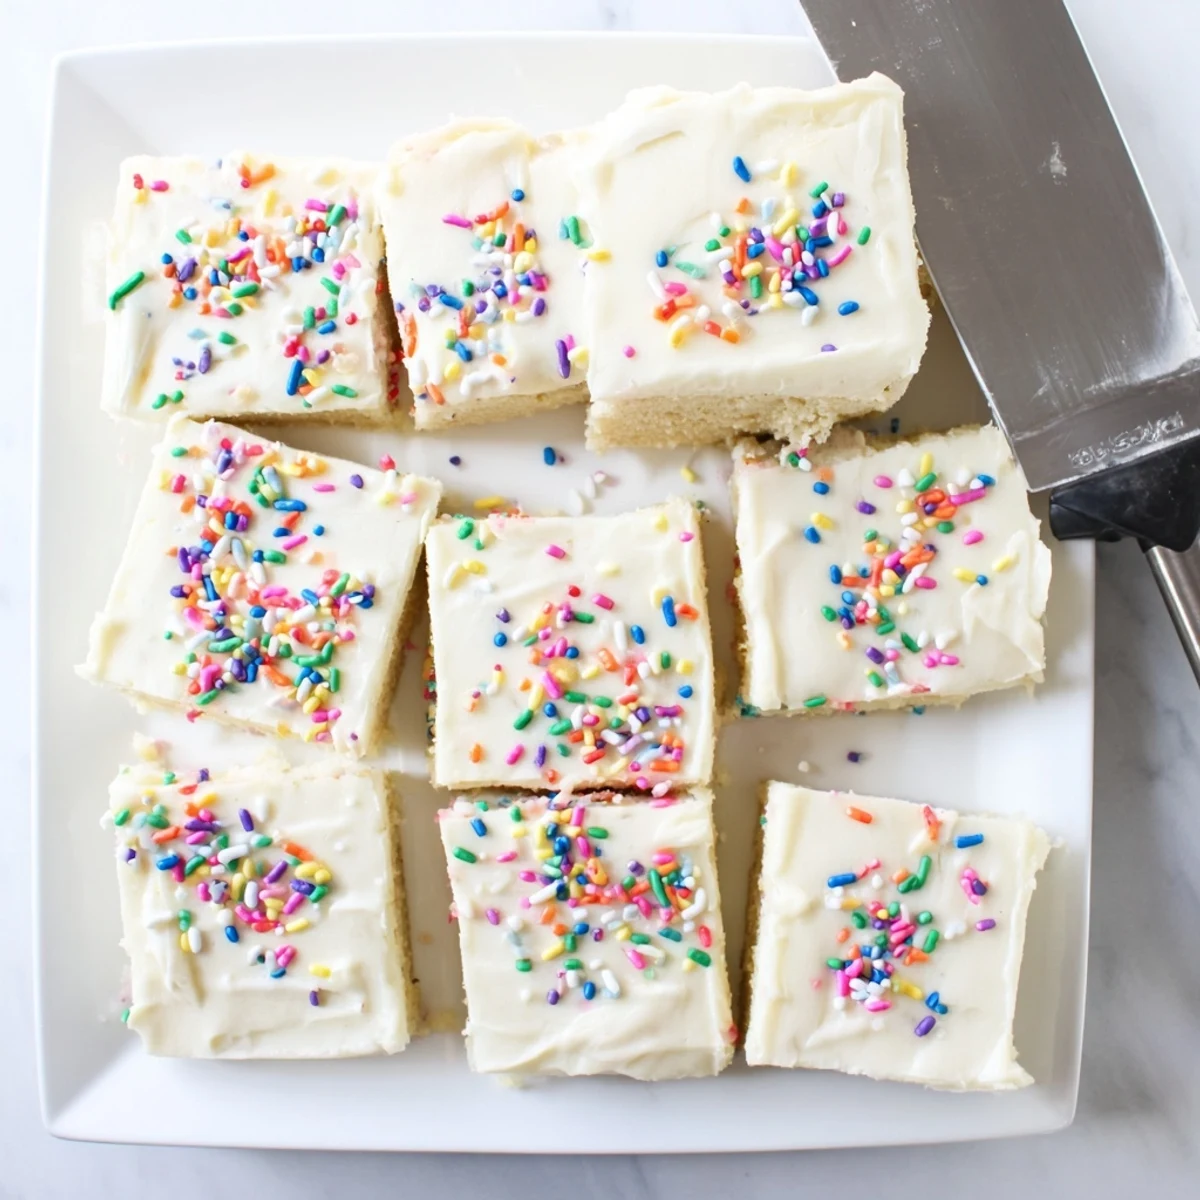
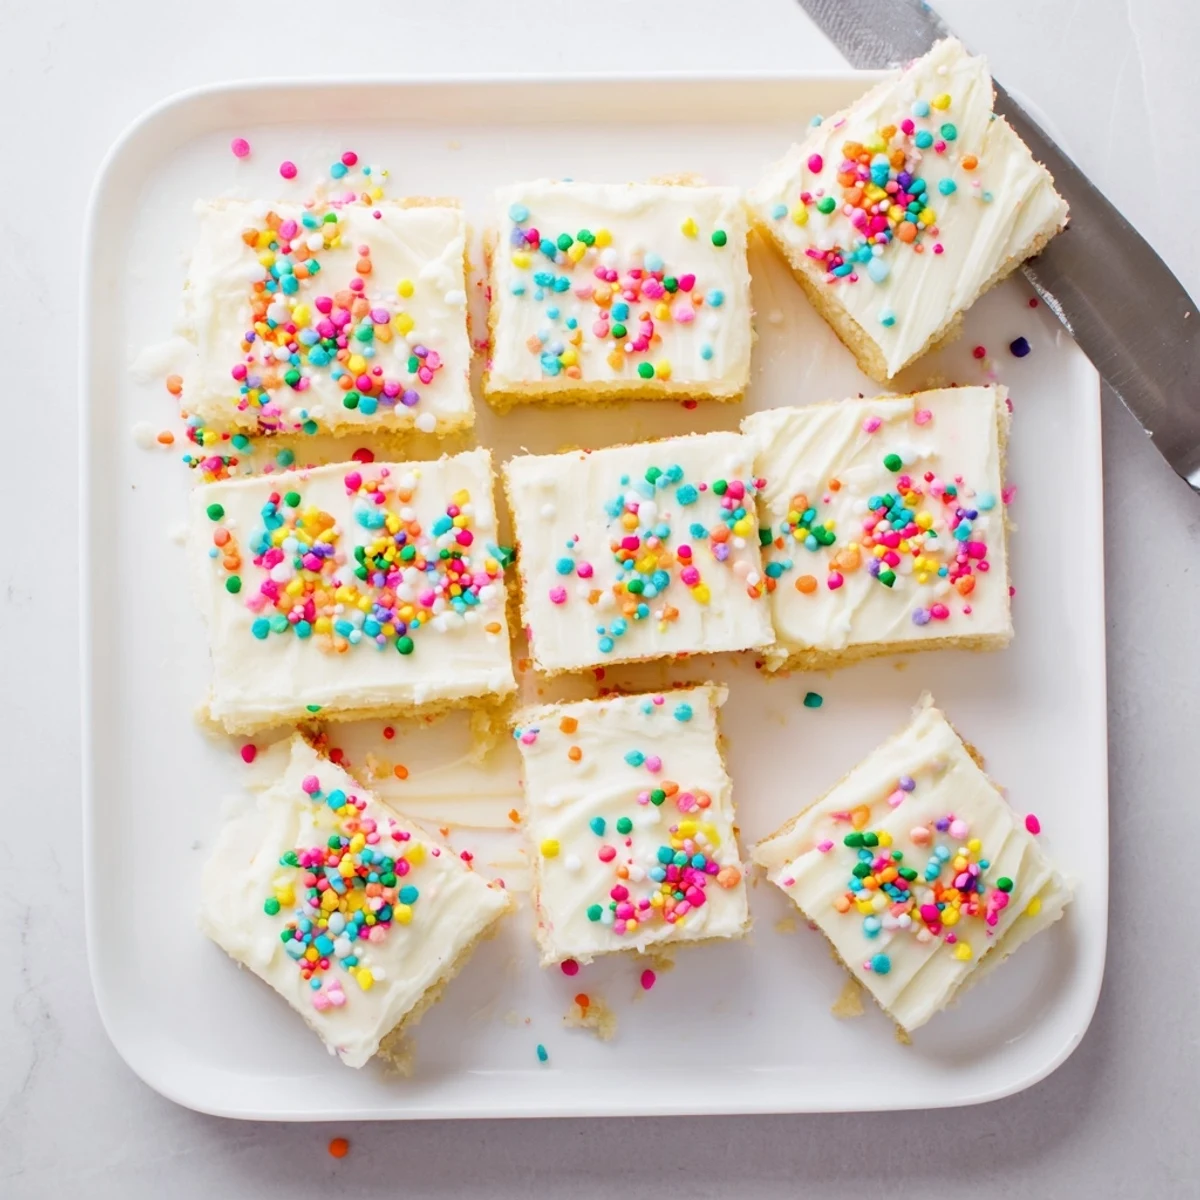
Save These soft, buttery sugar cookie bars feature a tender golden base topped with silky vanilla frosting. Ready in just 40 minutes, they're easier than traditional cut-out cookies but deliver the same classic flavor everyone loves. The dough comes together quickly with basic pantry ingredients, then bakes into perfectly thick, chewy squares. Top with colorful sprinkles for parties or keep it simple with plain white frosting for everyday treats.
My sister called me at 8pm on a Tuesday, needing something for the school bake sale next morning. I'd never made cookie bars before, but I figured pressing dough into a pan had to be faster than scooping individual cookies. She texted later that they disappeared before first period.
Last summer I made these for a backyard BBQ and watched my neighbor's six-year-old carefully select the corner piece with the most sprinkles. His mom whispered that he normally refuses anything with frosting, but here he was, licking rainbow flecks off his fingers, asking if I'd bring them to his birthday party next month.
Ingredients
- Unsalted butter: Let it soften completely on the counter for 45 minutes, otherwise you'll get pockets of unmixed flour that taste sad later.
- Granulated sugar: Cream it with the butter until it looks pale and fluffy, those air pockets create that signature soft texture.
- Egg: Use room temperature so it incorporates smoothly instead of seizing up the butter like cold eggs do.
- Vanilla extract: Splurge on pure extract, the artificial stuff tastes flat in something this simple.
- All-purpose flour: Spoon and level it instead of scooping directly, packed flour makes dense bars.
- Baking powder and salt: These work together to give the bars a subtle lift without making them cakey.
- Powdered sugar: Sifting it first prevents those tiny lumps that never quite dissolve in the frosting.
- Whole milk: Heavy cream makes it too thick, water makes it grainy, whole milk hits that perfect spreadable sweet spot.
- Sprinkles: Press them gently into the frosting so they actually stay put instead of sliding off.
Instructions
- Get your oven ready:
- Preheat to 350°F and line a 9x13-inch pan with parchment paper, letting some hang over the edges like a little handle for later.
- Make the cookie base:
- Beat the butter and sugar for a solid 2-3 minutes until it's pale and fluffy, then add the egg and vanilla until everything's combined.
- Combine the dry ingredients:
- Whisk the flour, baking powder, and salt in a separate bowl so you don't overmix once they hit the wet ingredients.
- Form the dough:
- Gradually mix in the dry ingredients just until you no longer see flour streaks, then press the dough evenly into your prepared pan using your hands or a spatula.
- Bake until perfect:
- Slide the pan into the oven for 18-22 minutes, watching for lightly golden edges and a set center, pulling it before it gets too dry.
- Let it cool completely:
- This is the hardest part but if you frost warm bars, the frosting will melt into a sad puddle, so walk away and do something else for at least an hour.
- Make the frosting magic:
- Beat the butter until it's creamy, then gradually add sifted powdered sugar, milk, vanilla, and salt until it's smooth and spreadable.
- Finish with flair:
- Spread the frosting evenly over the completely cooled bars, add sprinkles if you're feeling festive, then lift the whole thing out using the parchment paper overhang and slice into 24 squares.
 Save
Save These became my go-to when my daughter broke her arm and couldn't help mix cookie dough. She sat at the counter pressing the dough into the pan with her good hand, feeling like she was still part of the baking process. Now she calls them her special cookies, even though they're technically bars.
Making Them Festive
I've made these for every holiday by just switching up the sprinkles and food coloring. Red and green for Christmas, pastels for Easter, orange and black for Halloween. People think it's a completely different recipe each time.
Storage Secrets
Unlike regular cookies that harden after a day, these bars stay soft for three days in an airtight container. The frosting creates a seal that keeps the cookie base moist, which explains why they're always the first thing gone at potlucks.
Flavor Variations
My cousin swears by adding almond extract instead of vanilla, and my sister-in-law mixes lemon zest into the dough. The beauty is that the base is neutral enough to become whatever flavor your family craves most.
- Try adding 1 teaspoon of almond extract to the dough for a wedding cookie flavor
- Mix lemon zest into the frosting for springtime brightness
- Swap half the butter for cream cheese in the frosting for tangy depth
 Save
Save There's something about a bar of cookie that feels more indulgent than a regular cookie, maybe because we convince ourselves it's just one serving even though it's technically three. I stopped questioning the logic years ago.
Common Recipe Questions
- → Why make cookie bars instead of individual cookies?
-
Bars bake in one pan, saving time and effort compared to rolling and cutting individual dough portions. They're perfect for feeding crowds and easier to transport to parties or gatherings.
- → How do I know when the bars are done baking?
-
The edges should be lightly golden while the center appears set but slightly soft. Avoid overbaking—carryover heat will finish cooking the center as they cool.
- → Can I make these bars ahead of time?
-
Absolutely. Bake and cool the bars completely, then frost when ready to serve. Unfrosted bars can be wrapped and stored at room temperature for up to 2 days before frosting.
- → What's the best way to cut clean squares?
-
Let the bars cool completely and chill the frosted pan for 30 minutes. Use a sharp knife wiped clean between cuts, or dip in hot water for perfect slices.
- → Can I freeze these cookie bars?
-
Yes. Wrap unfrosted bars tightly in plastic and foil for up to 3 months. Thaw overnight at room temperature before frosting and serving.
- → How should I store leftover bars?
-
Keep in an airtight container at room temperature for up to 3 days. For longer storage, refrigerate up to a week, though the texture may become slightly denser.
