 Save
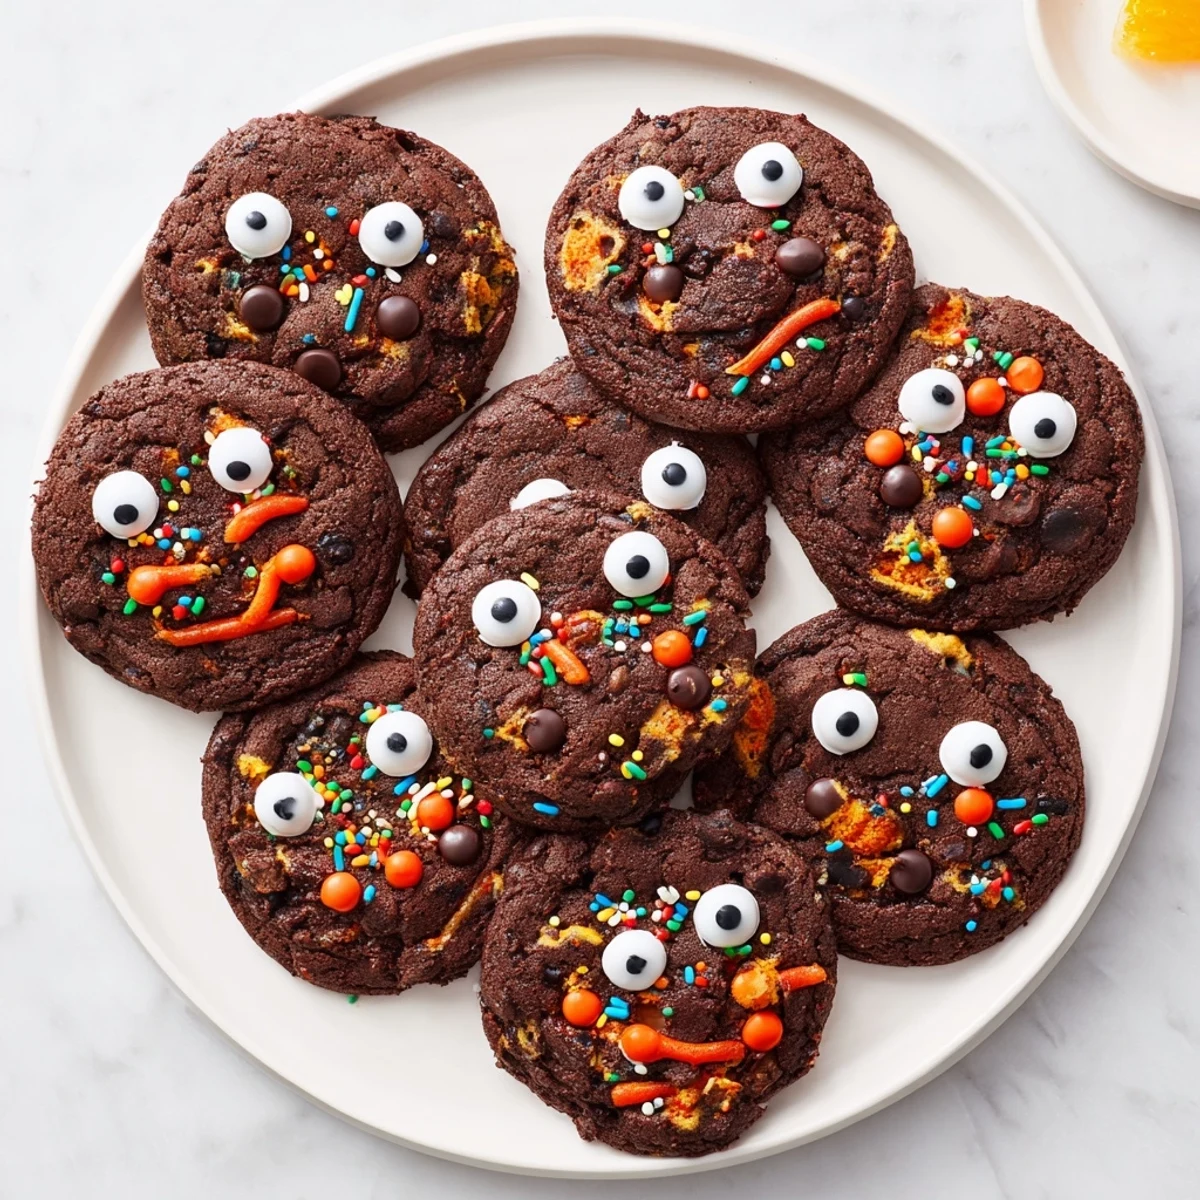
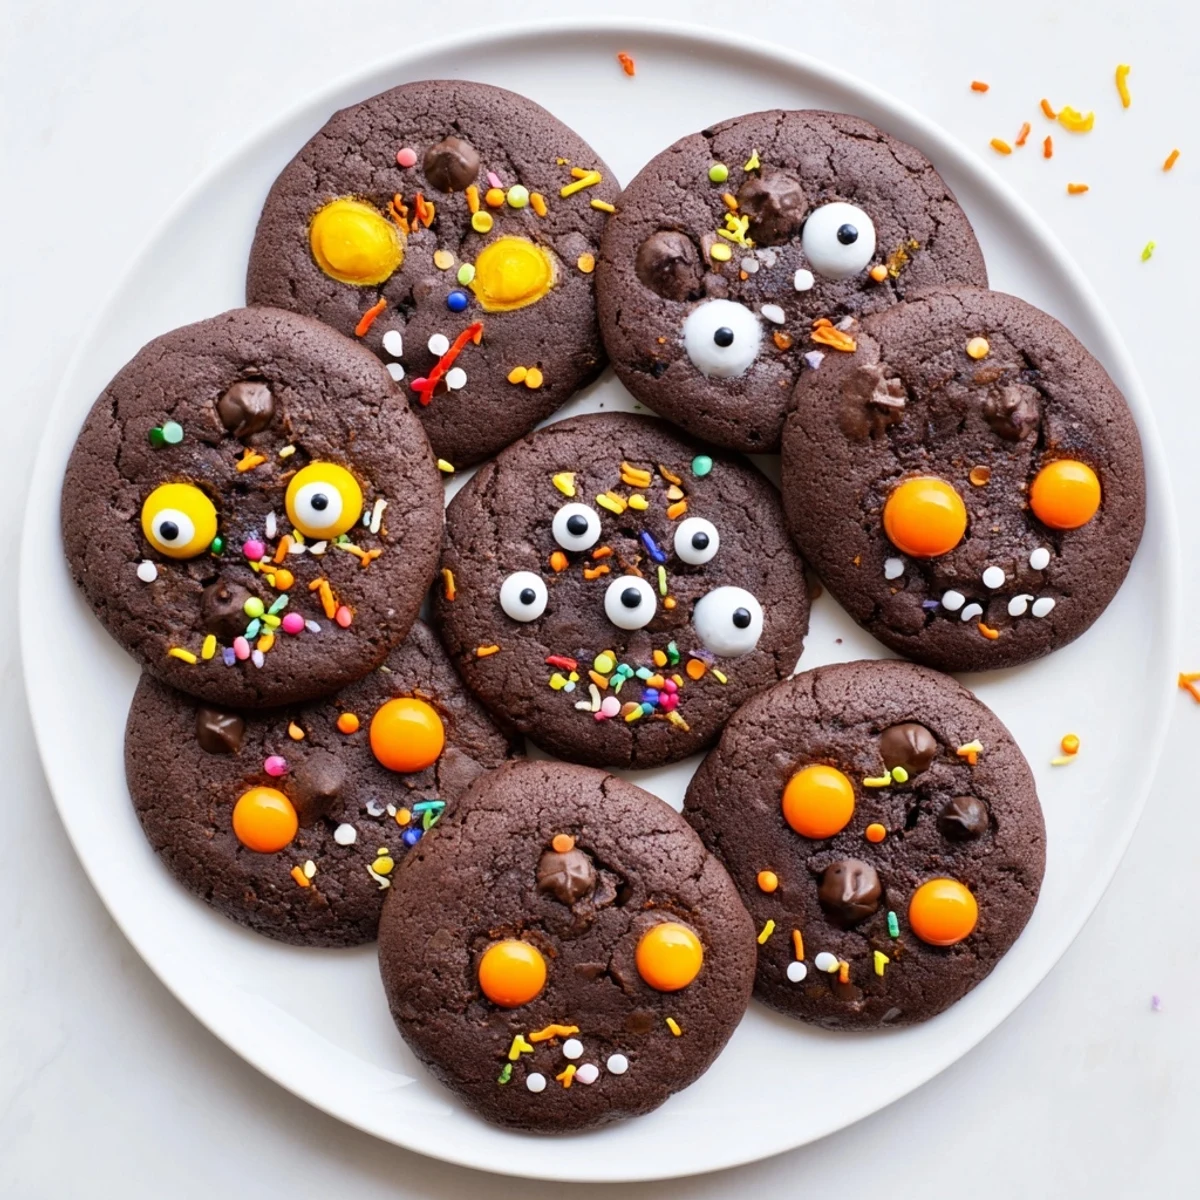
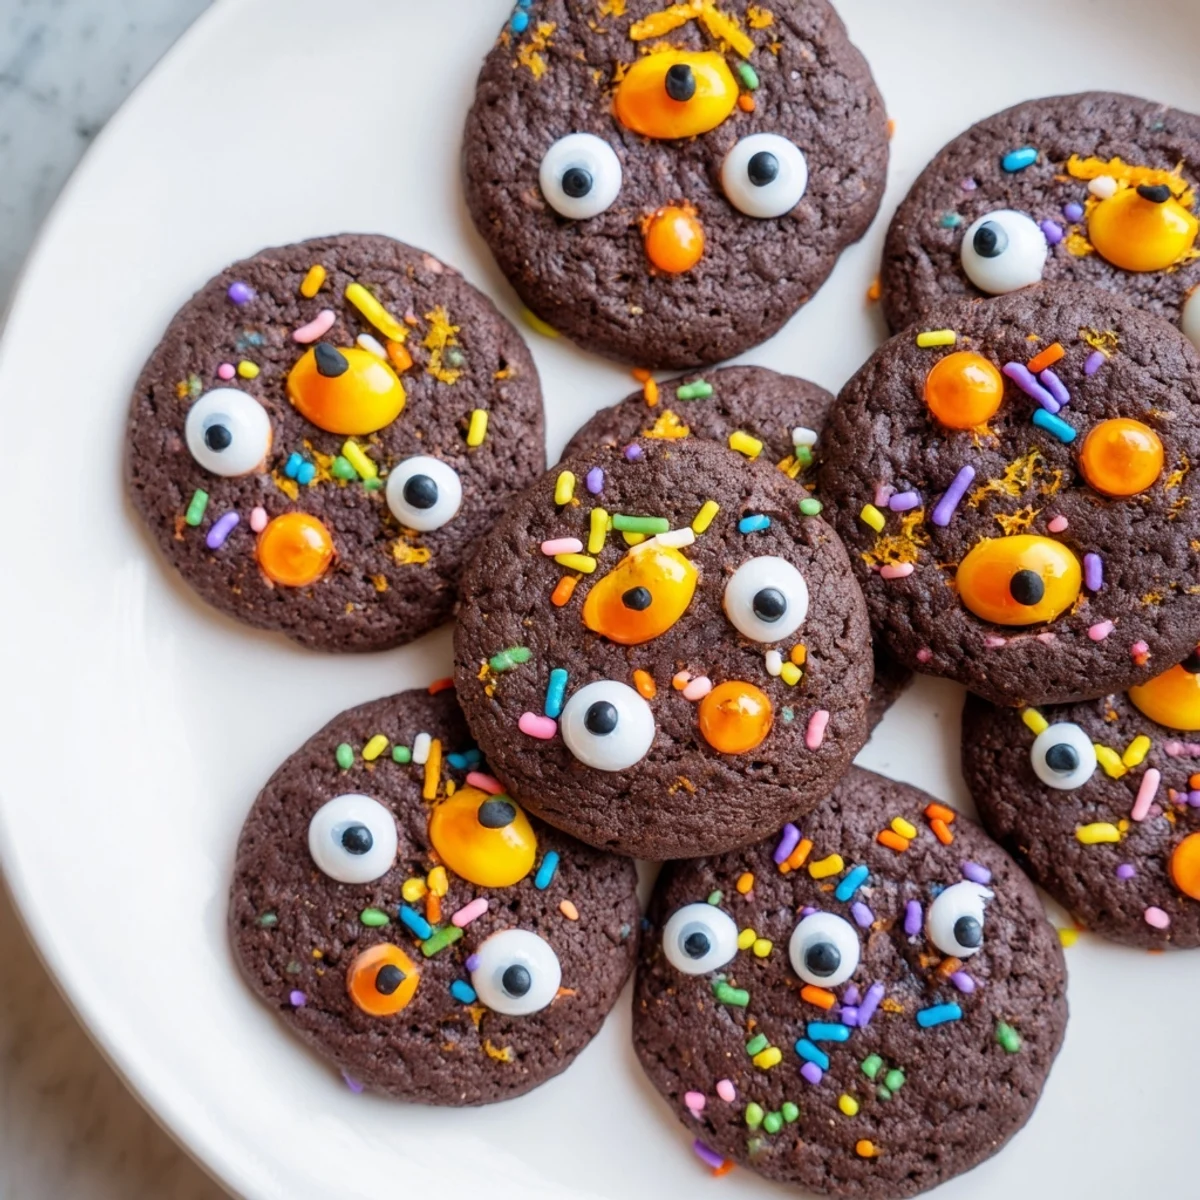
Save These delightfully spooky chocolate orange cookies combine rich cocoa with bright citrus flavors for a festive Halloween treat. The dough comes together in just 25 minutes, creating the perfect canvas for creative decorating with candy eyeballs, sprinkles, and colorful icing. Kids will love transforming these soft-baked chocolate cookies into silly or scary characters.
The orange zest and fresh juice cut through the semisweet chocolate chips for a balanced flavor that appeals to both children and adults. Each cookie bakes to tender perfection with slightly crispy edges and chewy centers, ideal for holding decorative details without crumbling.
Last October, my daughter announced she wanted cookies that looked scary but tasted amazing. We ended up with these chocolate orange beauties decorated with goofy faces, and they disappeared so fast from the Halloween party platter that I barely got to taste one myself.
I learned the hard way that room temperature butter makes all the difference with the dough texture. One year I rushed and used cold butter, ending up with cookies that spread into weird blobs instead of holding their shape for the faces.
Ingredients
- All-purpose flour: The structure that keeps these cookies from turning into flat puddles when you add all that orange juice
- Unsweetened cocoa powder: Use Dutch process for a deeper chocolate flavor that really stands up to the bright orange notes
- Baking soda: This gives the cookies just enough lift to stay chewy instead of dense
- Salt: Even a small amount wakes up the chocolate and prevents these from tasting flat
- Unsalted butter softened: Seriously let this come to room temperature for 30 minutes or your dough will fight you
- Granulated and brown sugar: The combo gives you crispy edges and soft centers, plus the brown sugar adds a little caramel depth
- Eggs: Room temperature eggs incorporate better and help the cookies rise evenly
- Vanilla extract: Pure vanilla makes a difference here since the flavor profile is pretty simple
- Orange zest: This is where most of the orange flavor comes from so zest thoroughly and avoid the white pith
- Orange juice: Fresh squeezed adds moisture and a bright acidic note that cuts through the rich chocolate
- Semisweet chocolate chips: These melty pockets are what make the cookies feel indulgent and special
- Candy eyeballs and decorations: The fun part that turns ordinary cookies into spooky characters kids go crazy for
Instructions
- Get your oven ready:
- Preheat to 350°F and line two baking sheets with parchment paper so nothing sticks later
- Whisk the dry ingredients together:
- In a medium bowl combine flour cocoa powder baking soda and salt until well blended
- Cream the butter and sugars:
- Beat butter granulated sugar and brown sugar until light and fluffy which takes about 3 minutes of serious mixing
- Add the wet ingredients:
- Beat in eggs one at a time then stir in vanilla orange zest and orange juice until everything is incorporated
- Combine everything:
- Gradually mix in the dry ingredients just until you no longer see streaks of flour being careful not to overmix
- Fold in the chocolate chips:
- Gently stir in the chips by hand so they are evenly distributed throughout the dough
- Scoop the cookies:
- Drop tablespoon sized dough balls onto prepared baking sheets leaving about 2 inches between each for spreading
- Bake until just right:
- Bake for 10 to 12 minutes until edges look set but centers still feel slightly soft to the touch
- Cool completely:
- Let cookies rest on baking sheets for 5 minutes then move to wire racks until completely cool before decorating
- Make them spooky:
- Press candy eyeballs into cooled cookies and use sprinkles icing or melted chocolate to create whatever faces you can imagine
 Save
Save My niece created a cookie with three eyes and crooked teeth that year, and it became the most photographed dessert at the party. Sometimes the weirdest faces get the biggest laughs.
Making Ahead
You can freeze the scooped dough balls for up to 3 months before baking. Just add an extra minute to the baking time when you bake them straight from frozen.
Decoration Ideas
Melted white chocolate works great for painting skeletons or spiderwebs. Small piping bags give you more control than trying to freehand with a spoon.
Storage Tips
Once decorated these cookies are best within 2 days since the moisture from icing can make them soft. Undecorated cookies stay fresh in an airtight container for 4 days.
- Store decorated cookies in single layers between wax paper to prevent smudging
- Keep them away from direct sunlight which can fade the candy colors
- Room temperature storage is better than refrigeration which dries them out
 Save
Save Hope these spooky treats bring as many giggles to your kitchen as they did to ours. Happy baking and even happier decorating.
Common Recipe Questions
- → Can I make the dough ahead of time?
-
Yes, you can refrigerate the dough for up to 3 days before baking. Let it soften slightly at room temperature for easier scooping, or freeze dough balls for up to 3 months and bake directly from frozen, adding 1-2 minutes to baking time.
- → What if I can't find candy eyeballs?
-
You can create eyes using white chocolate chips with dark chocolate dots, mini marshmallows with chocolate chips pressed into the center, or simply pipe circles with white and dark icing. Get creative with whatever decorations you have available.
- → Can I substitute the orange flavor?
-
You can replace the orange with lemon, lime, or even peppermint extract for different flavor variations. Simply use the zest and juice of your chosen citrus in the same quantities, adjusting extract amounts to taste.
- → Why are my cookies spreading too much?
-
If your cookies are spreading excessively, chill the dough for 30 minutes before baking, ensure your butter wasn't too soft when mixing, and check that you measured the flour correctly using the spoon-and-level method rather than scooping directly.
- → How should I store decorated cookies?
-
Store in an airtight container at room temperature for up to 4 days. Separate layers with parchment paper to prevent decorations from sticking or smearing. Avoid refrigerating as this can cause the decorations to weep or become soggy.
