 Save
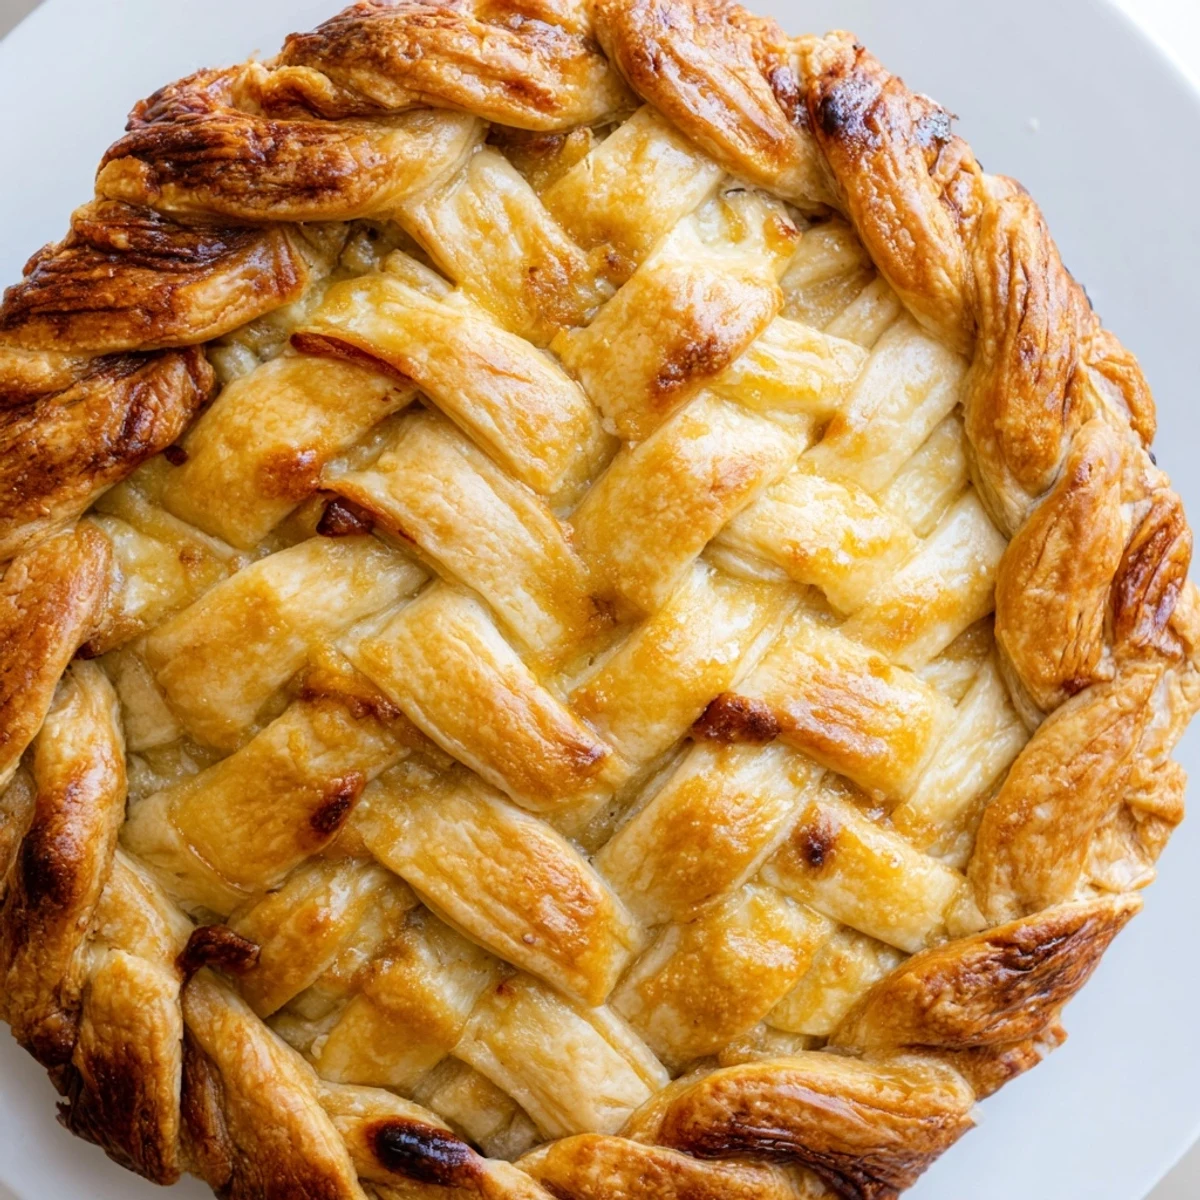
Save This decorative crust technique transforms ordinary pie edges into stunning bakery-style finishes using a fishtail braid method.
Made with classic butter-based pastry dough, the braid is created by weaving thin strips of chilled dough around the pie rim before baking.
The technique requires medium skill level and about 35 minutes of preparation, making it perfect for holiday pies, special occasions, or anytime you want to elevate your baking presentation.
The first time I attempted a braided crust, my kitchen looked like a flour bomb had detonated and the braid itself resembled something a cat might cough up. But there is something deeply satisfying about watching a plain pie transform into something that makes guests gasp when you carry it to the table.
My sister still talks about the Thanksgiving I showed up with an apple pie sporting this fishtail braid, and she has never let me forget that she guessed correctly it took me three attempts to get it right.
Ingredients
- All-purpose flour: The foundation of any good crust, measured by weight for consistency.
- Unsalted butter: Keep it ice cold straight from the fridge for those gorgeous flaky layers.
- Salt: Enhances flavor and balances the fat.
- Sugar: Optional but adds a subtle sweetness that pairs wonderfully with fruit fillings.
- Ice water: Start small and add gradually until the dough just holds together.
- Egg: Creates that golden shine that makes the braid pop.
Instructions
- Make the dough:
- Work butter into your flour mixture with cold hands or a pastry cutter until you see pea-sized chunks throughout.
- Chill thoroughly:
- Flatten dough into disks, wrap tightly, and let them rest in the refrigerator for at least one hour.
- Cut even strips:
- Roll chilled dough into a rectangle and use a ruler to cut six uniform strips about half an inch wide.
- Start the braid:
- Pinch three strip ends together and begin with one regular braid set to anchor your pattern.
- Switch to fishtail:
- Pull outermost strips toward center alternately, keeping tension even as you work down the length.
- Attach to pie:
- Brush the pie edge with water and press your braid gently into place before egg washing.
 Save
Save I still remember presenting a quiche with this crust to my book club and watching the conversation stop mid-sentence as everyone noticed the detail on the edge.
Keeping Your Cool
Temperature control is everything when working with butter-based dough, and I learned this lesson after ruining more braids than I care to count on warm summer days.
Making It Your Own
Once you master the basic technique, try incorporating herbs like rosemary into savory versions or a pinch of cinnamon for autumn fruit pies.
Saving the Day
Not every braid turns out picture perfect on the first try, and that is perfectly fine.
- A torn strip can be pinched back together with a drop of water.
- Uneven braids can be disguised with a creative egg wash pattern.
- Any leftover dough scraps freeze beautifully for future mini pies.
 Save
Save This crust turns ordinary baking into something that feels like art, and everyone deserves that feeling of pride when they pull something beautiful from the oven.
Common Recipe Questions
- → How do I keep the dough strips from breaking while braiding?
-
Keep your dough well-chilled and work quickly. If strips become too warm and soft, return them to the refrigerator for 10-15 minutes before continuing.
- → Can I make the braid ahead of time?
-
Yes, you can braid the strips up to a day ahead. Store the finished braids flat on a baking sheet in the refrigerator until ready to apply.
- → What fillings work best with this decorative crust?
-
This braided edge complements fruit pies, custard tarts, savory quiches, and pot pies equally well. Adjust sugar in the dough based on your filling.
- → Why is my braid sliding off during baking?
-
Ensure you brush the pie edge with water before applying the braid and press gently to adhere. Chilling the assembled pie for 15 minutes before baking also helps.
- → Can I use store-bought dough for this technique?
-
Absolutely. Roll out refrigerated pie dough and cut into strips. The key is keeping the dough cold and pliable throughout the braiding process.
