 Save
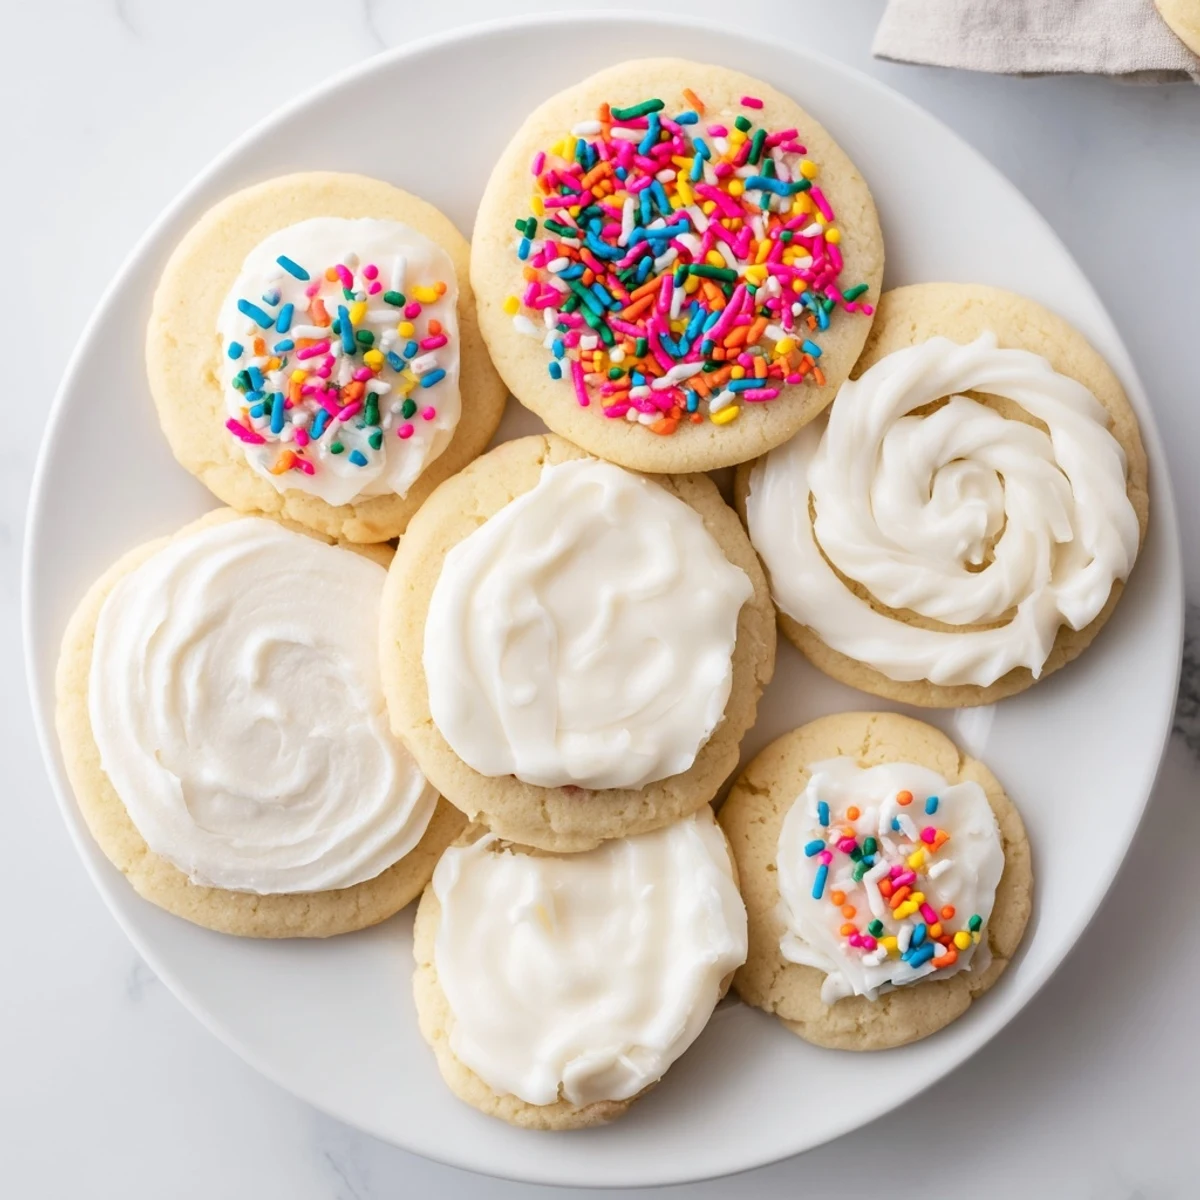
Save This simple four-ingredient icing creates a beautiful, professional finish on sugar cookies. The combination of powdered sugar, milk, corn syrup, and vanilla produces a glossy coating that dries completely smooth and firm within hours at room temperature. Perfect for dipping, spreading, or piping intricate designs.
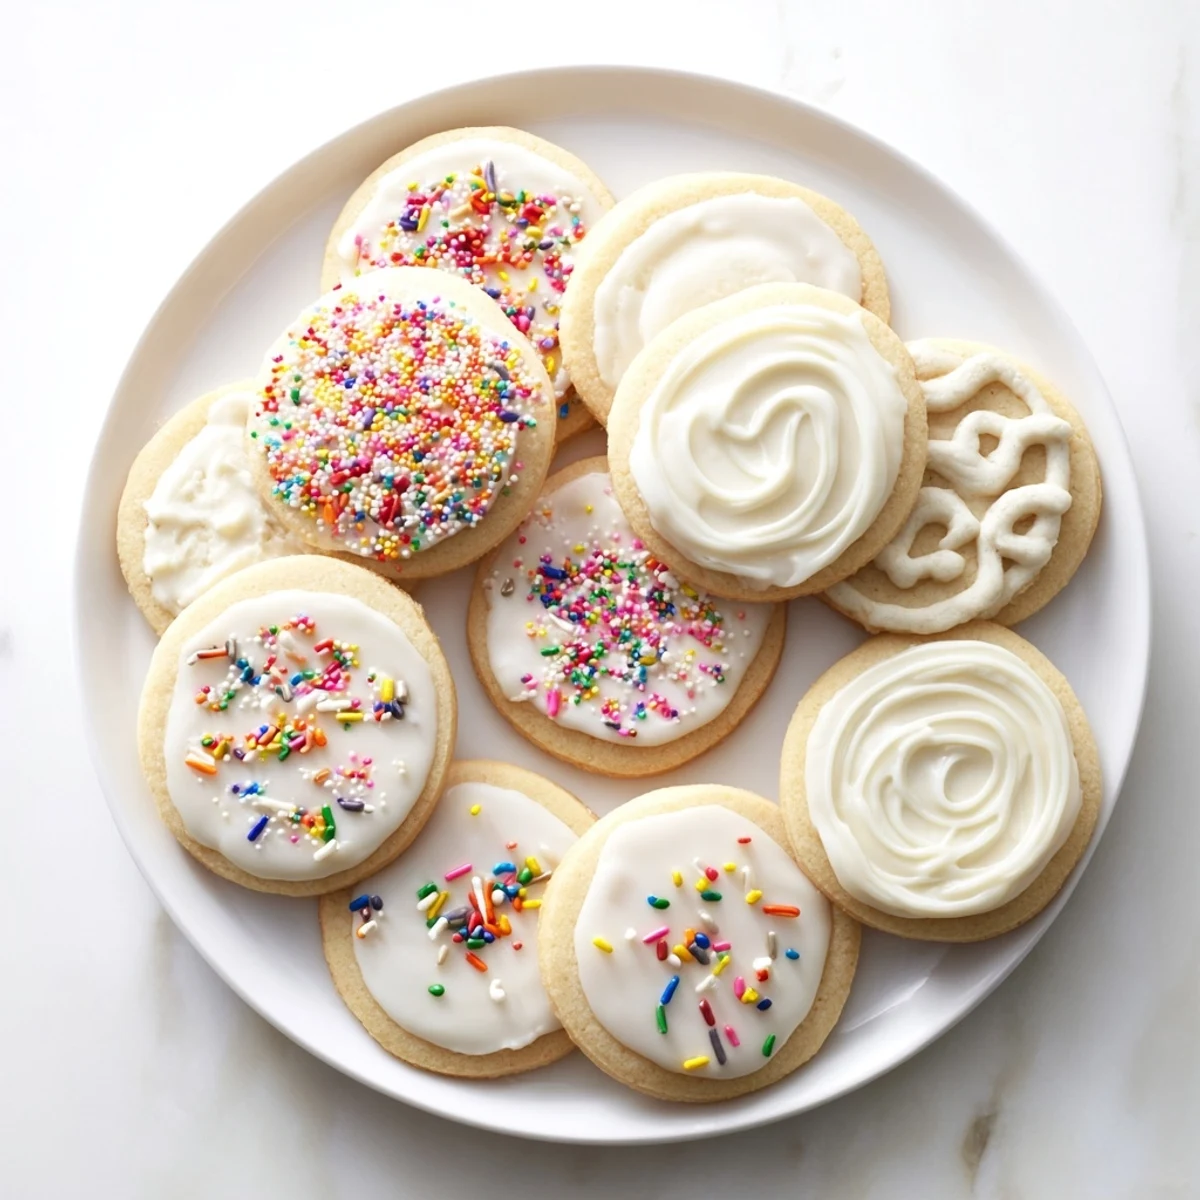
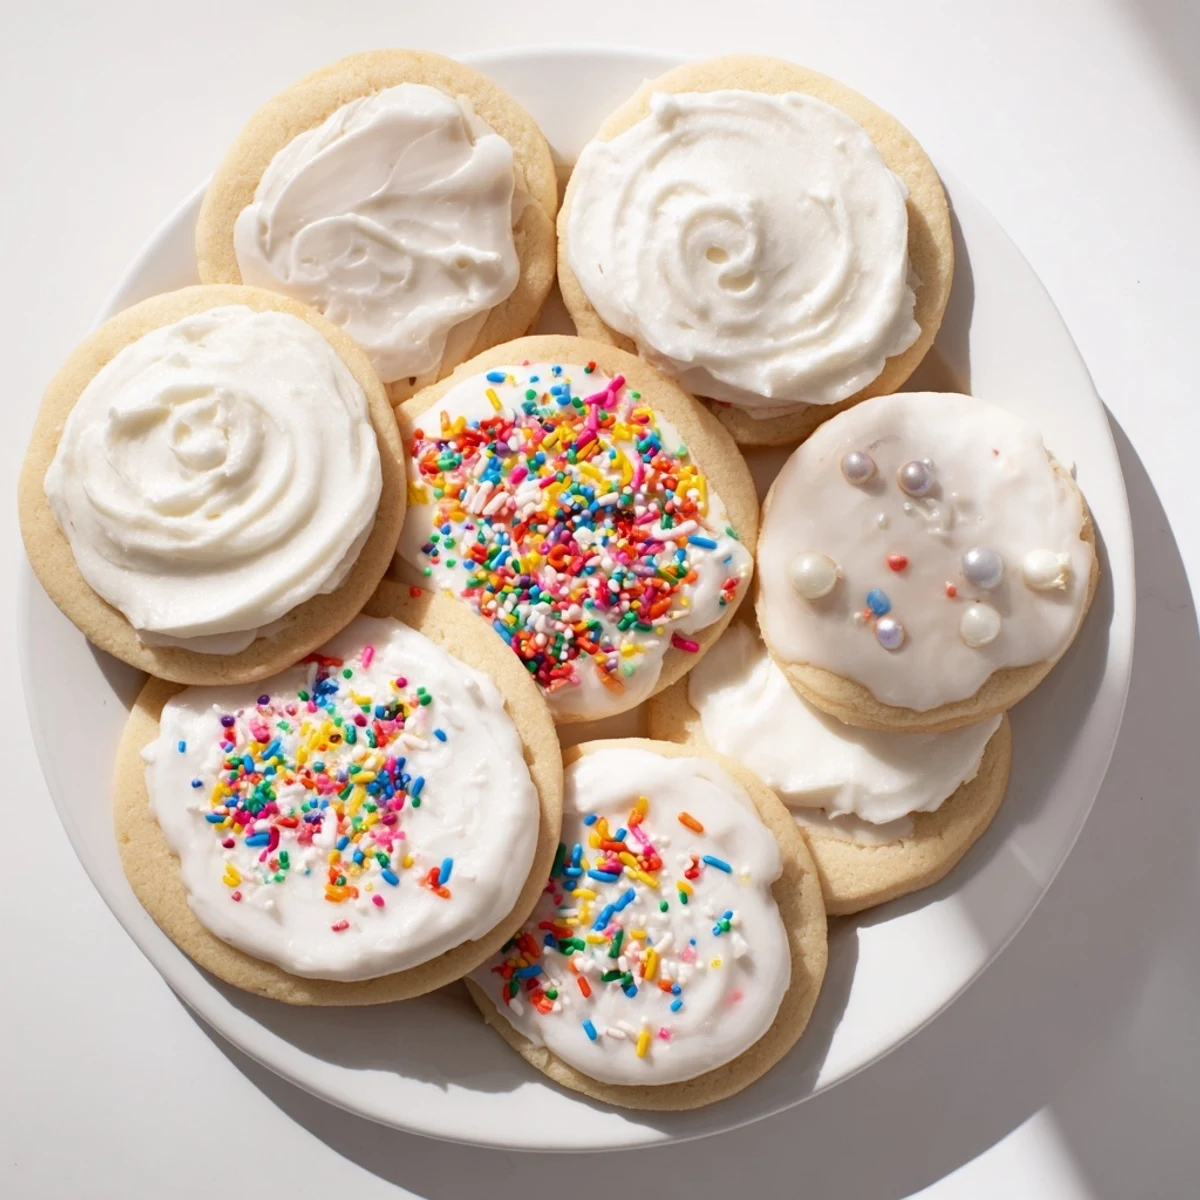
Adjust consistency easily by adding more milk for flooding or extra powdered sugar for detailed piping work. Customize with gel food coloring for vibrant decorations or add sprinkles while wet for extra texture. Makes enough for about two dozen cookies.
The kitchen counter was covered in scattered sprinkles and three half-empty bowls of colored frosting when my neighbor's daughter leaned over and whispered, "This is like magic paint for cookies." That's when I realized sugar cookie icing isn't just a topping—it's the moment baking transforms into art. I've since learned that the perfect consistency is the difference between cookies that look professionally decorated and ones that slide right off onto your plate.
Last December, I made forty snowflake cookies for a school bake sale, each piped with white-on-white swirls. A mom texted me later asking where I'd bought them because she couldn't believe someone made them at home. That's the secret power of this simple icing—it makes ordinary cookies look like they came from a fancy bakery case.
Ingredients
- 2 cups powdered sugar, sifted: Sifting prevents lumps that would clog your piping tips and create streaks in your finished icing
- 2-3 tablespoons milk: Start with less and add gradually to control the thickness for your specific decorating method
- 1 tablespoon light corn syrup: This is the secret ingredient that creates that glossy, professional-looking finish and helps the icing dry smooth
- 1/2 teaspoon pure vanilla extract: Use real vanilla here since the flavor shines through without competing with other ingredients
- Food coloring: Gel coloring provides more vibrant hues without thinning your consistency like liquid food coloring can
Instructions
- Mix Your Base:
- Whisk together the powdered sugar, 2 tablespoons of milk, corn syrup, and vanilla in a medium bowl until you achieve a smooth, glossy consistency that feels like thick honey when you lift the whisk
- Adjust the Consistency:
- Add additional milk just 1/2 teaspoon at a time if your icing is too thick to pour or pipe, keeping in mind that a little goes a long way
- Divide and Color:
- Scoop portions into separate bowls if you're creating multiple colors, then stir in food coloring drop by drop until you reach your desired shade
- Decorate Your Cookies:
- Dip cooled cookies directly into the icing, spread with an offset spatula, or pipe designs using bags fitted with small round tips
- Let Them Set:
- Leave decorated cookies undisturbed at room temperature for at least four hours or overnight until the icing is completely firm to the touch
 Save
Save My daughter now asks for "rainbow cookies" for every birthday, carefully selecting colors weeks in advance. Those batches of imperfectly decorated cookies, eaten straight off the cooling rack with icing-sticky fingers, have become our birthday tradition.
Getting the Right Texture
After years of either icing that ran off the edges or paste that cracked when cookies were stacked, I finally learned that the ten-second test is foolproof. Drizzle a line of icing across your bowl surface and count—if it merges back into a smooth layer in exactly ten seconds, you've nailed the perfect consistency for outlining and flooding.
Color Without Compromise
Gel food coloring changed my cookie game completely because you can achieve those deep, saturated reds and greens without thinning your icing to a watery mess. Start with a tiny bit on a toothpick and remember that colors deepen as the icing sits, so what looks pastel in the bowl might be vibrant tomorrow.
Storage and Troubleshooting
This icing keeps surprisingly well in an airtight container in the refrigerator for up to a week, though you'll need to let it come to room temperature and give it a good stir before using again. If your decorated cookies lose their crunch after a few days, place them in a 200°F oven for three minutes to recrisp without melting the icing.
- Separate layers of decorated cookies with wax paper in storage containers to prevent sticking
- If icing hardens in your piping bag, warm it gently in your hands while massaging the bag to soften
- Always test your icing technique on the backside of one cookie before decorating the rest
 Save
Save There's something deeply satisfying about pulling out a box of these cookies days later and seeing that the icing is still perfectly smooth and shiny. Sometimes the simplest recipes create the most lasting memories.
Common Recipe Questions
- → How long does the icing take to dry completely?
-
The icing needs at least 4 hours to dry completely at room temperature. For best results, let decorated cookies sit overnight in a cool, dry place before stacking or storing.
- → Can I make this icing ahead of time?
-
Yes, store leftover icing in an airtight container in the refrigerator for up to 1 week. Bring to room temperature and stir well before using. You may need to add a few drops of milk to restore the desired consistency.
- → What's the purpose of corn syrup in the icing?
-
Corn syrup creates the glossy finish and helps the icing dry smoothly without cracking. It also improves the texture, making the coating more flexible and less likely to chip once set.
- → Can I use water instead of milk?
-
Yes, water works as a substitute for milk. However, milk adds a subtle creaminess and helps the icing adhere slightly better to the cookie surface. The difference in texture is minimal.
- → How do I get the right consistency for flooding versus outlining?
-
For outlining and detailed piping, use thicker icing with the original recipe or add extra powdered sugar. For flooding backgrounds, thin the icing with additional milk ½ teaspoon at a time until it flows smoothly but holds its shape briefly.
