 Save
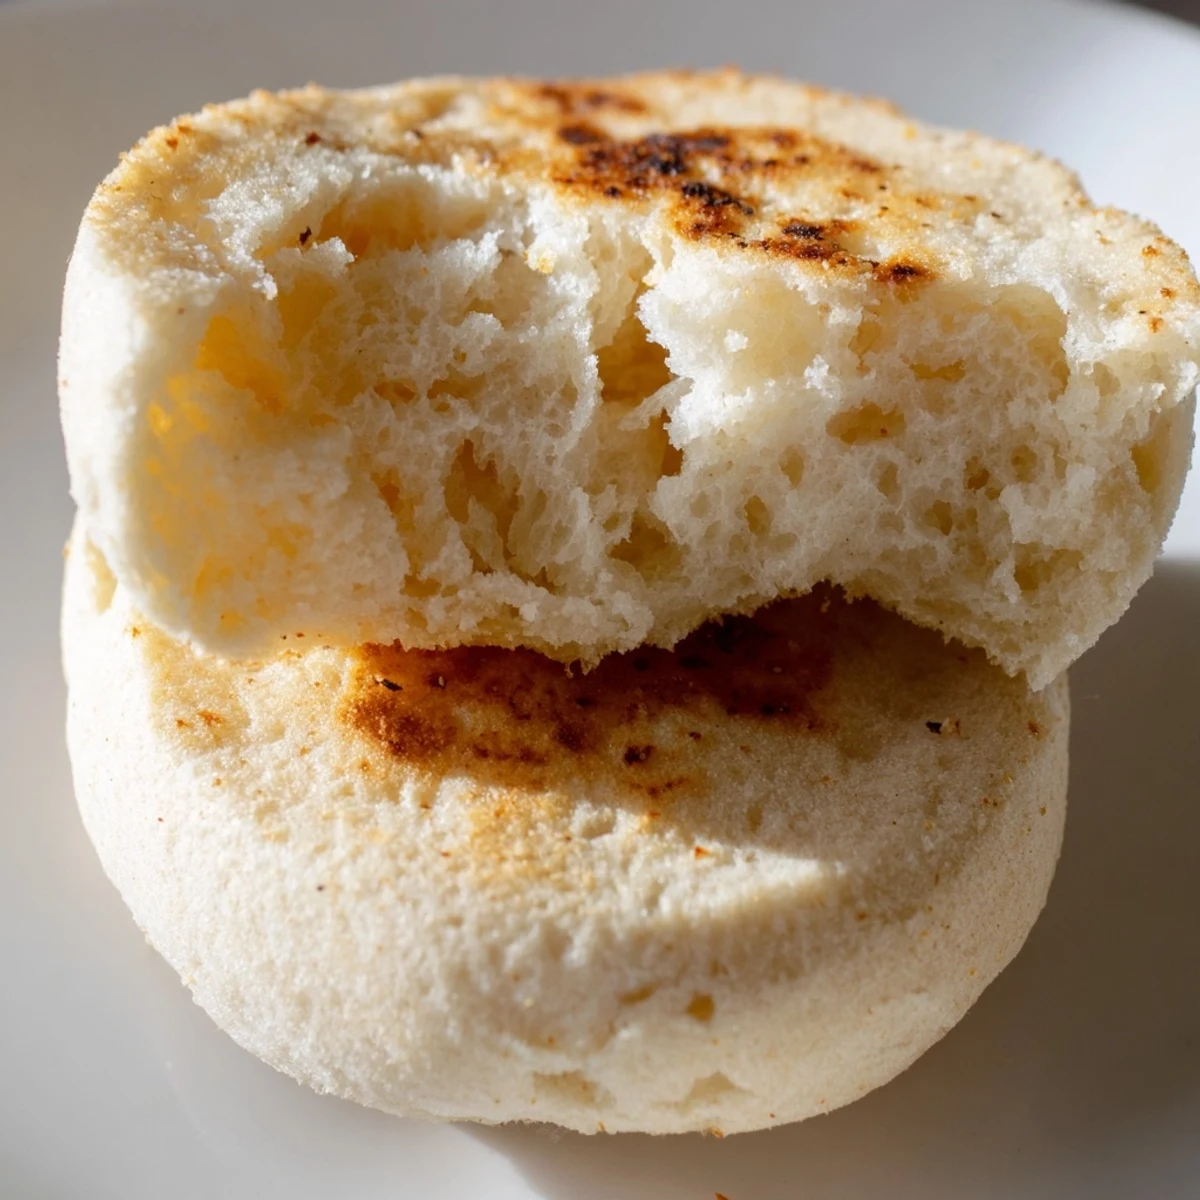
Save These classic English muffins deliver everything you love about the bakery favorite: a soft, airy interior encased in a golden-brown crust with those signature nooks and crannies that cradle melted butter and jam perfectly. The dough comes together with simple pantry staples and requires just two rising periods to achieve that distinctive texture. Cooked on a skillet or griddle, they develop a deeply golden exterior while staying tender inside. Split with a fork to preserve the craggy surface, then toast until warm and crisp. Each batch yields eight satisfying muffins that keep beautifully for days or freeze for months, making them ideal for weekend meal prep or special breakfast occasions.
My kitchen smelled like a proper British bakery that first Sunday morning I attempted these. The yeast bloomed so enthusiastically I nearly danced around the counter watching it bubble. Nothing compares to pulling that first fresh muffin apart and watching steam curl off those gorgeous nooks and crannies. Now every time I make them, my roommate lingers by the stove waiting for the first batch.
Last winter during that massive snowstorm, when we were all stuck inside for three days straight, these muffins became our savior. My sister and I took turns manning the skillet, hot chocolate bubbling on the back burner, snow piling up against the kitchen window. We ate them warm with melting butter, playing cards at the kitchen table while the house filled with that incredible fresh bread smell.
Ingredients
- Bread flour: Higher protein content than all purpose flour gives these their characteristic chew and structure
- Whole milk: Creates a tender crumb and richer flavor than water based doughs
- Active dry yeast: Make sure it is fresh and bubbly after blooming or your muffins will not rise properly
- Granulated sugar: Feeds the yeast and adds just a hint of sweetness to balance the salt
- Fine sea salt: Essential for flavor but do not add directly to the yeast mixture or it may inhibit activation
- Unsalted butter: Melted and added to the dough creates a soft velvety texture
- Cornmeal or semolina: This dusting prevents sticking and adds that classic crunchy exterior coating
Instructions
- Wake up the yeast:
- Combine the yeast and sugar in the lukewarm milk, stirring gently to dissolve, then let it sit undisturbed for 5 to 10 minutes until a thick foamy layer forms on top.
- Mix the dough:
- Whisk the flour and salt together in a large bowl, create a well in the center, pour in the frothy yeast mixture and melted butter, then stir with a wooden spoon until a rough shaggy dough comes together.
- Knead until smooth:
- Turn the dough onto a lightly floured surface and knead firmly for 8 to 10 minutes, or use a stand mixer with the dough hook for 5 to 6 minutes, until the dough feels smooth, elastic, and springs back when pressed.
- Let it rise:
- Place the dough in a lightly oiled bowl, turning once to coat all sides, cover with a clean damp towel, and let it rise in a warm draft free spot for 1 to 1.5 hours until doubled in size.
- Roll and cut:
- Punch down the risen dough, turn it onto a floured surface, roll to an even 3/4 inch thickness, and cut out rounds using a 3 inch cutter, gathering and rerolling scraps until you have 8 muffins.
- Proof the muffins:
- Dust a baking sheet with cornmeal, arrange the cut muffins with space between them, sprinkle more cornmeal on top, cover loosely, and let rest for 25 to 30 minutes until slightly puffy.
- Cook to golden perfection:
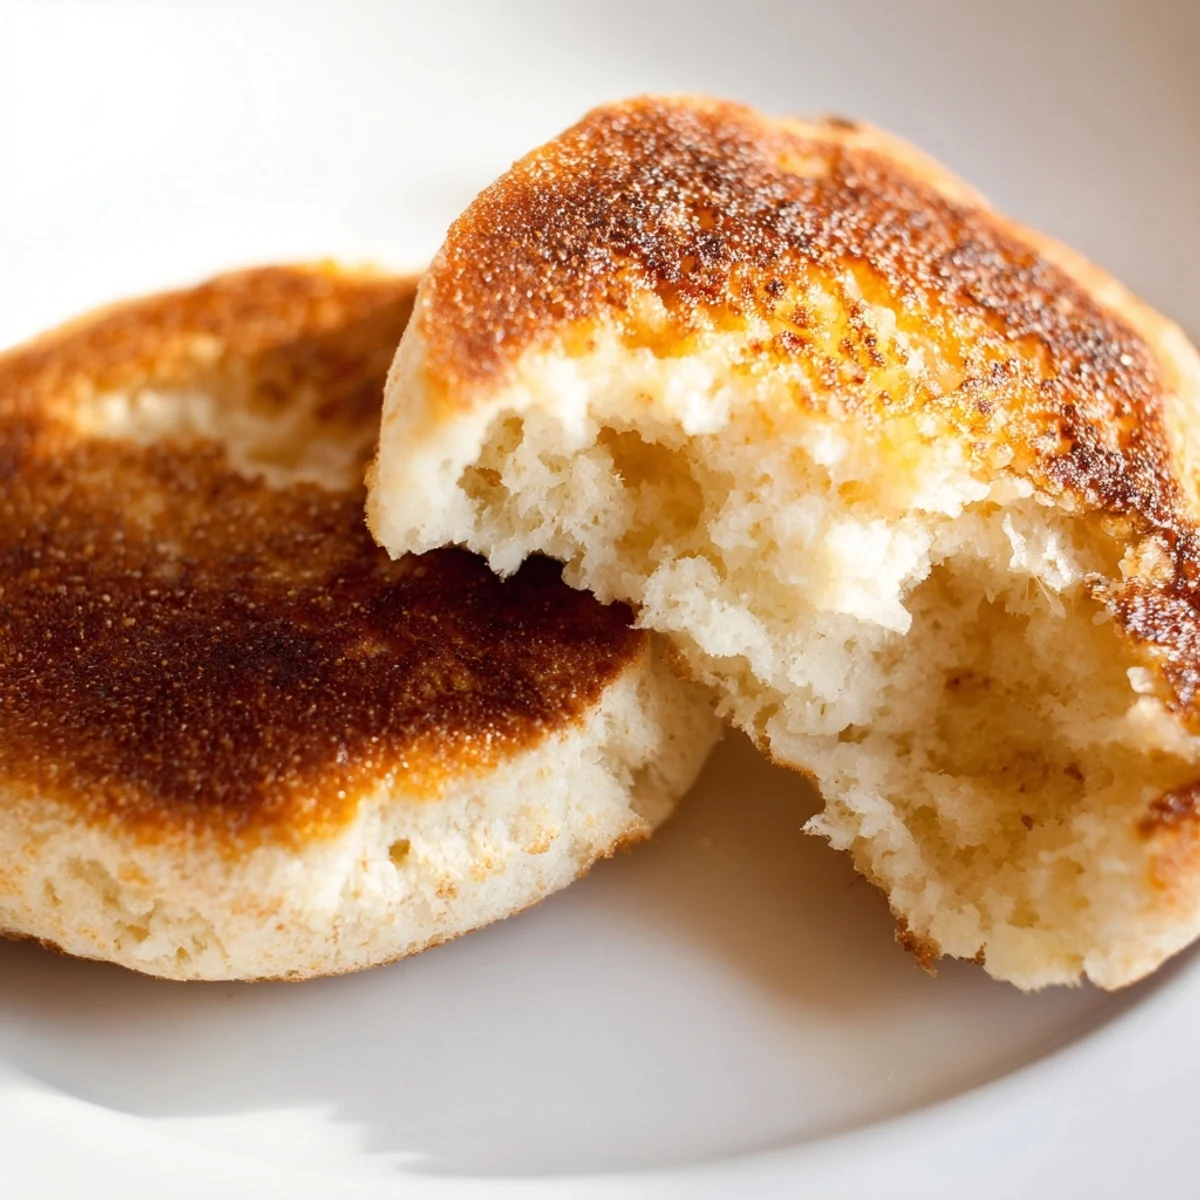
- Heat a skillet or griddle over medium low heat, lightly grease the surface, cook the muffins for 7 to 9 minutes per side until deeply golden brown and cooked through to 200F internally, adjusting heat as needed.
 Save
Save When my dad visited last spring, he watched me split a warm muffin with a fork and admitted he had been doing it wrong his entire life with a knife. We stood at the counter together, butter melting into every crevice, talking about how the simplest foods often carry the most memories. He asked me to teach him the technique, and now he texts me photos of his own batches, usually on Sunday mornings.
The Art of Skillet Bread
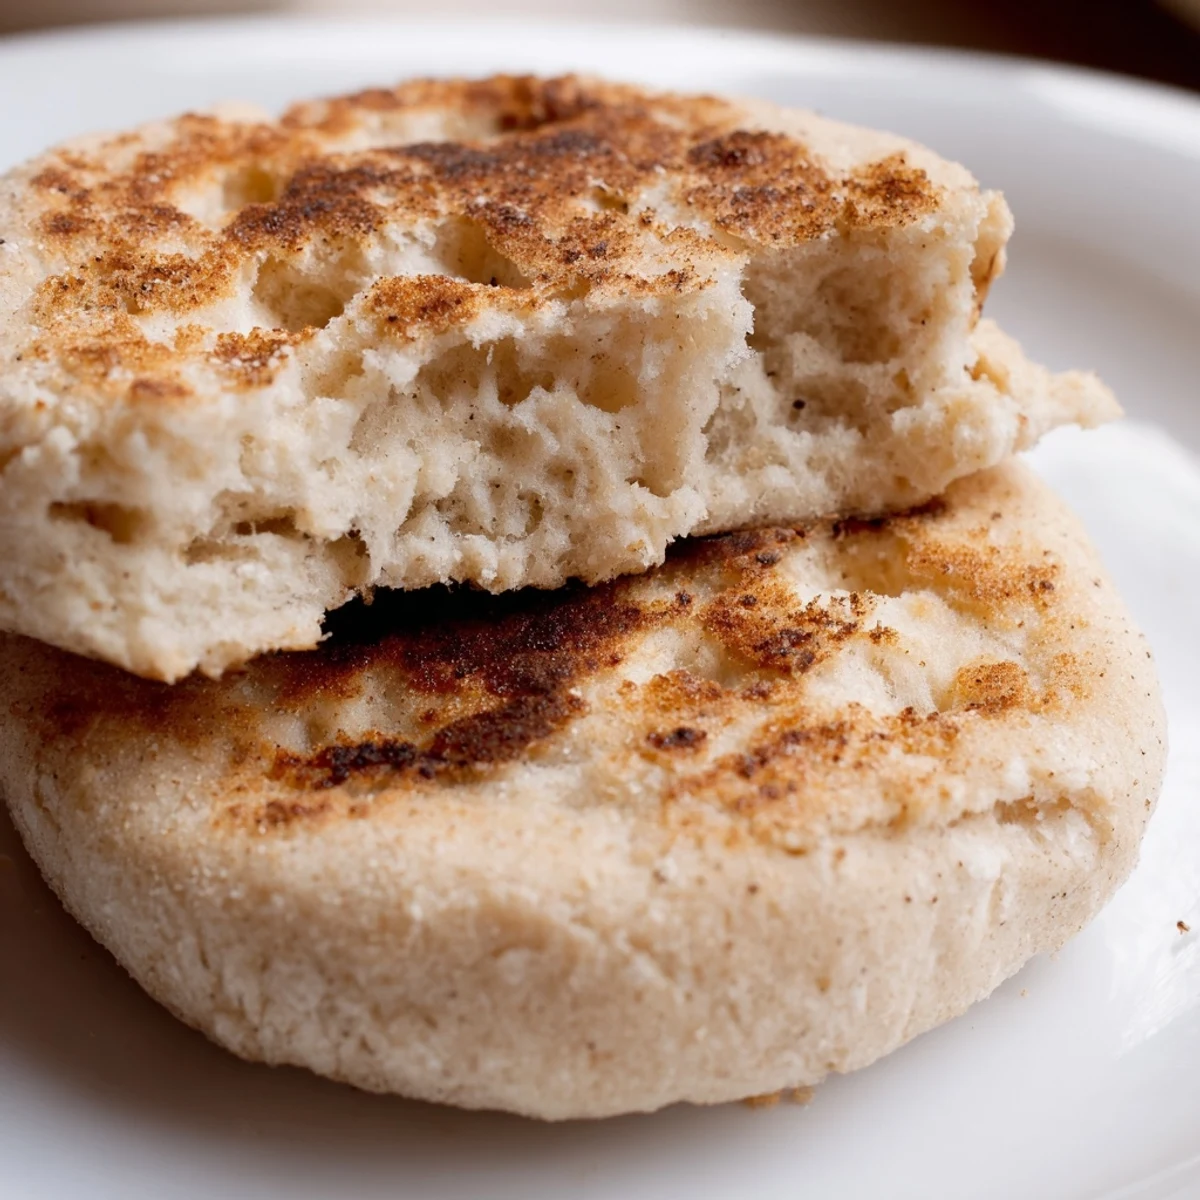
There is something deeply satisfying about baking without turning on your oven. The skillet method gives these muffins their characteristic uneven surface and creates those crispy edges that bakery versions just cannot replicate. I love how the heat wraps around each muffin, creating a crust that is simultaneously crunchy and tender.
Flavor Variations
Sometimes I fold in dried currants or a handful of chopped herbs for savory versions. A pinch of cinnamon mixed into the flour creates a lovely aromatic breakfast treat that pairs perfectly with honey butter. The dough is surprisingly forgiving and adapts well to additions.
Storage and Serving
These muffins freeze beautifully and toast up straight from the freezer like they were freshly made. I always make a double batch and keep a stash in the freezer for busy weekday mornings when something warm and comforting makes all the difference.
- Split and freeze individual halves for quick toaster access
- Store cooled muffins in a paper bag to prevent sogginess
- Refresh day old muffins by splitting and toasting before serving
 Save
Save There is nothing quite like standing in your kitchen, flipping these golden rounds, knowing that in just a few minutes you will be sitting down to something truly homemade and wonderful.
Common Recipe Questions
- → Why split English muffins with a fork instead of a knife?
-
Splitting with a fork preserves the signature nooks and crannies that make English muffins exceptional. A knife cuts through the texture smoothly, while a fork pries the halves apart, creating those rough, craggy surfaces that crisp up beautifully when toasted and hold onto butter and jam perfectly.
- → Can I make these without a stand mixer?
-
Absolutely. Knead by hand on a floured surface for 8-10 minutes until the dough becomes smooth and elastic. The process is quite therapeutic and you'll know the dough is ready when it springs back when pressed lightly with your finger.
- → Why cook on low-medium heat instead of high?
-
English muffins are thick enough that high heat would burn the exterior before the interior cooks through. Low-medium heat allows the muffins to cook evenly, developing that deep golden crust while ensuring the inside reaches the proper temperature and cooks completely.
- → What's the purpose of cornmeal or semolina dusting?
-
The cornmeal or semolina prevents the muffins from sticking to the baking sheet during proofing and adds a delightful texture and authentic appearance to the finished muffins. It creates that professional bakery-style finish and contributes a subtle crunch.
- → How do I know when the muffins are fully cooked?
-
Look for a deep golden-brown color on both sides and listen for a hollow sound when you tap the top. For precision, use an instant-read thermometer inserted into the center—it should read 200°F (93°C). The muffins should feel firm and spring back when pressed.
- → Can I refrigerate the dough overnight?
-
Yes, after the first rise, punch down the dough and refrigerate it in a covered bowl for up to 12 hours. Let it come to room temperature for about 30 minutes before rolling and cutting. This actually develops flavor and can make the dough easier to work with.
