 Save
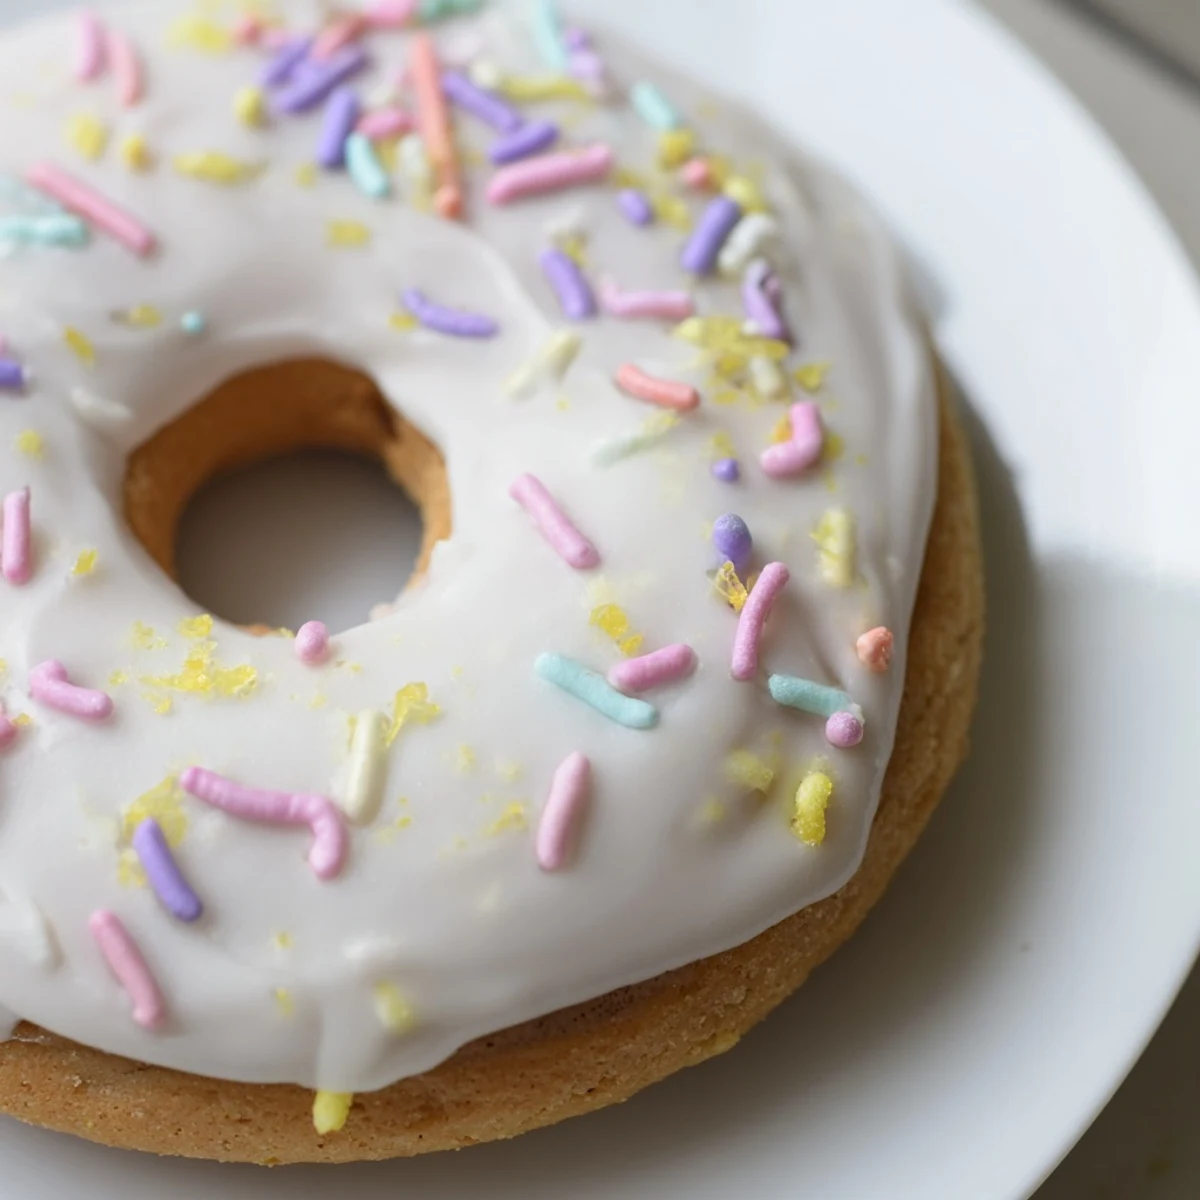
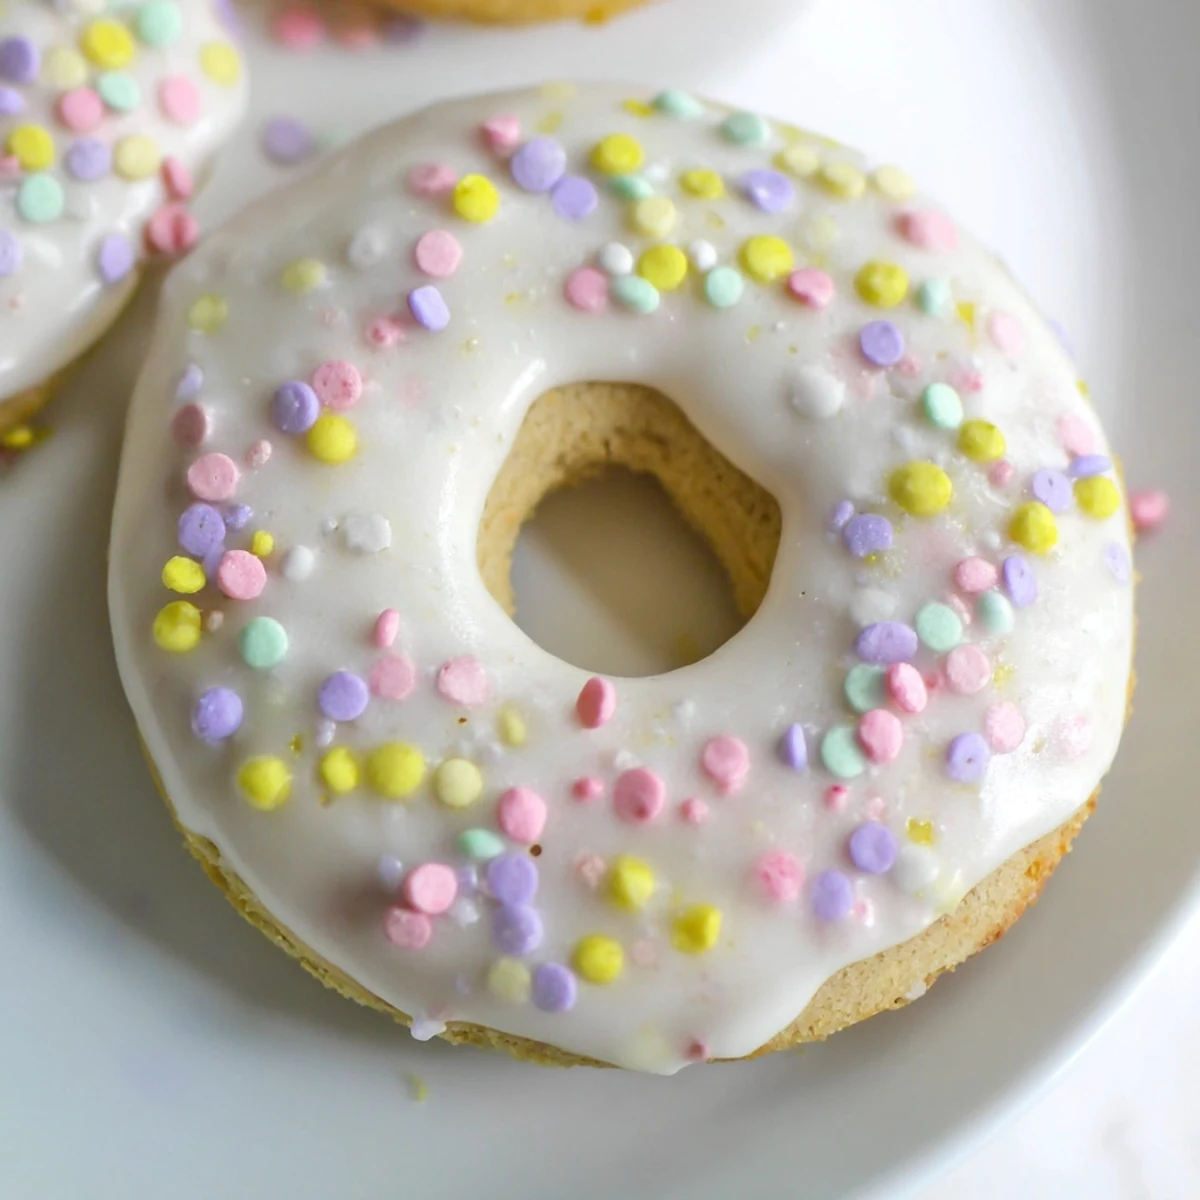
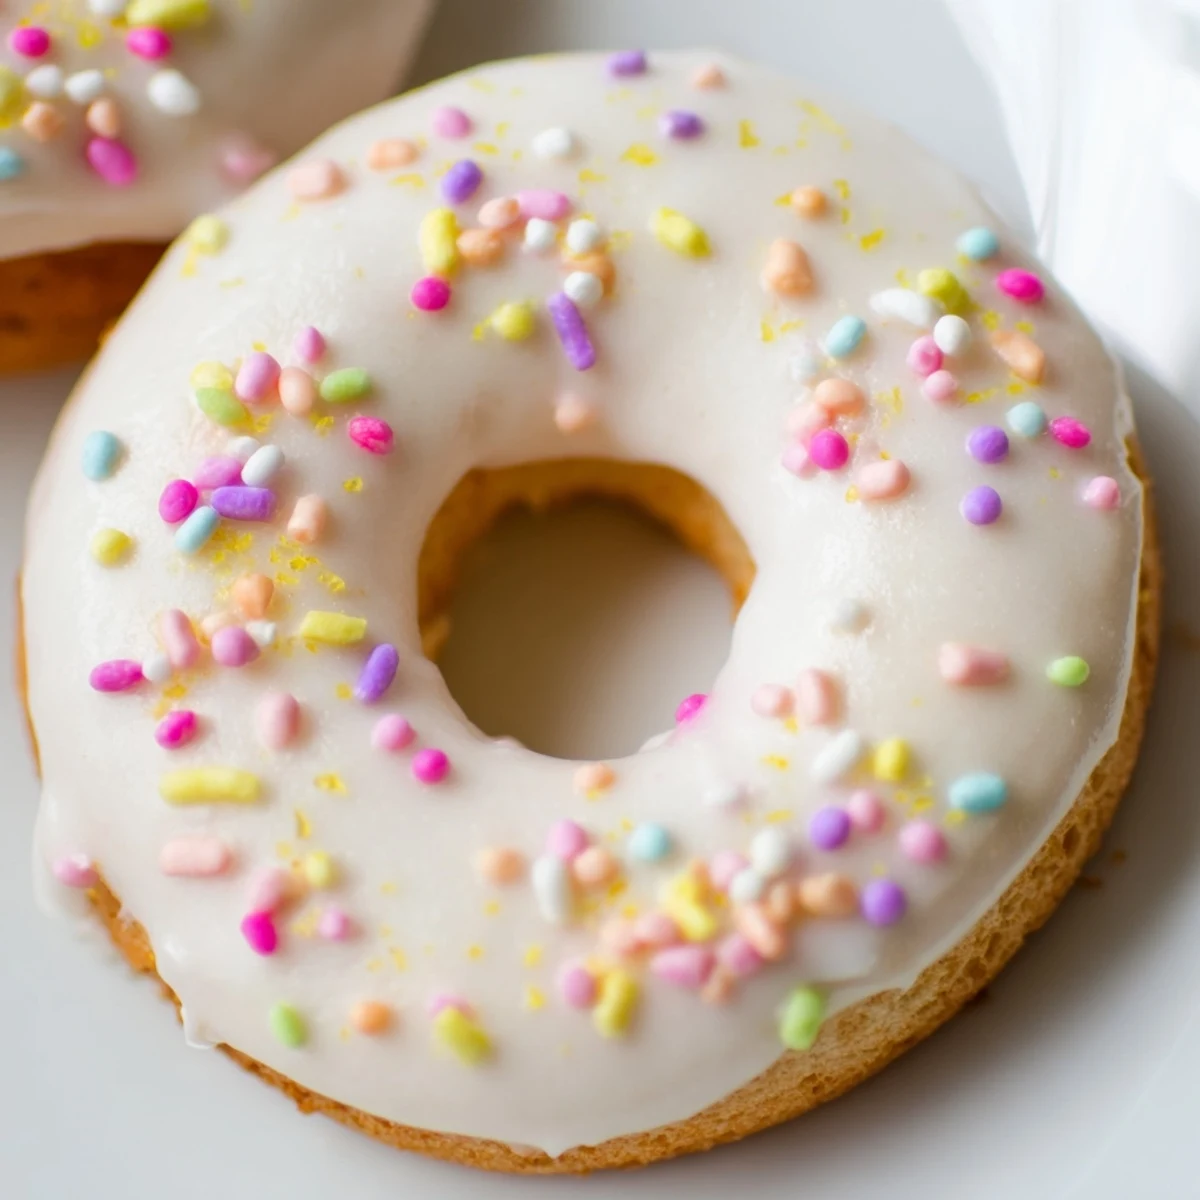
Save These classic Italian treats feature a soft, tender dough infused with fresh lemon zest and vanilla. The ring-shaped cookies bake to golden perfection in just 15 minutes, then are dipped in a sweet vanilla glaze and topped with cheerful pastel sprinkles. Perfect for Easter gatherings or spring celebrations, these vegetarian treats store beautifully for up to five days and can be customized with orange zest instead of lemon for a citrus twist.
My nonna would start making these cookies the moment Lent ended, her kitchen suddenly smelling like butter and lemon instead of the somber soups of the weeks before. She insisted Easter cookies should be soft enough that grandchildren could eat them without waking the whole house, but sweet enough to feel like a celebration. The pastel sprinkles were non-negotiable, and I still find myself reaching for the brightest colors even when no one is watching.
Last year I made three batches because my neighbor tasted one and immediately requested two dozen for her family gathering. Watching her kids carefully choose which color sprinkles to use on their special cookie brought back every Easter morning Ive ever spent around a flour-dusted table.
Ingredients
- All-purpose flour: Provides the structure for these soft cookies, and I have found that measuring by weight gives the most consistent results
- Baking powder: This small amount creates just enough lift without making the cookies cakey or dry
- Salt: Even a quarter teaspoon enhances the vanilla and lemon flavors
- Unsalted butter: Softened to room temperature so it creams properly with the sugar, creating that tender texture
- Granulated sugar: Sweetens the dough while creaming creates air pockets for softness
- Eggs: Room temperature eggs incorporate better and help bind the dough together
- Vanilla extract: Pure vanilla makes a noticeable difference in the final flavor
- Lemon zest: Freshly grated lemon peel adds brightness without making the dough too tart
- Milk: Just enough to bring the dough together without making it sticky
- Powdered sugar: Creates the smooth, white icing that sets perfectly on top
- Colored sprinkles: Nonpareils work best because they stick beautifully to the wet icing
Instructions
- Preheat and prepare:
- Set your oven to 350°F and line two baking sheets with parchment paper, which prevents sticking and makes cleanup effortless
- Combine the dry ingredients:
- Whisk the flour, baking powder, and salt in a medium bowl until everything is evenly distributed
- Cream the butter and sugar:
- Beat the softened butter and sugar until the mixture turns pale and fluffy, about 3 minutes
- Add the eggs and flavorings:
- Add eggs one at a time, making sure each is fully incorporated before adding the next, then mix in vanilla and lemon zest
- Bring the dough together:
- Gradually add the dry ingredients alternating with milk, mixing just until a soft dough forms
- Shape the cookies:
- Roll tablespoon-sized pieces into 4-inch logs, shape into rings, and pinch the ends to seal
- Bake until golden:
- Place rings 2 inches apart on prepared sheets and bake 12 to 15 minutes until bottoms are lightly golden
- Make the icing:
- Whisk powdered sugar with 2 tablespoons milk and vanilla until smooth, adding more milk if needed
- Dip and decorate:
- Dip cooled cookies into icing and immediately top with sprinkles before the icing sets
 Save
Save These have become my go-to for spring gatherings because they transport so well and always disappear first from the platter. Something about those cheerful colors makes people smile before they even take a bite.
Making Them Ahead
The dough actually develops better flavor if you refrigerate it overnight, so do not hesitate to prepare it the day before you plan to bake. The baked cookies also freeze beautifully without icing for up to a month.
Getting the Shape Right
If the dough feels sticky while shaping, lightly flour your hands and work quickly. The logs should be evenly thick so they bake uniformly, and pinching the seals firmly prevents them from opening in the oven.
Perfect Icing Every Time
Let the cookies cool completely before icing, or the glaze will slide right off. Work with one cookie at a time and have your sprinkles ready within arms reach.
- Set up a cooling rack with wax paper underneath to catch drips
- Hold each cookie by the edges when dipping to avoid fingerprints
- Let iced cookies set for at least an hour before stacking them
 Save
Save Every batch I make brings back a little piece of those Easter mornings in nonnas kitchen, and I hope they become part of your spring traditions too.
Common Recipe Questions
- → Why are Italian Easter cookies shaped like rings?
-
The traditional ring shape symbolizes eternity and the cycle of life, making these treats especially meaningful during Easter celebrations. The shape also helps them bake evenly and creates a perfect canvas for the sweet glaze topping.
- → Can I make the dough ahead of time?
-
Yes, the dough can be prepared up to 24 hours in advance and stored tightly wrapped in the refrigerator. Let it come to room temperature for about 15 minutes before shaping and baking for best results.
- → What's the best way to get smooth icing?
-
Whisk the powdered sugar, milk, and vanilla extract thoroughly until no lumps remain. The consistency should be thick enough to coat the spoon but thin enough to dip cookies easily. Add milk one tablespoon at a time to reach the perfect texture.
- → Can I freeze these baked treats?
-
Bake and cool completely before freezing. Store unfrosted cookies in an airtight container with parchment paper between layers for up to 3 months. Thaw at room temperature and add fresh icing and sprinkles before serving.
- → Why do my cookies spread too much?
-
Overly warm dough or butter that's too soft can cause excessive spreading. Chill the shaped rings for 10-15 minutes before baking if your kitchen is warm. Also, ensure you're measuring flour correctly by spooning it into the measuring cup rather than scooping directly.
- → How do I know when they're done baking?
-
The cookies should have lightly golden bottoms while the tops remain pale. They will still feel soft to the touch but will firm up as they cool. Avoid overbaking, as this results in dry treats rather than the desired soft texture.
