
 Save
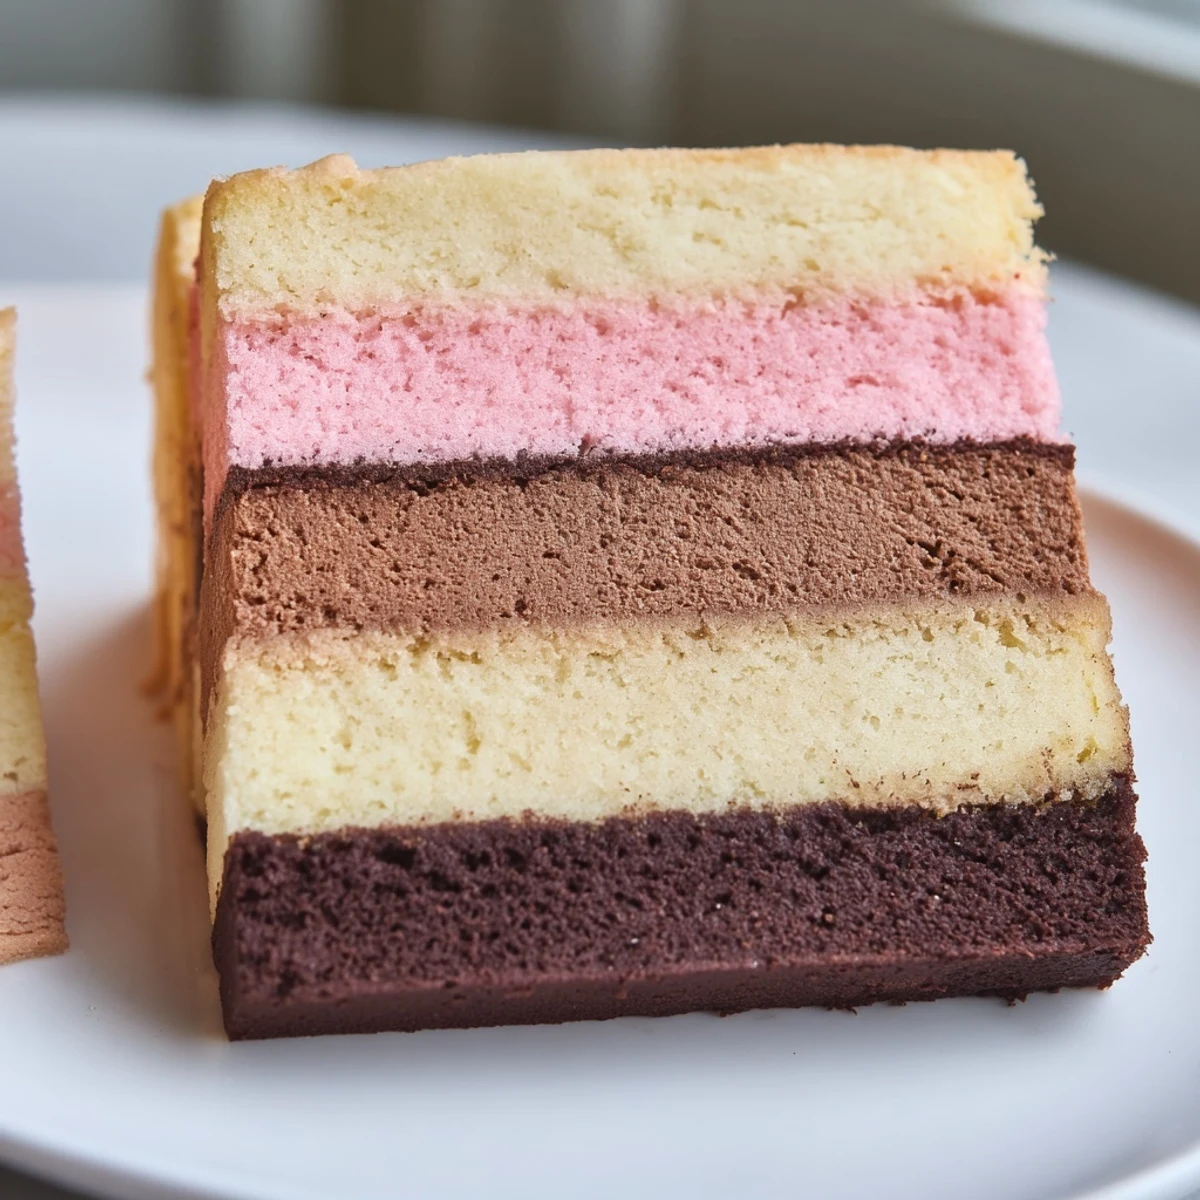
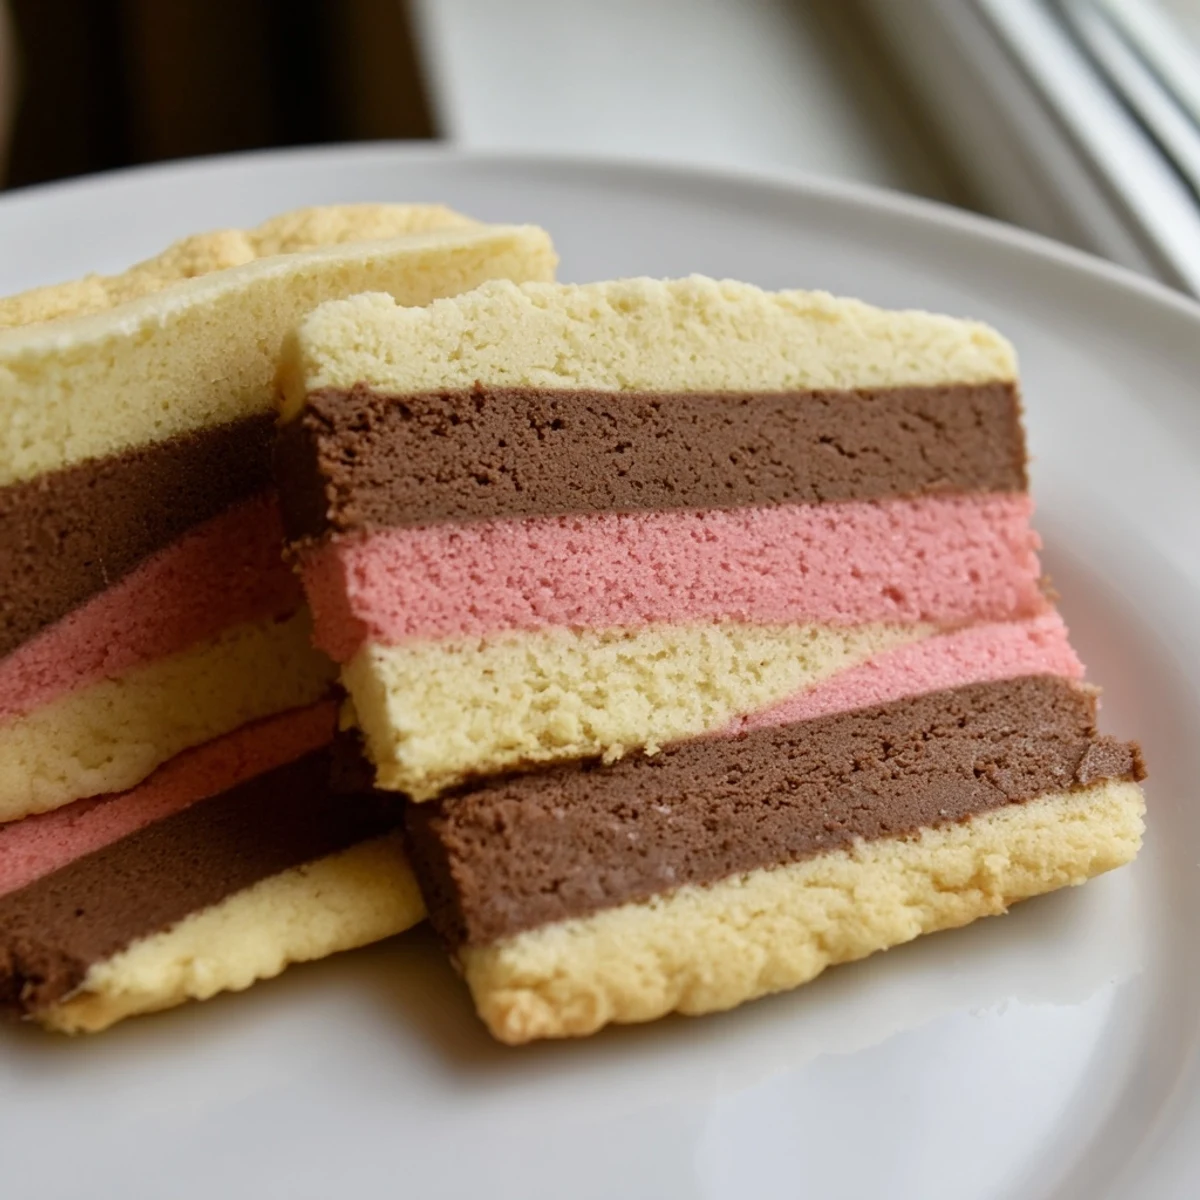
Save Neapolitan Cookies bring together three classic flavors—rich chocolate, smooth vanilla, and sweet strawberry—in one beautifully layered butter cookie. Inspired by the iconic ice cream trio, each cookie reveals a colorful cross-section that makes them as eye-catching as they are delicious.
The dough is divided into three portions, each flavored and tinted separately, then stacked and chilled until firm. A simple slice-and-bake method yields perfectly uniform cookies every time. They're ideal for holiday cookie trays, bake sales, or anytime you want a treat that stands out on the dessert table.
The ice cream truck that parked outside my apartment every summer Sunday never had Neapolitan, but my neighbor did, always sliced in those perfect tricolor slabs. One rainy afternoon I got it into my head that those same three flavors belonged in a cookie, and after a weekend of flour covered countertops and a very patient taste testing friend, Neapolitan Cookies became the most requested thing in my baking rotation. They look impressive sliced, each one a tiny edible postcard, but the dough itself is forgiving and endlessly adaptable.
I brought a tin of these to a potluck last winter and watched a quiet coworker eat four of them standing by the punch table without coming up for air. She later told me the strawberry layer reminded her of a birthday cake her grandmother used to make, and that small confession made the whole batch worth it.
Ingredients
- All-purpose flour (2 and a half cups, 315 g): Forms the sturdy, tender backbone of every layer, so measure by spooning into the cup and leveling off.
- Baking powder (1 tsp): Gives just enough lift without puffing the cookies into blobs that blur the clean lines.
- Salt (half tsp): Balances the sugar and wakes up all three flavors, especially the chocolate.
- Unsalted butter, softened (1 cup, 225 g): Room temperature butter creams smoothly and traps air for a lighter cookie, so pull it out an hour ahead.
- Granulated sugar (1 and a quarter cups, 250 g): Sweetens evenly and helps the edges crisp to that perfect pale gold.
- Large eggs (2): Bind the dough together and add richness that keeps each slice tender.
- Pure vanilla extract (2 tsp): The soul of the vanilla layer and a quiet enhancer running through all three.
- Freeze-dried strawberry powder (1 tbsp): Delivers concentrated berry flavor and a blush of pink without adding moisture that would wreck the texture.
- Unsweetened cocoa powder (2 tbsp): Deepens the chocolate layer with a grown up bitterness that balances the sweeter vanilla and strawberry bands.
- Milk (1 tsp): Just enough to hydrate the cocoa powder so it blends seamlessly into the dough.
Instructions
- Whisk the dry ingredients together:
- In a medium bowl, combine the flour, baking powder, and salt with a whisk until evenly distributed. Set this aside so it is ready when the wet mixture calls for it.
- Cream butter and sugar:
- Beat the softened butter and sugar in a large bowl with an electric mixer until the mixture turns pale and fluffy, roughly two minutes. Scrape down the sides once so nothing hides from the beaters.
- Add eggs and vanilla:
- Drop in one egg at a time, beating after each until fully incorporated, then pour in the vanilla extract and mix until fragrant. The batter should look smooth and glossy.
- Bring the dough together:
- Gradually add the flour mixture to the wet ingredients, mixing on low speed until the last streak of white just disappears. Overmixing will make the cookies tough, so stop the moment everything looks uniform.
- Split into three portions:
- Divide the dough into three roughly equal balls using a kitchen scale for precision or your best eyeball judgment. Each portion will become its own flavor layer.
- Make the strawberry layer:
- Knead the freeze-dried strawberry powder into one portion until the color streaks through evenly and the dough smells like summer berries. If using extract and food coloring instead, add them a drop at a time.
- Make the chocolate layer:
- Mix the cocoa powder and milk into a second portion, working it until the dough turns a deep, even brown with no pale pockets left. It should feel slightly softer than the others, which is perfectly normal.
- Leave the final third plain:
- This vanilla layer stays exactly as it is, buttery and fragrant on its own. Give it a quick knead so it matches the texture of the flavored portions.
- Shape into rectangles:
- On parchment paper or plastic wrap, press each portion into a flat rectangle about eight by four inches. Try to keep the thickness even so the final slice looks balanced.
- Stack and press the layers:
- Lay chocolate on the bottom, vanilla in the middle, and strawberry on top, pressing gently so they adhere without squishing the stack. Wrap the whole block tightly.
- Chill until firm:
- Refrigerate the wrapped dough for at least forty five minutes, or until a gentle finger press leaves no dent. This resting time is what makes clean slicing possible.
- Preheat and prepare pans:
- Heat the oven to 350 degrees Fahrenheit and line your baking sheets with fresh parchment paper. Give the oven a full ten minutes to reach temperature before the first batch goes in.
- Slice and arrange:
- Using a sharp knife, cut the dough crosswise into quarter inch slices and lay them one inch apart on the prepared sheets. Rotate the knife blade gently for the cleanest cut.
- Bake until just golden:
- Slide the sheets into the oven for ten to twelve minutes, watching for the faintest golden edge. The centers will look slightly underdone, which keeps them soft after cooling.
- Cool properly:
- Let the cookies rest on the hot sheet for five minutes, then transfer them gently to a wire rack to finish cooling completely.
 Save
Save The moment someone picks up one of these cookies and turns it over to study the layers, you know the recipe has done its job. They are tiny edible conversations.
Storing and Freezing
Keep baked cookies in an airtight container at room temperature and they stay tender for up to a week. You can also freeze the assembled dough log, tightly wrapped, for three months, then slice and bake straight from frozen, adding one extra minute to the bake time.
Flavor Variations
Raspberry powder swaps in beautifully for the strawberry layer, and a spoonful of citrus zest stirred into the vanilla portion adds a brightness that surprises people. A friend of mine rolls the outer edges in rainbow sprinkles before chilling, which turns the slice and bake cookies into something festive enough for a birthday table.
Serving Suggestions and Final Thoughts
These cookies pair wonderfully with a cup of black tea or a cold glass of milk, and they hold their shape well on a dessert platter beside brownies and bars. For an extra indulgent touch, dip half of each cooled cookie in melted dark chocolate and let it set on parchment.
- Always use a sharp nonserrated knife for the cleanest slices.
- Label your dough log with the date if freezing so nothing gets lost in the back of the freezer.
- Remember that the cookies firm up as they cool, so pull them from the oven while the centers still look soft.
 Save
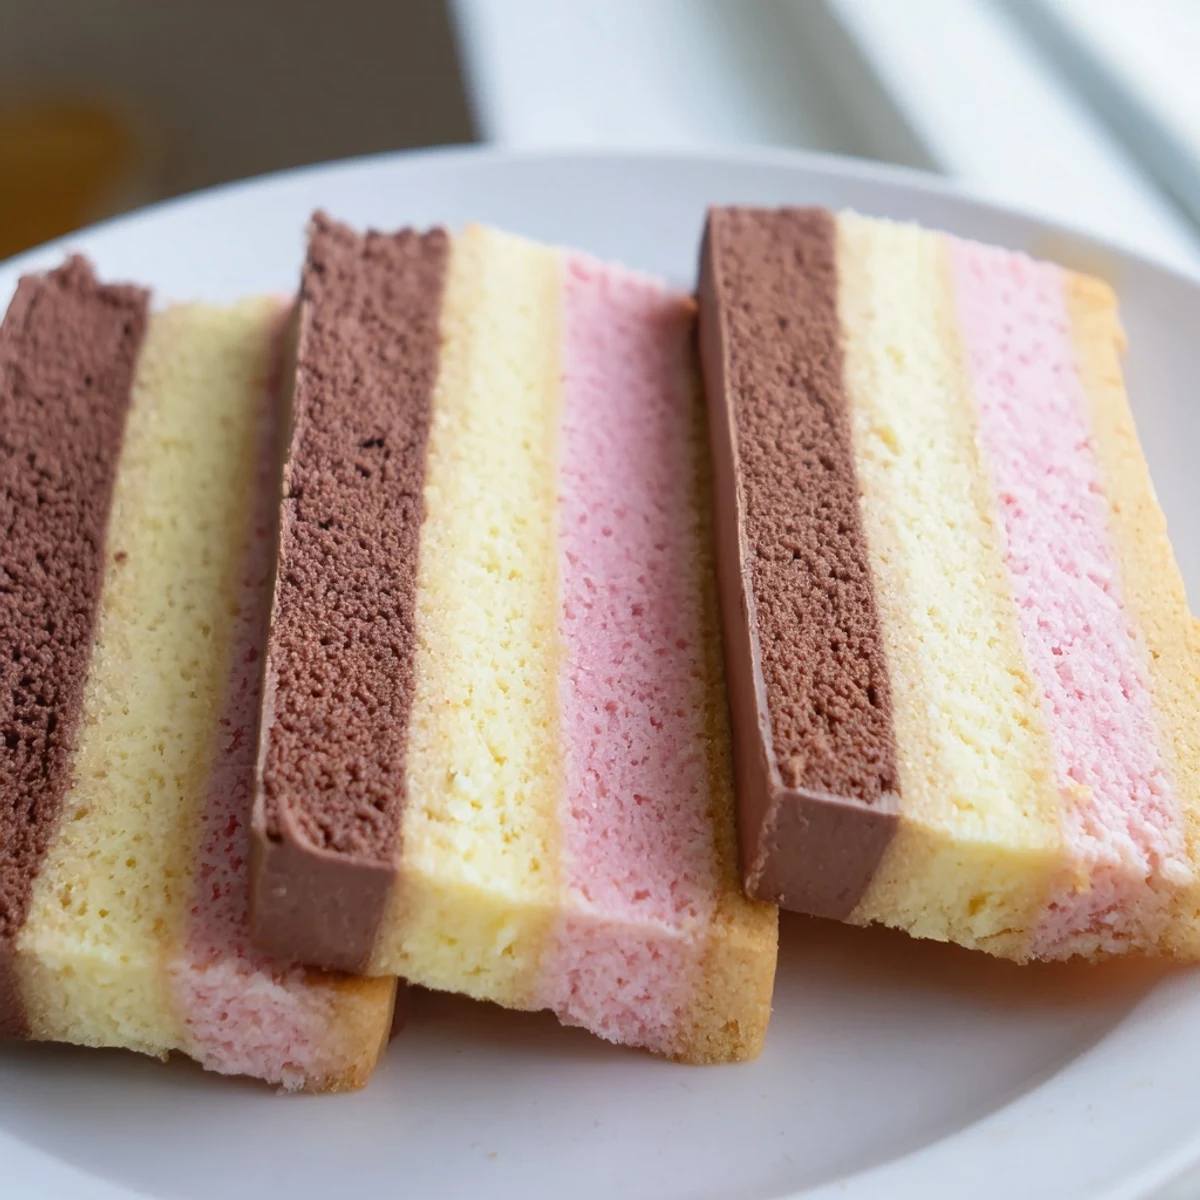
Save Every batch feels a little like magic, three humble doughs becoming something striped and cheerful and impossible to resist. Share them generously, and maybe keep a few hidden for yourself.
Common Recipe Questions
- → Can I make Neapolitan Cookies without freeze-dried strawberry powder?
-
Yes, you can substitute with 2 drops of pink or red food coloring along with ½ teaspoon of strawberry extract. Alternatively, raspberry powder works well, or you can add a splash of citrus zest for a different fruity note.
- → Why do the cookies need to chill before slicing?
-
Chilling firms up the layered dough so it holds its shape when sliced. Without at least 45 minutes in the fridge, the layers will spread and blend together during baking, losing the distinct tri-color look.
- → How should I store leftover Neapolitan Cookies?
-
Store cooled cookies in an airtight container at room temperature for up to one week. You can also freeze them in a sealed container or freezer bag for up to three months—just thaw at room temperature before serving.
- → Can I dip these cookies in chocolate?
-
Absolutely. Dipping cooled cookies in melted chocolate adds an extra layer of indulgence. Semi-sweet or dark chocolate pairs especially well with the strawberry and vanilla layers. Let the chocolate set completely on parchment paper before storing.
- → What's the best way to get clean, even slices?
-
Use a sharp knife and cut crosswise in a single, confident motion—avoid sawing back and forth. If the dough feels too firm straight from the fridge, let it sit at room temperature for about 5 minutes before slicing. A ruler helps keep slices consistent at ¼ inch thick.
- → Can I prepare the dough in advance?
-
Yes, the assembled and wrapped dough log can be refrigerated for up to 2 days before slicing and baking. You can also freeze the unbaked log for up to a month. Thaw overnight in the fridge before proceeding with slicing and baking.