
 Save
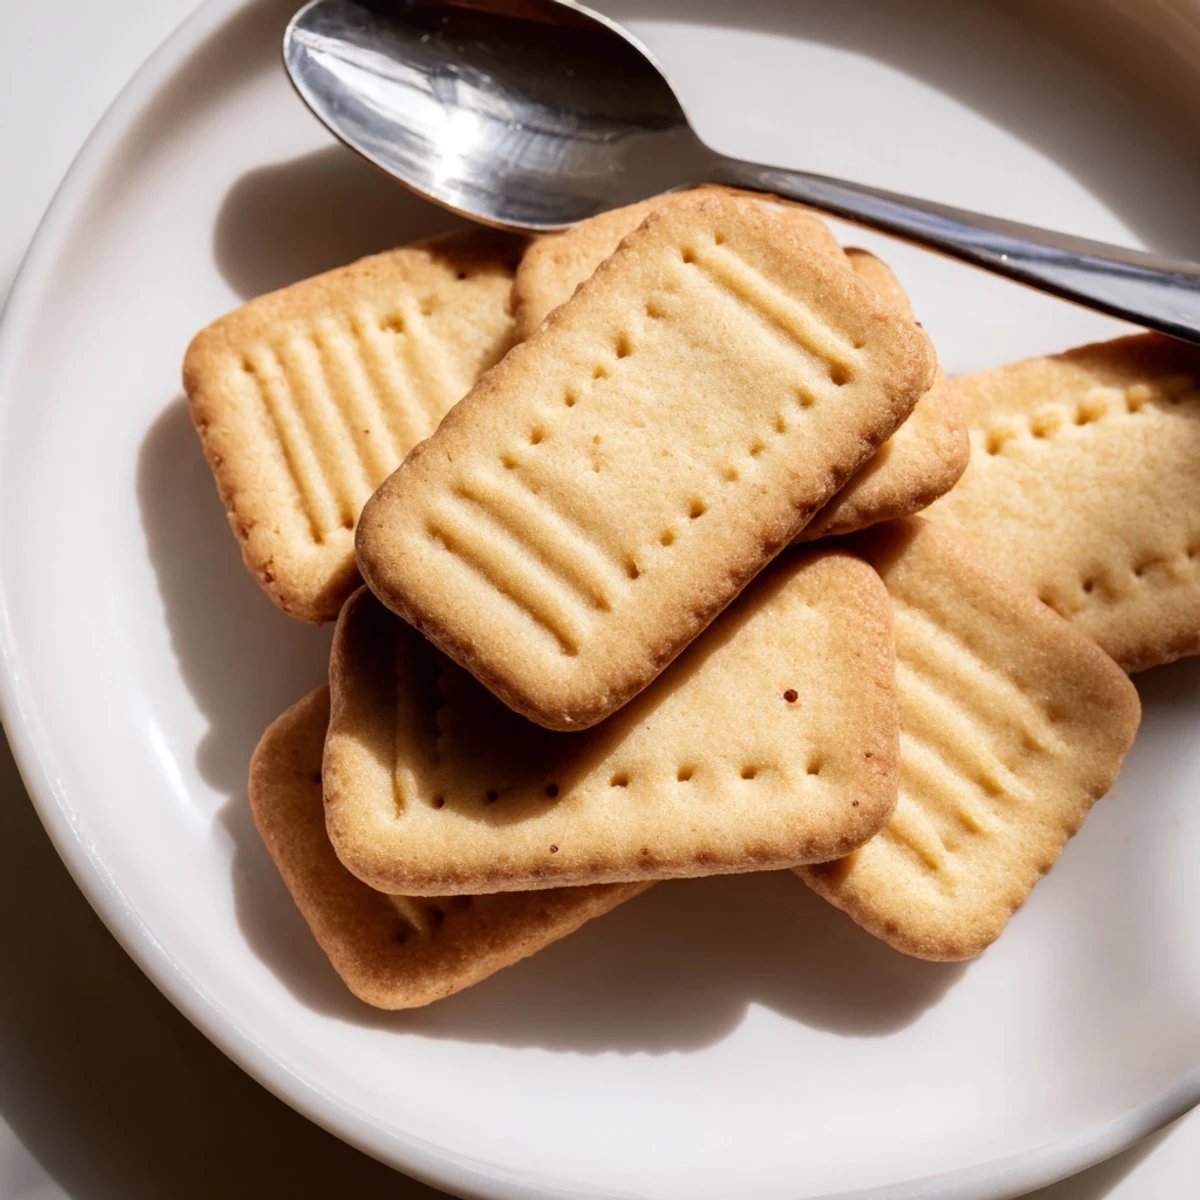
Save Le petit beurre est un grand classique de la biscuiterie française, reconnaissable à sa forme rectangulaire cannelée et ses trous caractéristiques piqués à la fourchette.
Préparé avec des ingrédients simples — farine, beurre doux, sucre et une touche de vanille — ce biscuit offre une texture croustillante et fondante à la fois.
La pâte, facile à travailler, repose une heure au réfrigérateur avant d'être détaillée et enfournée. Environ 40 biscuits dorés sont prêts en un instant pour accompagner vos pauses goûter.
The afternoon my neighbor Madame Rochambeau loaned me her worn copper biscuit cutter, she warned me that Petit Beurre would ruin every store-bought cookie I ever tasted again, and she was absolutely right. The smell of browning butter and vanilla drifting through my tiny kitchen that first batch felt like being handed a passport to some quiet corner of Normandy. These golden, crisp rectangles with their signature fork pricks are deceptively simple, and that simplicity is exactly the point. Two hours from start to finish, and you will have roughly forty little reasons to put the kettle on.
I baked a tin of these for a road trip with friends, and somewhere between toll booths and terrible radio, the whole box disappeared before we even crossed the state line. Someone in the back seat said they tasted like a hug from a French grandmother, and honestly I cannot think of a better compliment than that.
Ingredients
- 200 g all-purpose flour: Regular flour works beautifully here, just sift it to keep the texture light and tender rather than dense.
- 100 g granulated sugar: Not too sweet, which is the whole philosophy of French baking, so measure carefully and resist the urge to add more.
- 100 g unsalted butter: Good butter makes all the difference here since there are so few ingredients, so reach for the best quality you can find.
- 50 ml whole milk: Whole milk gives richness that skim simply cannot replicate in this delicate dough.
- 5 g baking powder (half a packet): Just enough lift to keep the biscuits from becoming bricks without making them cakey.
- 1 pinch of salt: This tiny amount sharpens every other flavor and prevents the cookies from tasting flat.
- 1 vanilla bean (or 1 packet vanilla sugar): Scraping a real bean into the warm butter mixture fills your entire kitchen with the most incredible fragrance, but vanilla sugar is a perfectly respectable shortcut.
Instructions
- Melt and combine the wet ingredients:
- Gently warm the butter with the milk in a saucepan over low heat until the butter is just melted, then stir in the sugar and vanilla until everything dissolves into a smooth, fragrant liquid. Take it off the heat before it simmers, because you want warmth, not a cooking temperature.
- Cool the mixture slightly:
- Let the liquid cool until you can comfortably hold your finger in it, then pour it into a large mixing bowl. Rushing this step can cook the flour later, which tastes exactly as unpleasant as it sounds.
- Bring the dough together:
- Add the flour, baking powder, and salt all at once and stir with a wooden spoon until the mixture transforms from a shaggy mess into a smooth, cohesive ball of dough. It happens suddenly, and it is deeply satisfying.
- Rest the dough in the refrigerator:
- Wrap the dough ball tightly in plastic film and tuck it into the fridge for one full hour so the butter firms up and the gluten relaxes, making the dough infinitely easier to roll. Skip this and you will be wrestling sticky, stubborn dough that tears and stretches.
- Preheat the oven:
- Set your oven to 180 degrees Celsius on conventional static heat and let it come fully to temperature while you roll, because a properly hot oven is what gives these biscuits their even golden color.
- Roll and cut the biscuits:
- On a lightly floured surface, roll the chilled dough to an even 3 to 4 millimeter thickness, then cut out rectangles with a fluted cutter, pressing firmly and wiggling slightly for clean edges. Gather scraps, reroll once, and cut again until the dough is used up.
- Prepare for baking:
- Arrange the cut biscuits on a baking sheet lined with parchment paper, leaving a small gap between each one, then prick every biscuit a few times with a fork in the classic pattern. Those little holes are not just decorative, they help the biscuits bake evenly and stay flat.
- Bake until golden:
- Slide the tray into the oven and bake for 12 minutes, watching for the moment the edges turn a warm toasty gold while the centers remain pale. Every oven is different, so start checking at the 10 minute mark.
- Cool completely on a wire rack:
- Transfer the biscuits to a wire rack as soon as they come out so air circulates underneath and keeps them crisp on all sides. Warm from the oven they are fragile and will bend, but once cool they snap perfectly.
 Save
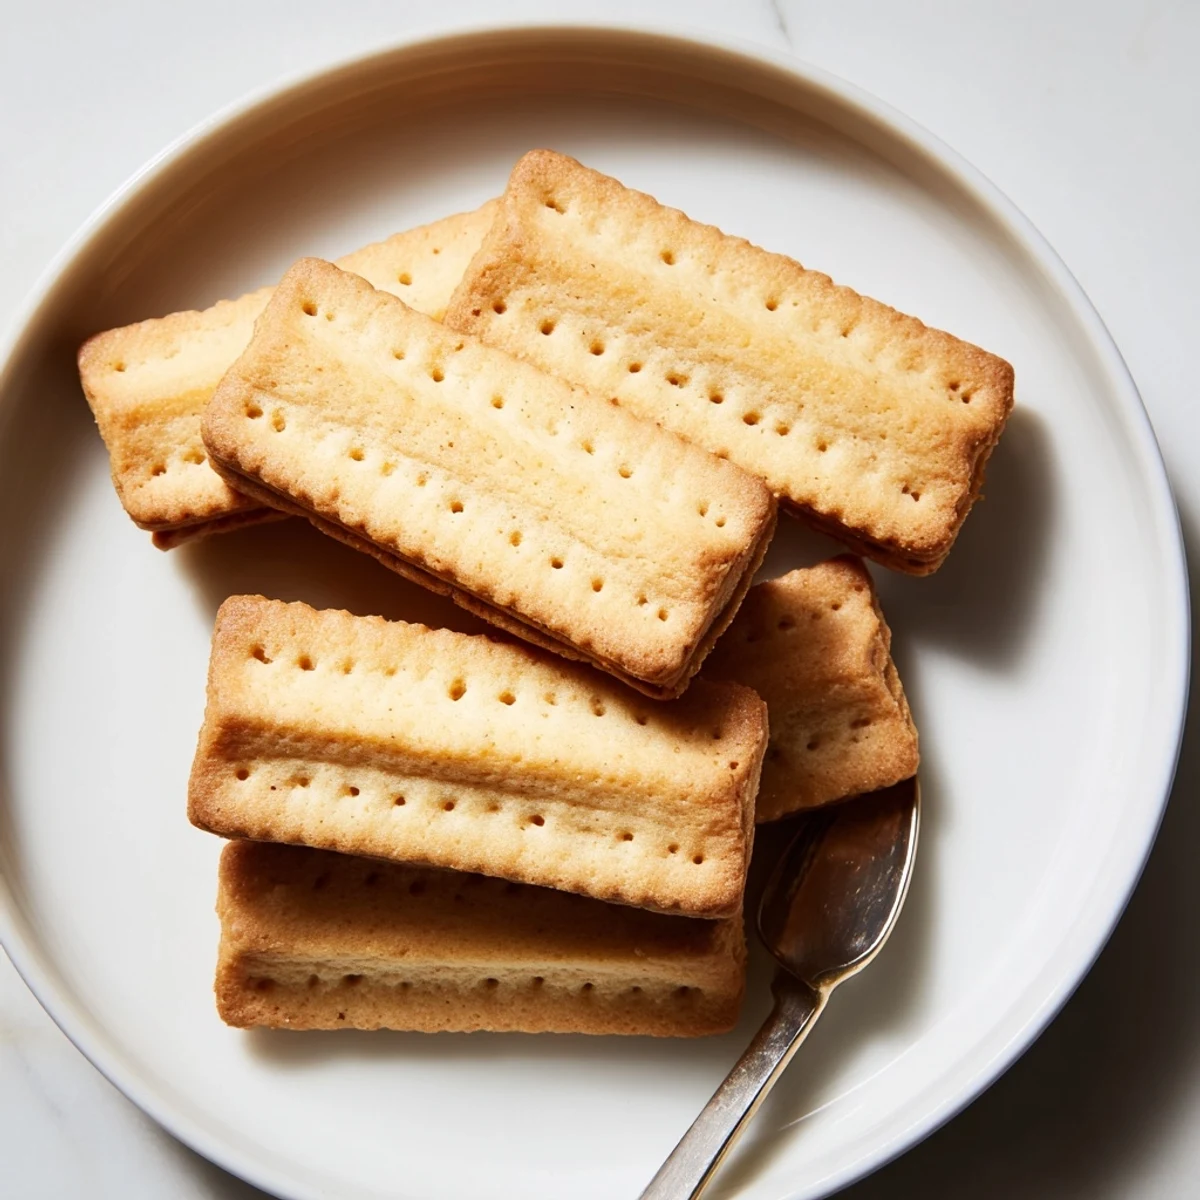
Save The tin I keep them in used to hold sewing supplies from a yard sale, and now every time I lift the lid, the scent of butter and vanilla still catches me off guard in the best way. Some foods are just containers for memory, and these little biscuits hold more than their weight.
Variations Worth Trying
A tablespoon of lemon zest rubbed into the sugar before mixing adds a brightness that makes these feel almost like springtime on a plate. My favorite trick is melting dark chocolate and dipping one half of each cooled biscuit, then setting them on parchment until the chocolate sets into a glossy shell. Both versions disappear equally fast at gatherings.
Storage and Keeping Fresh
An airtight tin or glass jar with a tight lid is all you need to keep these crisp for a full week, and honestly they are still wonderful at the two week mark if they last that long. Avoid plastic bags, which trap humidity and soften the edges overnight. Layering them between sheets of parchment inside the container prevents any sticking if you have dipped them in chocolate.
What to Serve With Petit Beurre
A pot of Earl Grey or a simple espresso is the classic French pairing, and once you try it you will understand why the combination has endured for over a century. For a more indulgent afternoon, arrange them alongside a bowl of fresh berries and a small glass of dessert wine. However you serve them, let them come to room temperature first so the butter flavor blooms fully.
- A cold glass of milk turns these into an unexpectedly comforting bedtime snack.
- Crushed over vanilla ice cream, they make a quick and elegant dessert with almost zero effort.
- Remember that the simplest recipes often leave the deepest impression, so share them freely and often.
 Save
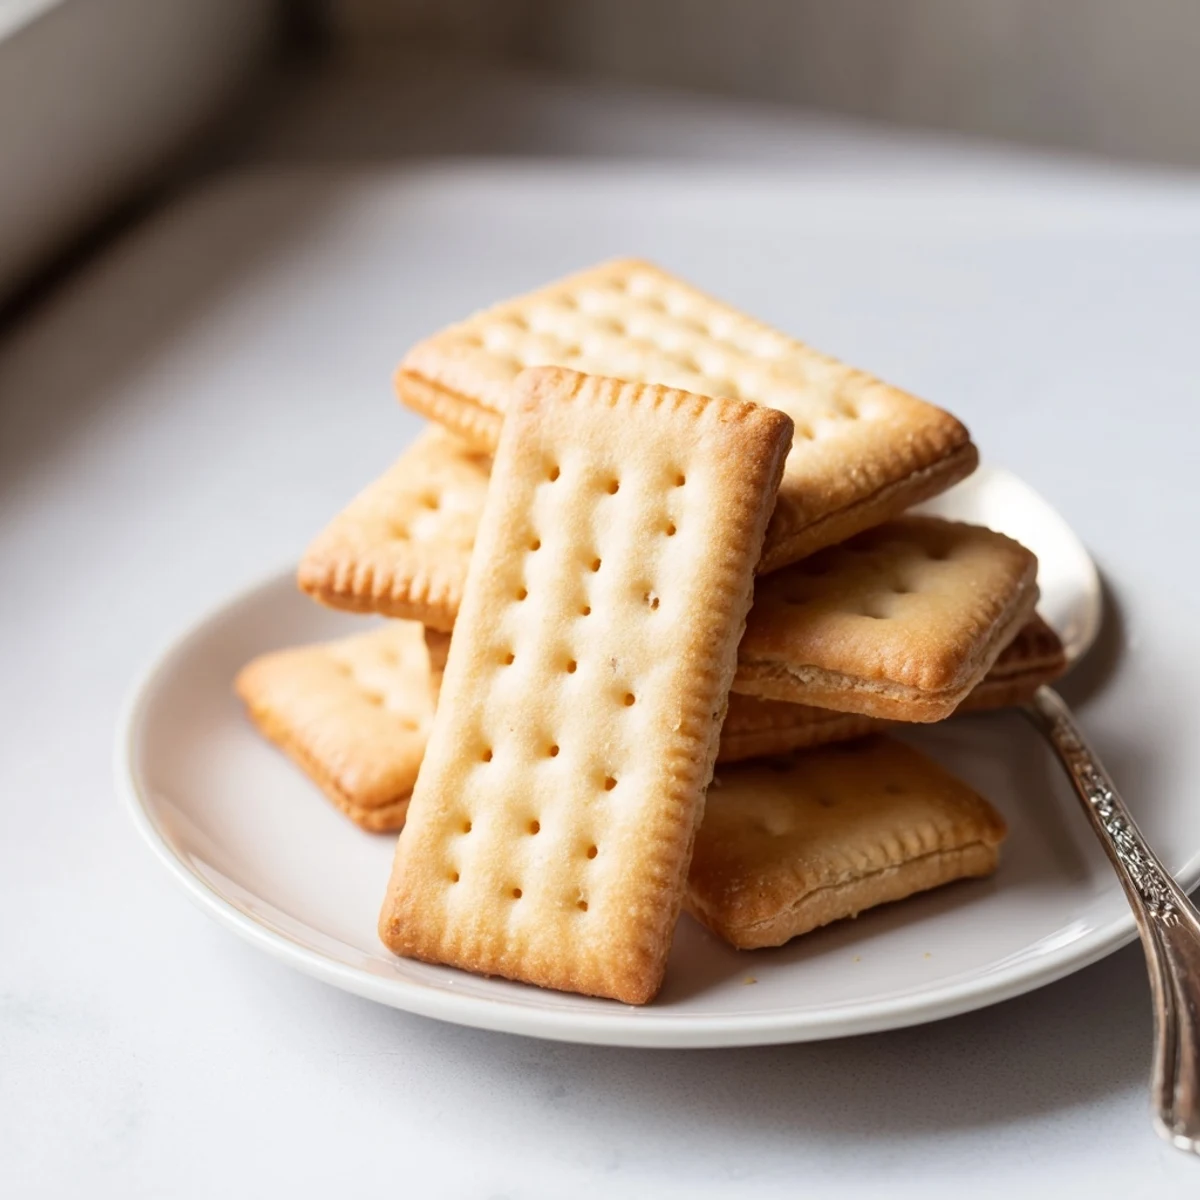
Save Bake a batch on a quiet Sunday, pour yourself something warm, and let a biscuit this simple remind you that the best things in any kitchen are rarely the most complicated. That is a lesson worth repeating.
Common Recipe Questions
- → Pourquoi laisser reposer la pâte au réfrigérateur ?
-
Le repos d'une heure au froid permet au beurre de se figer, ce qui rend la pâte moins collante et plus facile à étaler. Il favorise également le développement des saveurs et garantit des biscuits bien croustillants après cuisson.
- → Comment obtenir la forme traditionnelle du petit beurre ?
-
Utilisez un emporte-pièce rectangulaire cannelé, typique des petits beurre. Après avoir détaillé les biscuits, piquez-les délicatement avec une fourchette pour reproduire les trous caractéristiques. Cette étape aide aussi à une cuisson uniforme.
- → Quelle épaisseur idéale pour étaler la pâte ?
-
Étalez la pâte sur 3 à 4 mm d'épaisseur. Trop épaisse, les biscuits seront mous ; trop fine, ils durciront excessivement à la cuisson. Un rouleau à pâtisserie et une surface légèrement farinée facilitent un étalement régulier.
- → Combien de temps se conservent les petits beurre ?
-
Conservez-les dans une boîte hermétique à température ambiante. Ils restent croustillants et savoureux pendant une à deux semaines. Évitez l'humidité qui ramollirait les biscuits.
- → Peut-on personnaliser la préparation de base ?
-
Absolument. Ajoutez une cuillère à soupe de zestes de citron pour une note acidulée, ou trempez la moitié des biscuits dans du chocolat fondu une fois refroidis. Vous pouvez aussi parfumer la pâte avec de la cannelle ou des épices.
- → Peut-on préparer la pâte à l'avance ?
-
Oui, la pâte se conserve 24 à 48 heures au réfrigérateur, bien enveloppée dans un film alimentaire. Vous pouvez également la congeler jusqu'à un mois. Laissez-la revenir à température ambiante avant de l'étaler.