 Save
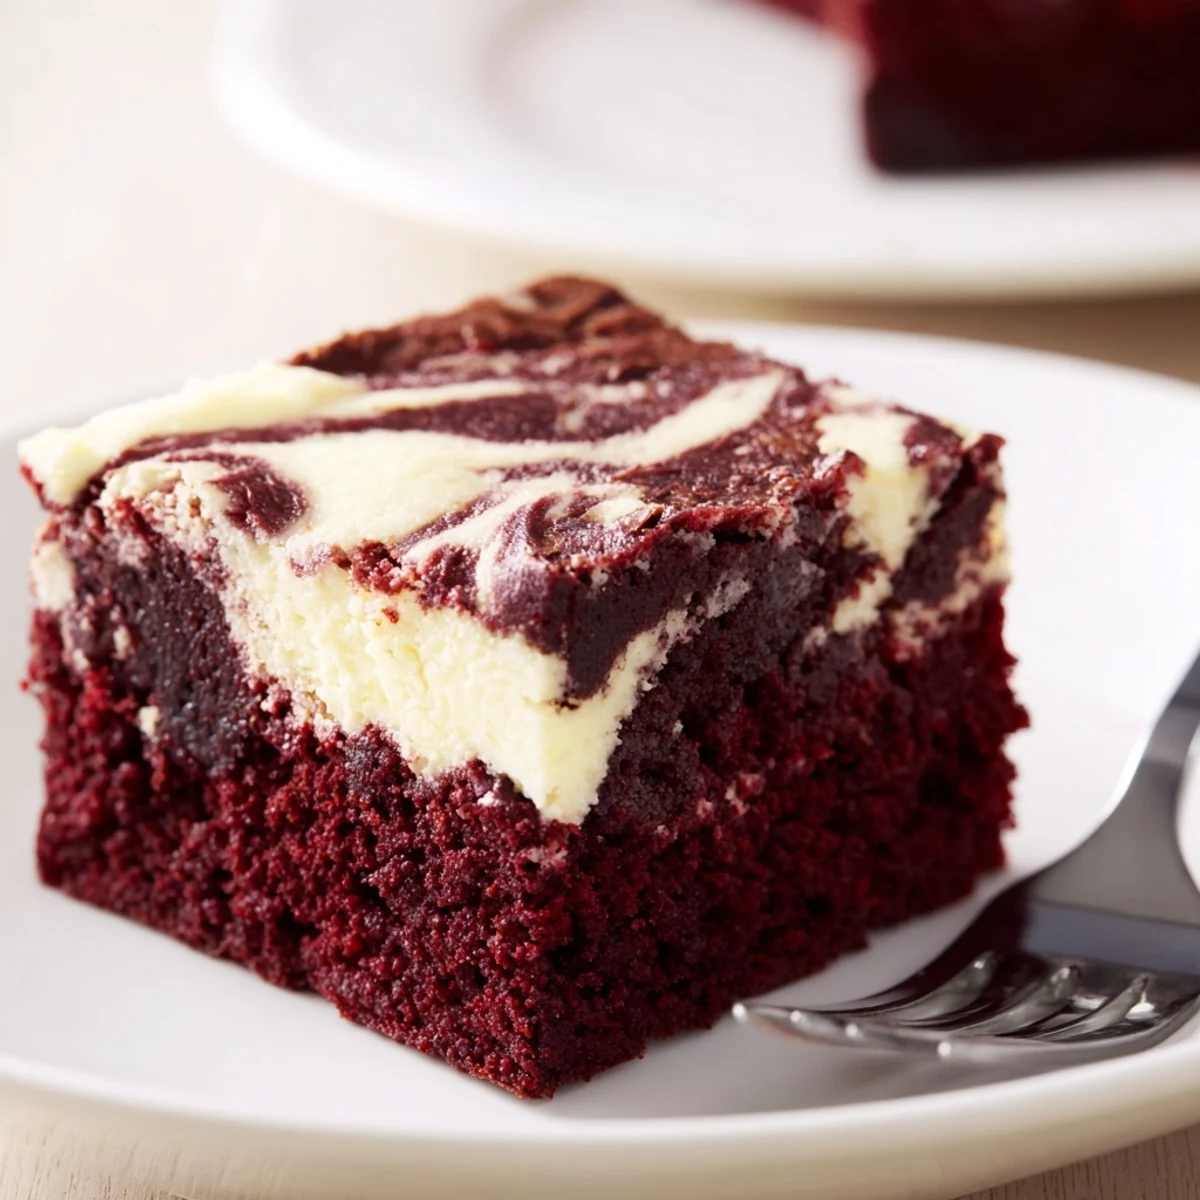
Save These luscious red velvet brownies combine a rich, fudgy texture with a creamy cheesecake swirl for an indulgent dessert. The batter blends cocoa and red food coloring for a vibrant hue, while the cheesecake layer adds silky smoothness. Carefully swirled together, the two batters bake into moist, flavorful squares perfect for sharing. Ideal for both casual and special occasions, this treat balances sweetness and creaminess with a tender crumb. Cooler storage keeps them fresh up to five days. Serve with fresh berries or vanilla ice cream for an extra touch.
I'll never forget the afternoon my sister called, demanding I recreate these brownies she'd had at some fancy bakery downtown. She described them in such vivid detail—ruby red streaked with clouds of cream—that I spent three days testing recipes until I hit on something that made her actually stop texting mid-bite to tell me I nailed it.
Last Valentine's Day, I made a double batch and brought them to my book club meeting. There's something about that dramatic red and cream marble that makes people gasp when you pull them out of the pan. Half the group immediately asked for the recipe before even taking their first bite.
Ingredients
- Unsalted butter: Melted completely cool, which helps create that dense fudgy texture we're after
- Red food coloring: Gel coloring gives you that vibrant jewel tone without adding extra liquid to the batter
- Cream cheese: Make sure it's properly softened to room temperature so your swirl is silky smooth
- Distilled white vinegar: This might seem odd but it reacts with the cocoa to enhance that classic red velvet flavor
Instructions
- Get everything ready:
- Preheat your oven to 350°F and line an 8x8-inch pan with parchment paper, leaving some overhang on the sides like little handles for lifting the brownies out later.
- Make the red velvet base:
- Whisk together the melted butter and both sugars until they're friendly, then add the eggs, red food coloring, vanilla, and vinegar. Keep whisking until everything is smooth and glossy.
- Add the dry ingredients:
- Sift in the flour, cocoa powder, and salt, then fold everything together gently. You want to stop as soon as the flour disappears into the batter.
- Prep your swirl:
- Set aside about 1/4 cup of the red velvet batter, then spread the rest evenly into your prepared pan using an offset spatula or the back of a spoon.
- Make the cheesecake layer:
- Beat the softened cream cheese with the sugar, egg yolk, and vanilla until it's completely smooth and there are no lumps left at all.
- Create the marble:
- Drop spoonfuls of the cheesecake mixture over the brownie batter, then add small dollops of that reserved red velvet batter on top. Use a knife or skewer to gently swirl everything together—just a few passes so you get those gorgeous streaks instead of mixing them completely.
- Bake to perfection:
- Slide the pan into the oven for 32 to 36 minutes. You'll know they're done when the center is just set and a toothpick comes out with a few moist crumbs clinging to it.
- Let them cool completely:
- This is the hard part. Let the brownies cool completely in the pan on a wire rack before using the parchment overhang to lift them out and slice into squares.
 Save
Save These have become my go-to whenever I need to bring something that looks impressive but doesn't require me to be in the kitchen all day. Something about that red and cream swirl just makes people happy before they even take a bite.
Getting The Perfect Swirl
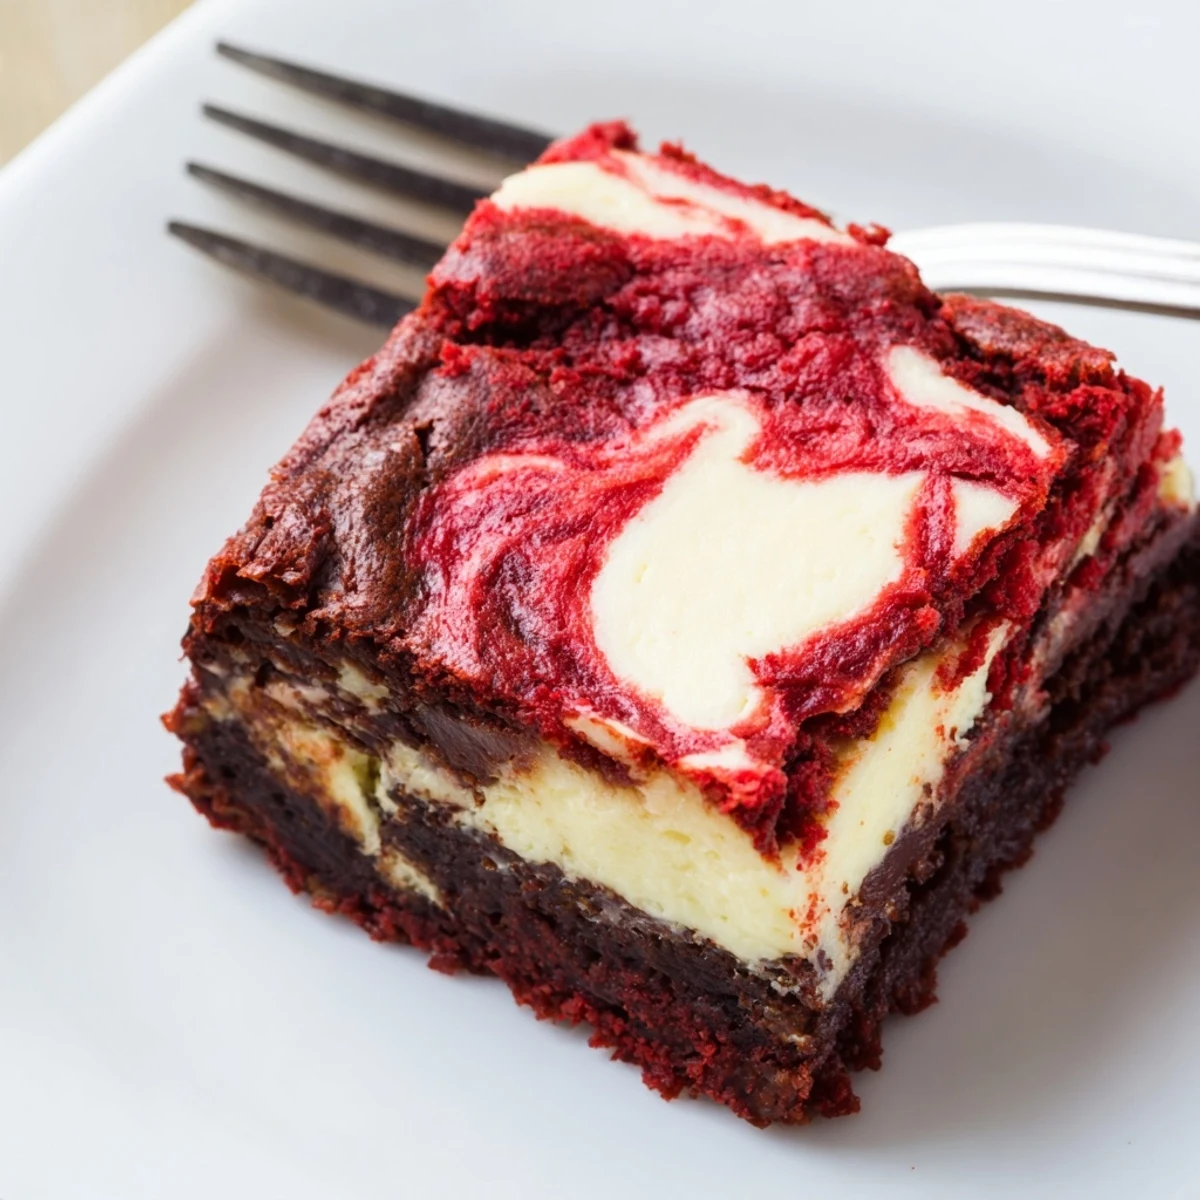
The trick to that bakery style marble is dropping your cheesecake mixture in somewhat evenly spaced mounds, then doing the same with your reserved brownie batter. When you drag your knife through, you're not mixing—you're creating channels and bridges between the two batters. I usually make a simple S pattern, then go back across in the opposite direction, and stop right there. Any more swirling and you lose that dramatic contrast.
Room Temperature Ingredients
Cold cream cheese will leave you with tiny lumpy pockets in your swirl that nobody wants. Pull it out of the fridge at least an hour before you start baking, and if you're pressed for time, cut it into cubes first to speed things up. The same goes for your eggs—room temperature eggs incorporate into the batter much more smoothly and help create that velvety texture that makes red velvet so special.
Storage And Serving
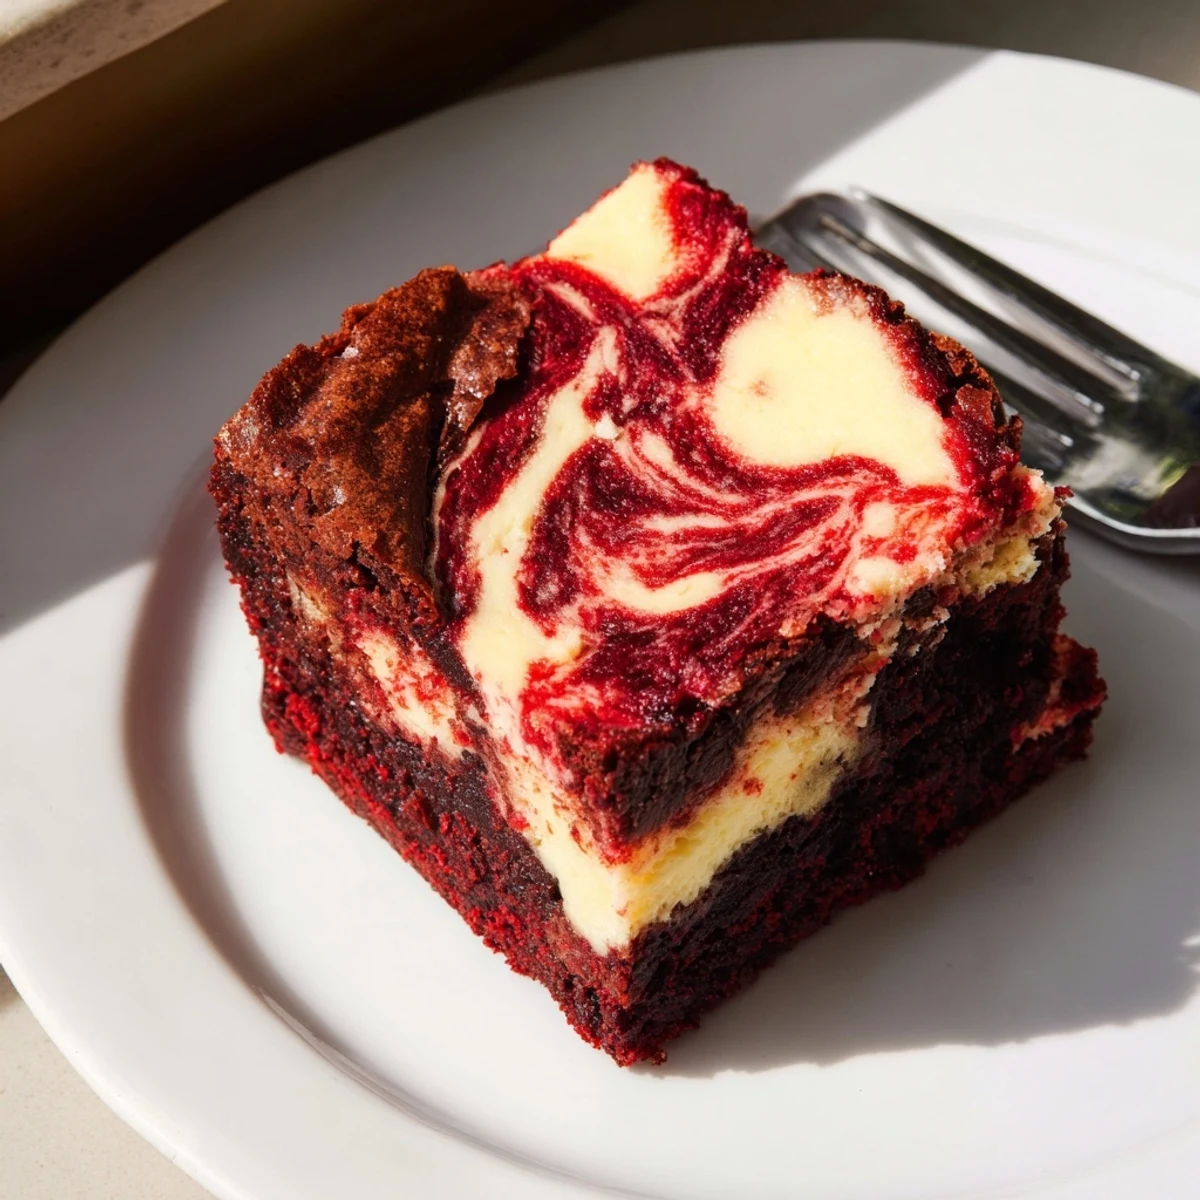
These actually taste better after a night in the refrigerator because the flavors have time to get acquainted and the cheesecake layer firms up beautifully. I store them in an airtight container in the fridge and let them come to room temperature for about 20 minutes before serving. The texture transforms—becoming even more fudgy and the cheesecake layer gets this lovely creaminess.
- Serve them slightly warm with a scoop of vanilla ice cream melting into all those crevices
- Fresh berries like raspberries or strawberries look gorgeous against the red and add this bright note that cuts through the richness
- For a dinner party, dust them with powdered sugar right before serving because it shows off that marble pattern even more dramatically
 Save
Save Every time I pull a batch of these out of the oven, I'm still amazed by how something so simple can look so spectacular.
Common Recipe Questions
- → What gives the brownies their red color?
-
Red food coloring is added to the batter to achieve the signature vibrant red hue typical of red velvet confections.
- → How do I create the cheesecake swirl effect?
-
Dollop spoonfuls of the cheesecake mixture over the brownie batter, then use a skewer or knife to gently swirl the two together, creating a marbled pattern.
- → Can I use gel food coloring instead of liquid?
-
Yes, gel food coloring can provide a brighter, more intense red without altering the batter's consistency.
- → What is the best way to store these brownies?
-
Cover brownies and store them in the refrigerator for up to five days to maintain freshness and texture.
- → Are these brownies suitable for a vegetarian diet?
-
Yes, all ingredients used are vegetarian-friendly, including dairy and eggs.
- → What is the ideal baking pan size?
-
Use an 8x8-inch (20x20 cm) baking pan lined with parchment paper for even baking and easy removal.
