 Save
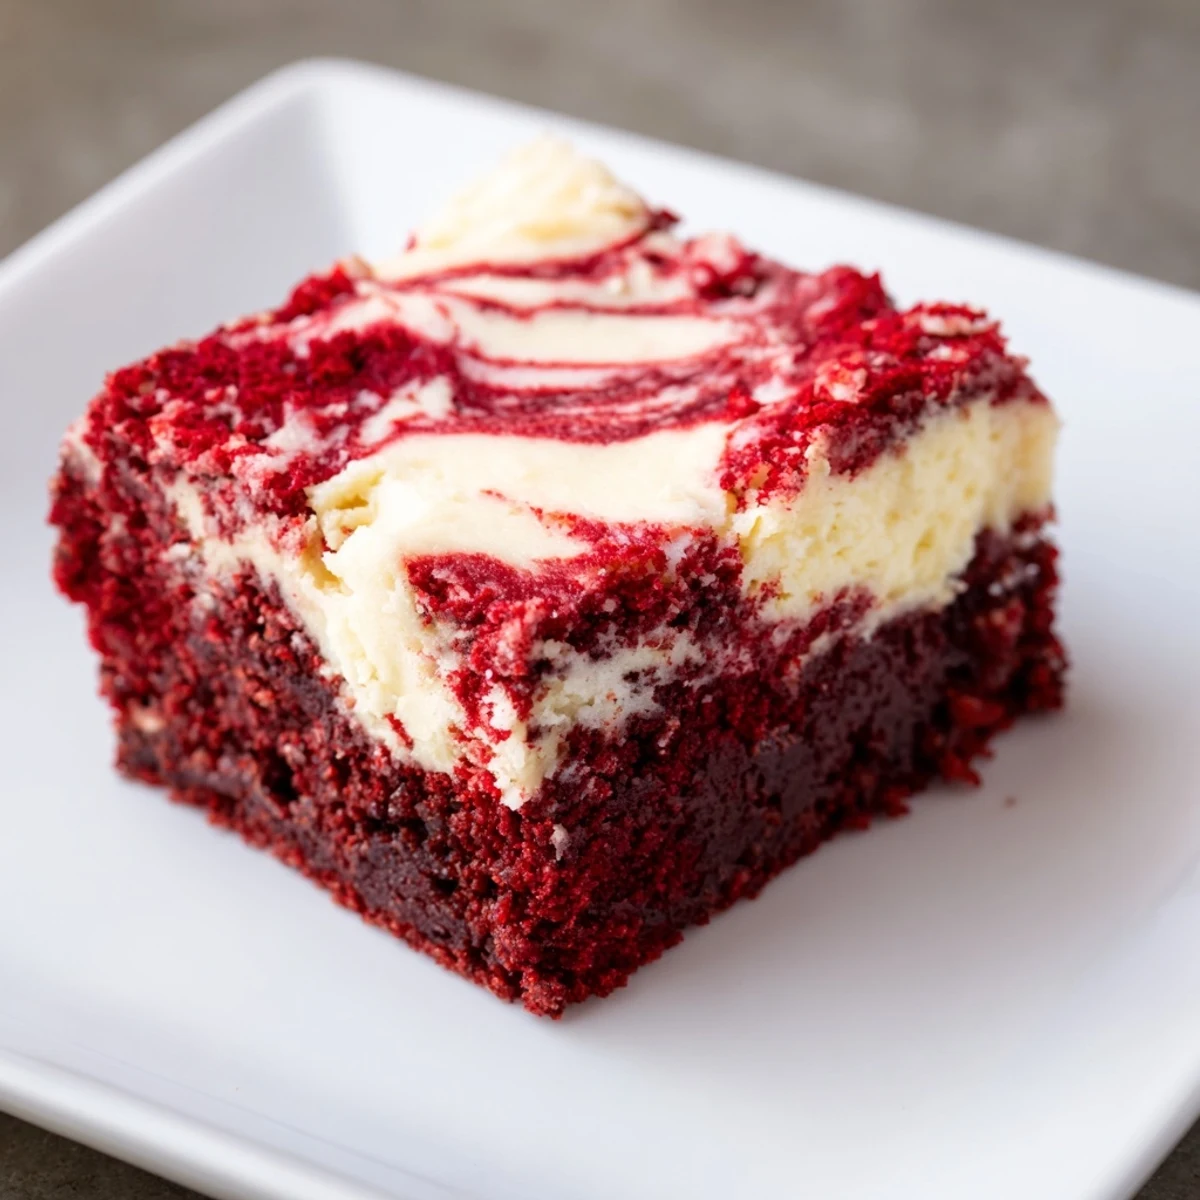
Save Enjoy a luscious dessert featuring rich red velvet brownies expertly marbled with a creamy cheesecake swirl. This indulgent treat combines cocoa, smooth cream cheese, and a hint of vanilla to create a moist, tender texture with beautiful marbling throughout. Baked to perfection, these squares offer a perfect balance between chocolatey depth and tangy cheesecake richness. Ideal for gatherings or special occasions, each bite delivers a decadent, flavorful experience that is sure to impress.
My sister called me at midnight last winter, raving about these red velvet brownies she'd tasted at a dinner party. She described the marbled swirl and begged me to recreate them. After three attempts and way too much food coloring on my hands, I finally nailed the perfect balance between fudgy brownie and creamy cheesecake.
I brought these to a book club meeting last month and watched three different people photograph them before anyone took a bite. My friend Sarah actually whispered 'these are illegal' while eating her second square. Now they request them for every gathering.
Ingredients
- Unsalted butter: Melt it gently so it cools slightly before mixing, keeping the brownies tender
- Granulated sugar: Creates that crackly top we all love on brownies
- Large eggs: Room temperature eggs incorporate better and give superior texture
- Vanilla extract: Don't skimp here since both layers need this aromatic backbone
- Red food coloring: Gel coloring gives the most vibrant red without thinning the batter
- Unsweetened cocoa powder: Sift it to avoid any stubborn lumps in your velvety batter
- All-purpose flour: Measure by spooning into the cup and leveling off for accuracy
- Salt: Just a pinch wakes up all the chocolate flavors
- Cream cheese: Truly softened cream cheese prevents lumpy swirls
- Egg yolk: The extra yolk makes the cheesecake layer incredibly rich
Instructions
- Prep your pan and oven:
- Set your oven to 350°F and line an 8-inch square pan with parchment paper, letting the paper hang over the edges like little handles.
- Make the red velvet magic:
- Whisk melted butter and sugar until they're friends, then beat in eggs, vanilla, and that stunning red food coloring until everything turns a gorgeous crimson.
- Build the brownie base:
- Sift in cocoa, flour, and salt, folding gently just until the flour disappears—overmixing makes tough brownies and nobody wants that tragedy.
- Reserve some batter:
- Set aside 1/4 cup of your red velvet mixture in a small bowl, then spread the rest evenly into your prepared pan.
- Whip up the swirl:
- Beat that softened cream cheese until it's silky smooth, then add sugar, egg yolk, and vanilla until the mixture is like thick frosting.
- Create the marble:
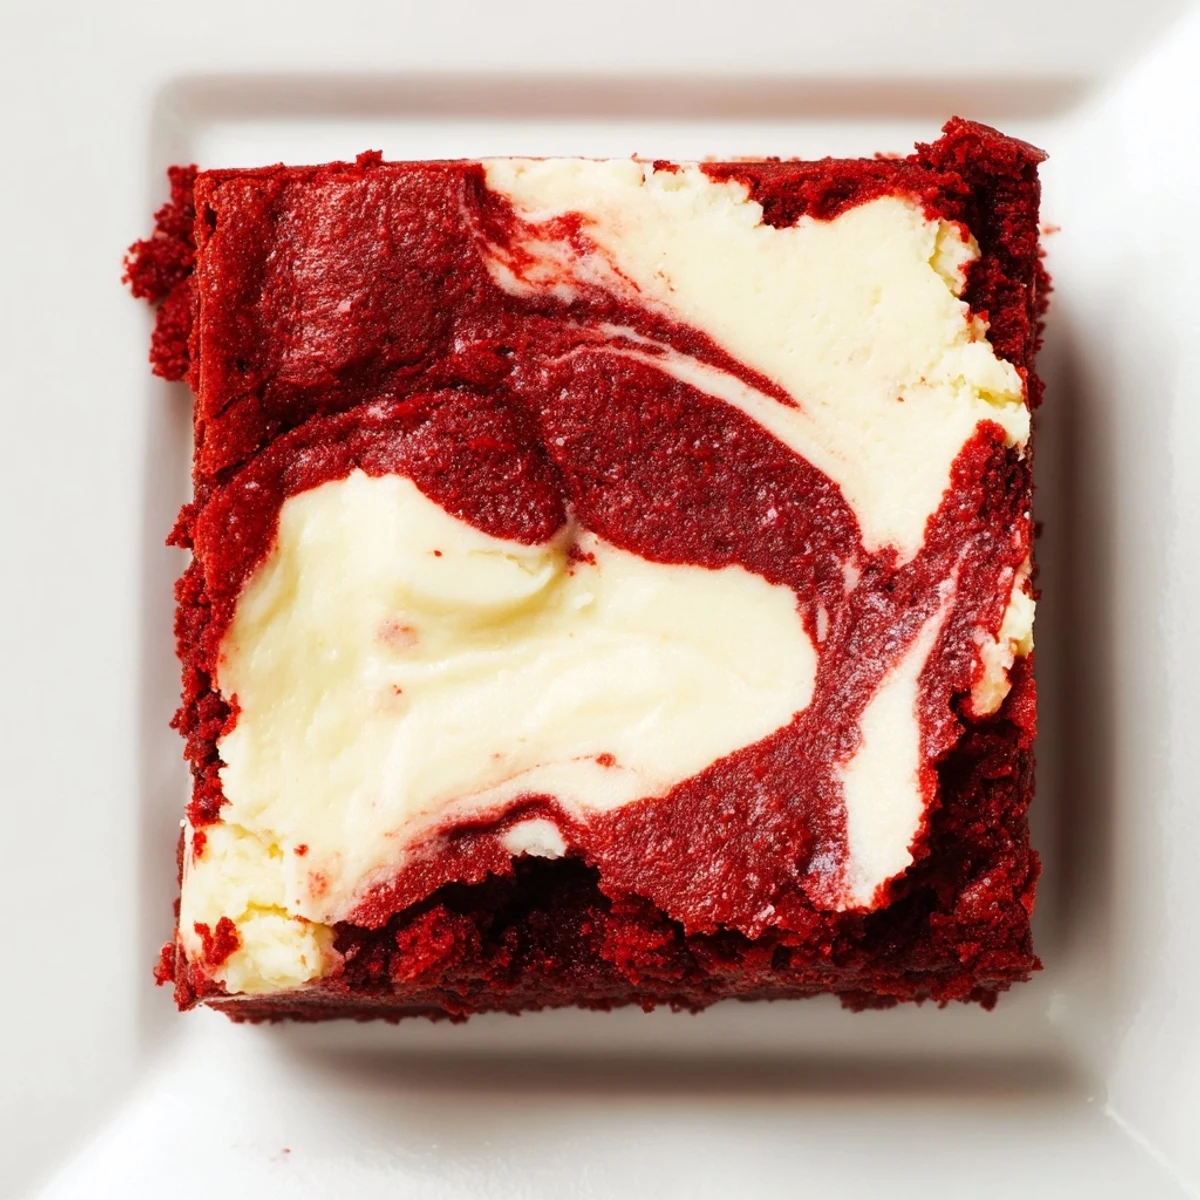
- Drop spoonfuls of cheesecake mixture over the brownie base, then add small dollops of your reserved red velvet batter on top.
- Swirl like an artist:
- Gently drag a skewer or knife through the batters in a figure-eight motion—just two or three passes, or you'll muddy the pattern.
- Bake to perfection:
- Slide the pan into the oven for 33 to 36 minutes until the center barely jiggles and a toothpick comes out with those coveted moist crumbs.
- Patience pays off:
- Let them cool completely in the pan, then use those parchment handles to lift them out before slicing into neat squares.
 Save
Save These became my go-to birthday dessert after my niece requested them instead of cake two years in a row. Watching her friends' faces when they sliced into that marbled pattern? Pure kitchen joy.
Making Them Your Own
I've found that folding mini chocolate chips into the brownie batter adds little pockets of melted chocolate throughout. Just don't go overboard or you'll lose that beautiful red velvet color in each bite.
Storage Secrets
These actually taste better on day two when all the flavors have had time to mingle. Store them in the refrigerator for up to five days, but let them come to room temperature before serving—the texture transforms completely.
Serving Suggestions
A light dusting of powdered sugar makes them look bakery beautiful. Fresh raspberries or strawberries alongside each plate add tart contrast and make the red coloring pop even more.
- Warm a square for 15 seconds in the microwave
- Top with a small scoop of vanilla bean ice cream
- Serve with coffee for the perfect afternoon pick-me-up
 Save
Save Every time I pull these from the oven, that marbled top takes my breath away all over again. Hope they bring as much joy to your table as they have to mine.
Common Recipe Questions
- → How do I achieve the perfect marbled cheesecake swirl?
-
Drop spoonfuls of cheesecake mixture onto the brownie batter, then gently swirl with a skewer or knife. Avoid overmixing to retain distinct patterns.
- → Can I prepare these brownies ahead of time?
-
Yes, chilling the dessert before slicing helps achieve cleaner edges and enhances flavor melding.
- → What baking pan size is best for these brownies?
-
An 8-inch square baking pan allows even baking and the ideal thickness for moist, tender brownies.
- → Can I add extra chocolate to intensify flavor?
-
Incorporating mini chocolate chips into the batter adds extra bursts of chocolate without overpowering the cream cheese swirl.
- → Are there any common allergens in this dessert?
-
This dish contains eggs, dairy (butter and cream cheese), and gluten from flour. Always check ingredient labels if allergies are a concern.
