 Save
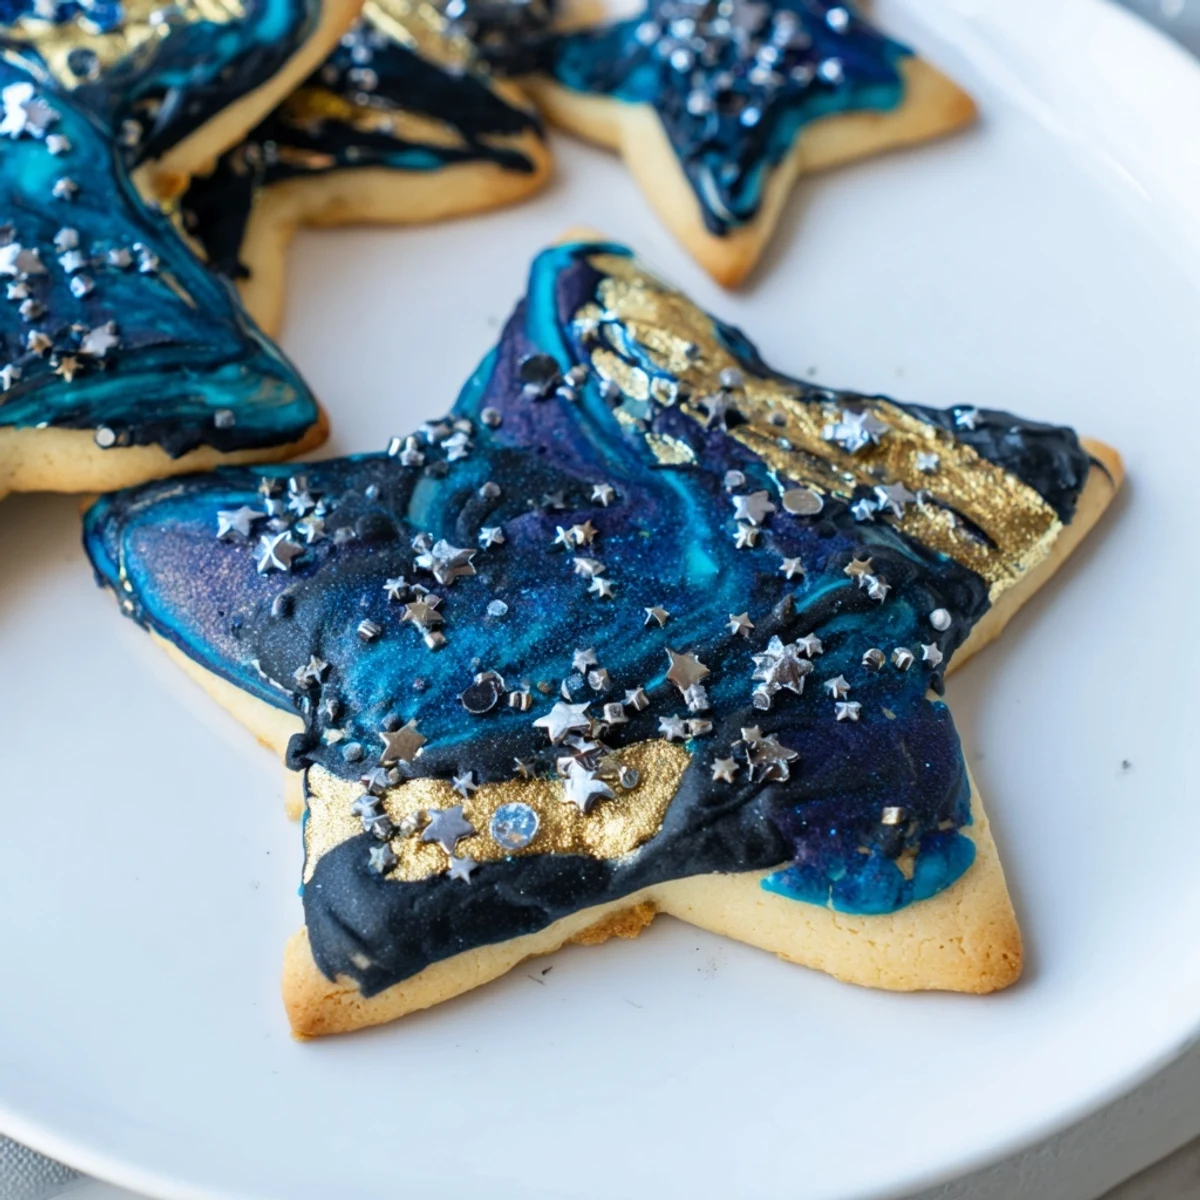
Save These delicate vanilla sugar cookies feature a stunning dark blue and black marbled icing that mimics a starry night sky. The tender, buttery base is perfectly complemented by the smooth, sweet glaze that sets to a beautiful finish. Each cookie is topped with shimmering edible gold or silver stars, creating an enchanting celestial appearance that's ideal for birthdays, holidays, or any celebration calling for something truly magical.
The first time I made these was for a meteor shower party my astronomy club hosted. We needed something that captured the night sky, and after some trial and error with different blues and blacks, this swirling technique became my go-to method for making cookies that actually look like tiny windows into space.
My niece helped me decorate a batch for her birthday last year. She was so delighted by the edible stars that she refused to eat any of them, instead arranging the cookies on a plate to create her own constellation.
Ingredients
- All-purpose flour: The backbone of these tender cookies, providing structure without making them tough
- Baking powder: Just enough lift to give the cookies a subtle rise without losing their crisp edges
- Salt: Essential for balancing the sweetness and enhancing the vanilla flavor
- Unsalted butter: Room temperature butter creams perfectly into the sugar for that melt-in-your-mouth texture
- Granulated sugar: Creates the perfect crisp edges while keeping centers tender
- Egg: Binds everything together and adds richness to the dough
- Pure vanilla extract: The warm, comforting base flavor that makes these taste like home
- Powdered sugar: Sifting prevents lumps in your icing, ensuring that glass-smooth finish
- Milk: Adjust this to get exactly the right consistency for dipping
- Corn syrup: The secret ingredient that gives the icing a beautiful sheen and helps it set properly
- Blue and black gel food coloring: Gel coloring gives you that deep, saturated night sky color without thinning the icing
- Edible star sprinkles: The crowning glory that makes these truly celestial treats
Instructions
- Whisk the dry ingredients:
- In a medium bowl, combine the flour, baking powder, and salt until evenly distributed
- Cream the butter and sugar:
- Beat the butter and sugar until pale and fluffy, scraping down the sides of the bowl to ensure even mixing
- Add the egg and vanilla:
- Mix in the egg and vanilla until fully incorporated and the mixture looks smooth and glossy
- Combine the dough:
- Gradually add the dry ingredients on low speed, mixing just until you no longer see streaks of flour
- Chill the dough:
- Shape the dough into two discs, wrap tightly, and refrigerate for at least 30 minutes until firm
- Prep your workspace:
- Preheat the oven to 350°F and line your baking sheets with parchment paper
- Roll and cut:
- Roll one disc at a time to 1/4-inch thickness on a lightly floured surface and cut into stars or rounds
- Bake to perfection:
- Arrange cookies 1 inch apart on prepared sheets and bake for 9-11 minutes until edges are barely golden
- Cool completely:
- Let the cookies rest on the baking sheet for 5 minutes before moving them to a wire rack to cool fully
- Prepare the base icing:
- Whisk together the powdered sugar, 2 tablespoons milk, corn syrup, and vanilla until completely smooth
- Create the galaxy colors:
- Divide the icing between two bowls and tint one deep blue and the other black with gel coloring
- Marble the icing:
- Drop spoonfuls of each color into a shallow dish and swirl gently with a toothpick, being careful not to overmix
- Dip and decorate:
- Dip each cooled cookie face down into the swirled icing and immediately sprinkle with edible stars before the icing sets
- Let them shine:
- Allow the decorated cookies to sit undisturbed for at least 30 minutes until the icing is completely firm
 Save
Save These became a Christmas tradition in our house after I made them for a winter solstice gathering. Now they are the first thing my kids ask to bake when the nights get long and the stars seem brighter.
Mastering the Marble
The trick to getting that perfect night sky swirl is not to overthink it. Drop alternate spoonfuls of blue and black icing into your shallow dish, then drag a toothpick through just once or twice. The more you play with it, the more the colors will muddy together, so restraint is your friend here.
Choosing Your Colors
Gel food coloring is absolutely worth the extra effort. Liquid coloring will thin out your icing and change the consistency, but gel gives you those deep, saturated hues that actually look like a midnight sky. Start with a tiny amount on a toothpick and build up the intensity gradually.
Star Bright Secrets
Timing matters when adding those edible stars. If you wait too long after dipping, the icing will form a skin and the stars will not stick properly. Work with one cookie at a time and have your stars ready in a small bowl nearby so you can sprinkle immediately after each dip.
- Use tweezers for precise star placement if you want specific constellations
- Let the excess icing drip off for a second before transferring to a cooling rack
- Store these in a single layer to protect those beautiful star-studded tops
 Save
Save There is something magical about biting into a piece of the night sky, especially when shared with people who make your world feel just as vast and wonderful.
Common Recipe Questions
- → How long do these cookies stay fresh?
-
Store in an airtight container at room temperature for up to 5 days. The marbled icing sets completely after about an hour, making them easy to stack and transport.
- → Can I make the dough ahead of time?
-
Yes, the dough freezes beautifully for up to 2 months. Wrap discs tightly in plastic wrap and thaw overnight in the refrigerator before rolling and baking.
- → What other shapes work well?
-
While star cutters enhance the celestial theme, rounds, moons, or any simple shape allows the marbled icing to shine. Avoid intricate shapes that might break when dipped.
- → How do I achieve the perfect marble effect?
-
Don't overmix the blue and black icings—gentle swirling creates the most beautiful galaxy-like patterns. Dip each cookie quickly and sprinkle stars immediately before the surface sets.
- → Can I use natural food coloring?
-
Spirulina creates blue tones, while activated charcoal or black cocoa powder can darken the icing. Natural colors may produce softer, more muted results than gel coloring.
- → What if I don't have corn syrup?
-
Replace with equal parts honey or golden syrup for similar glossiness and consistency. The icing helps seal in moisture and creates that professional bakery finish.
