 Save
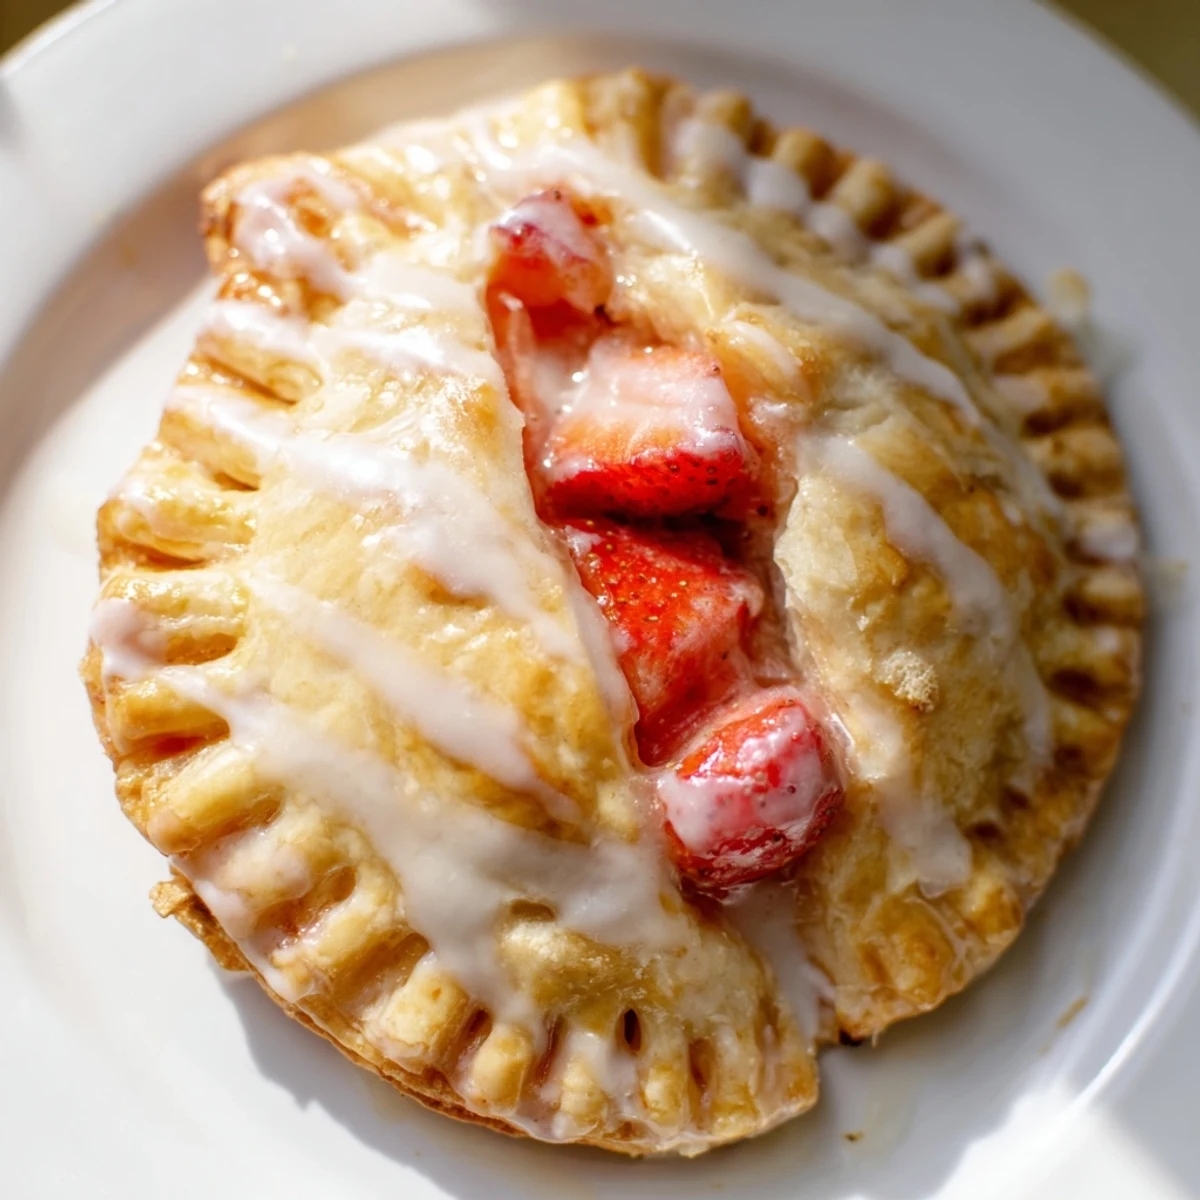
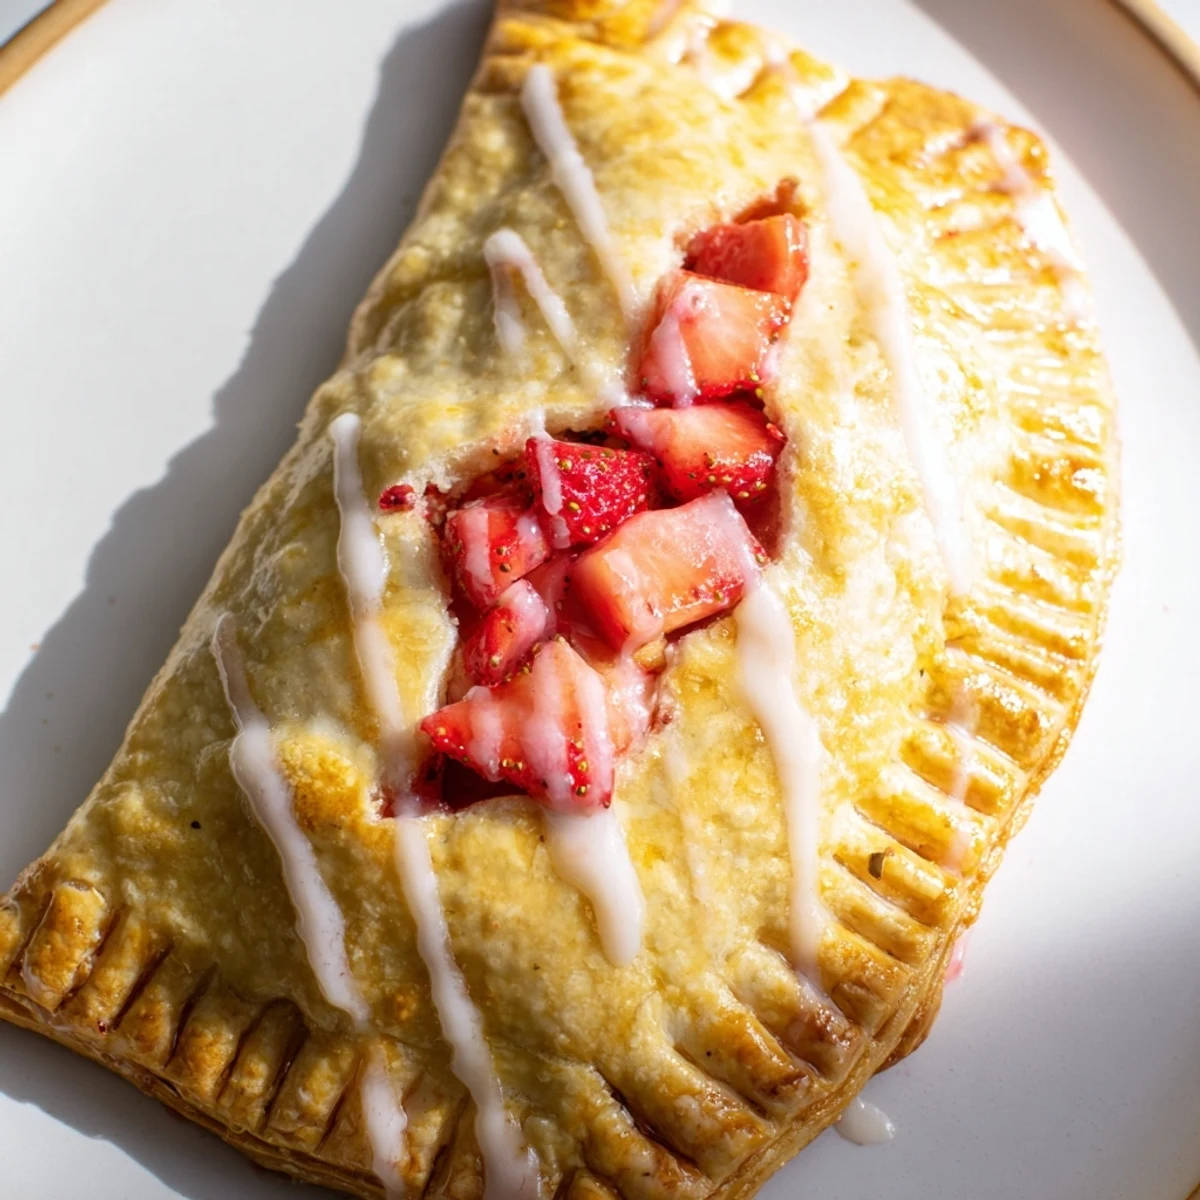
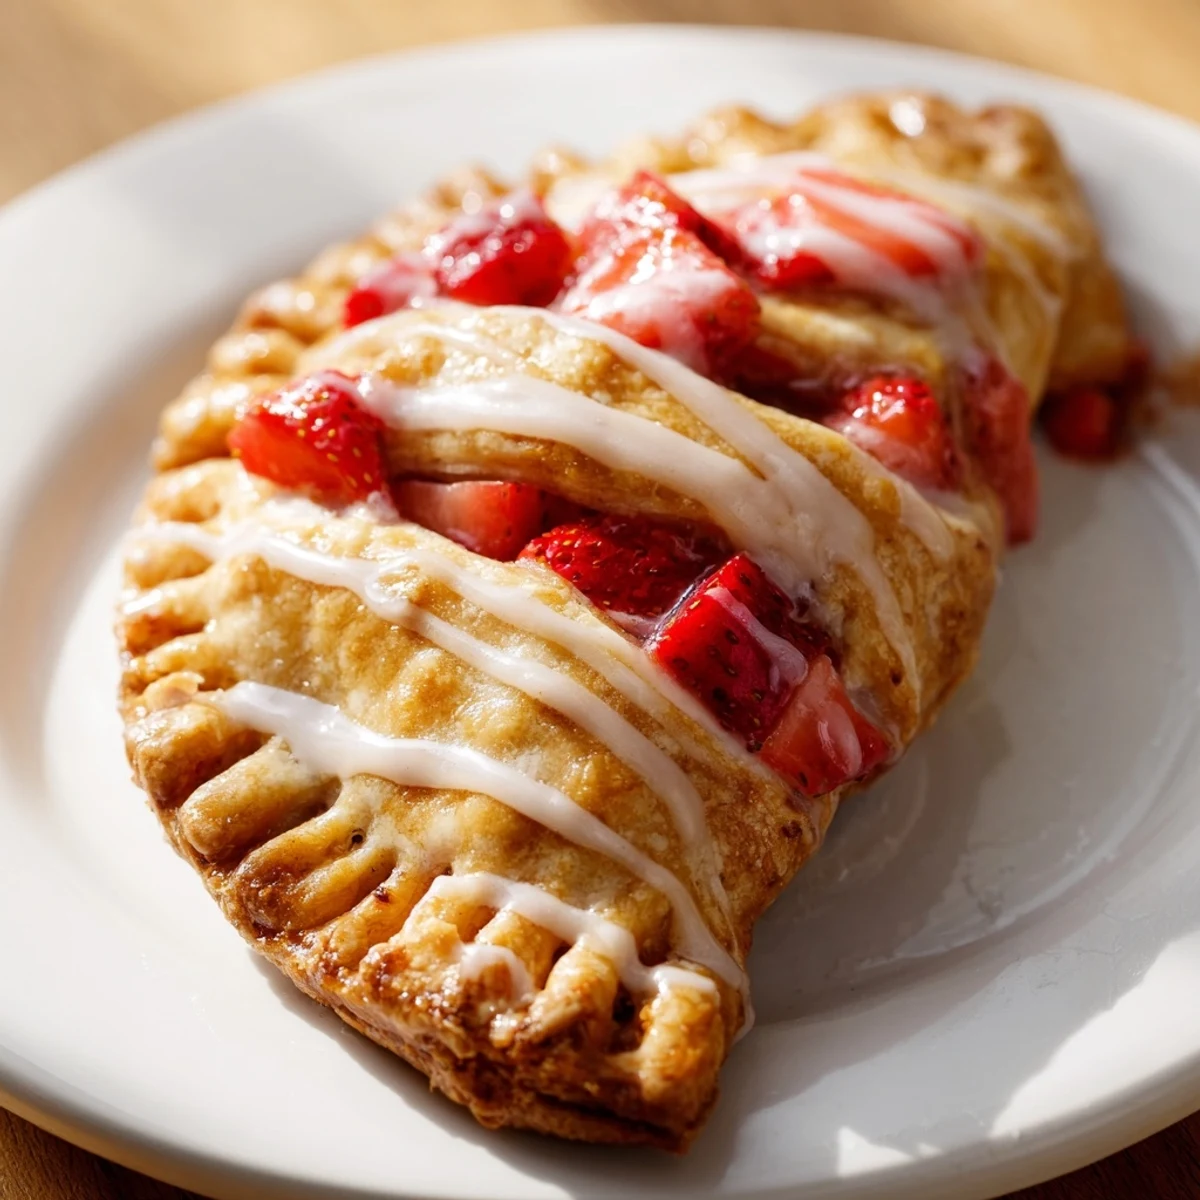
Save These buttery, flaky hand pies are filled with a luscious, juicy strawberry mixture enhanced by a touch of lemon and vanilla. The dough is tender and crisp, achieved by using cold butter and minimal handling. After baking to a golden brown, the pies are finished with a simple vanilla glaze that adds a sweet, creamy touch. Ideal for picnics, snacks, or portable desserts, they can be adapted with other fruits or made vegan by swapping butter and egg wash. Bake, glaze, and enjoy delightful handheld treats bursting with fresh strawberry flavor.
The sun was hitting my kitchen window just right when I decided these needed to happen. I had a basket of strawberries that were reaching their peak sweetness, and something about the morning light made hand pies feel like the only logical choice. My daughter wandered in halfway through rolling out the dough, strawberry juice already staining my fingertips, and asked if we were having dessert for breakfast. I told her we were conducting important culinary research.
I brought a batch to a potluck last summer and watched my friend Sarah's eyes widen after her first bite. She grabbed two more before anyone else had made it through the buffet line, and later confessed she'd been thinking about them all week. There's something universally appealing about food you can hold in your hand, warm and fruit filled and slightly messy.
Ingredients
- 2 1/2 cups all purpose flour: The foundation of everything good. I've learned that measuring by weight gives you more consistent results, but the cup method works if you fluff the flour first.
- 1 tbsp granulated sugar: Just enough to help the dough brown without making it sweet.
- 1/2 tsp salt: Don't skip this. It's the difference between pastry and cardboard.
- 1 cup cold unsalted butter, diced: Cold butter is non negotiable here. I cut mine into cubes and pop it back in the freezer for 10 minutes before starting.
- 6 to 8 tbsp ice water: Start with less. The humidity in your kitchen affects how much you'll need.
- 2 cups fresh strawberries, diced: Use ones that are deeply red and fragrant. Underripe strawberries won't break down into that luscious filling we want.
- 1/3 cup granulated sugar: Balances the natural tartness. You can adjust this depending on how sweet your berries are.
- 2 tbsp cornstarch: This thickens the juices so you don't end up with soggy bottoms.
- 1 tsp lemon juice: Brightens everything and makes the strawberry flavor sing.
- 1/2 tsp vanilla extract: Because vanilla makes almost everything better.
- 1 egg, beaten: For that golden professional looking finish.
- 1 cup powdered sugar: The base of our simple glaze.
- 2 to 3 tbsp milk: Adjust this to get your glaze to the perfect drizzling consistency.
Instructions
- Make the dough your new best friend:
- Whisk flour, sugar, and salt in a large bowl. Work in the cold butter with a pastry cutter or your fingers until you see pieces ranging from pea size to walnut size. Drizzle in ice water one tablespoon at a time, tossing gently with your hands. Stop when the dough holds together when squeezed. Divide into two discs, wrap tightly, and chill for at least an hour.
- Let the strawberries do their thing:
- Combine diced strawberries, sugar, cornstarch, lemon juice, and vanilla in a medium bowl. Fold everything together gently so you don't mash the berries. Let this sit while you roll out the dough. The fruit will start releasing its juices and the cornstarch will begin working its magic.
- Get your oven ready:
- Preheat to 400°F and line a baking sheet with parchment paper. I learned the hard way that strawberry juice bubbles over and parchment saves you from scrubbing burnt sugar off your baking sheet forever.
- Roll like you mean it:
- Roll one dough disc at a time on a lightly floured surface until it's about 1/8 inch thick. Use a 4 inch round cutter to cut circles. You should get 8 circles total from both discs, though sometimes I squeak out 9 by re rolling the scraps.
- Fill and seal:
- Place half the circles on your prepared baking sheet. Spoon about 2 tablespoons of filling onto each, leaving a clear border. Brush the edges with beaten egg, top with remaining circles, and press firmly. Crimp the edges with a fork and cut small steam vents in the tops.
- Make them gorgeous:
- Brush the tops with more egg wash and sprinkle with sugar if you want some sparkle. Bake for 20 to 25 minutes until they're deeply golden brown and you can see the filling bubbling through those vents. Let them cool on the baking sheet for 10 minutes before transferring to a wire rack.
- The grand finale:
- Whisk powdered sugar, milk, and vanilla until smooth. The glaze should coat a spoon but still pour easily. Drizzle generously over the cooled pies and let it set for about 15 minutes before serving.
 Save
Save My neighbor texted me the next day asking for the recipe, which is basically the highest compliment I can imagine receiving. Her kids had apparently declared them better than the bakery version. I've started making double batches just to keep up with requests.
Making These Your Own
Peaches work beautifully here in late summer, and I've done a version with mixed berries that makes people pause mid bite. The method stays the same. Just adjust the sugar based on your fruit's natural sweetness. Tart cherries need a full 1/2 cup of sugar, while perfectly ripe peaches might only need 1/4 cup.
The Make-Ahead Secret
You can assemble these hand pies completely, freeze them on the baking sheet until solid, then transfer to a freezer bag. Bake from frozen at 375°F for an extra 10 minutes. I keep a stash in the freezer for emergency dessert situations, which happen more often than you'd think.
Serving Ideas
These shine at picnics since they need no utensils and travel beautifully. I've also served them warm with vanilla ice cream for a more plated dessert experience. The contrast between the hot fruit filling and cold cream is something else entirely.
- Wrap each pie individually in parchment paper for the easiest serving ever
- A sprinkle of sea salt on top of the glaze creates this incredible sweet salty thing
- Leftovers reheat surprisingly well in a 350°F oven for about 8 minutes
 Save
Save There's something deeply satisfying about hand held food, especially when it's this good. Hope these become part of your own kitchen story.
Common Recipe Questions
- → What type of flour works best for the dough?
-
All-purpose flour is recommended for a tender yet sturdy dough, ensuring flaky hand pies that hold their shape well.
- → How can I prevent the dough from becoming tough?
-
Use cold butter and handle the dough minimally, adding ice water gradually to avoid overworking it.
- → Can I substitute strawberries with other fruits?
-
Yes, mixed berries or peaches work well as filling alternatives, offering different but delicious flavors.
- → What is the purpose of the small slit on top of each pie?
-
The slit allows steam to escape during baking, preventing sogginess and ensuring a crisp crust.
- → How do I make the glaze smooth and easy to drizzle?
-
Whisk powdered sugar with milk and vanilla until smooth, adding milk slowly until desired consistency is reached.
- → Can these hand pies be prepared in advance?
-
Yes, you can prepare dough and filling ahead, store them chilled, and assemble just before baking for freshness.
