 Save
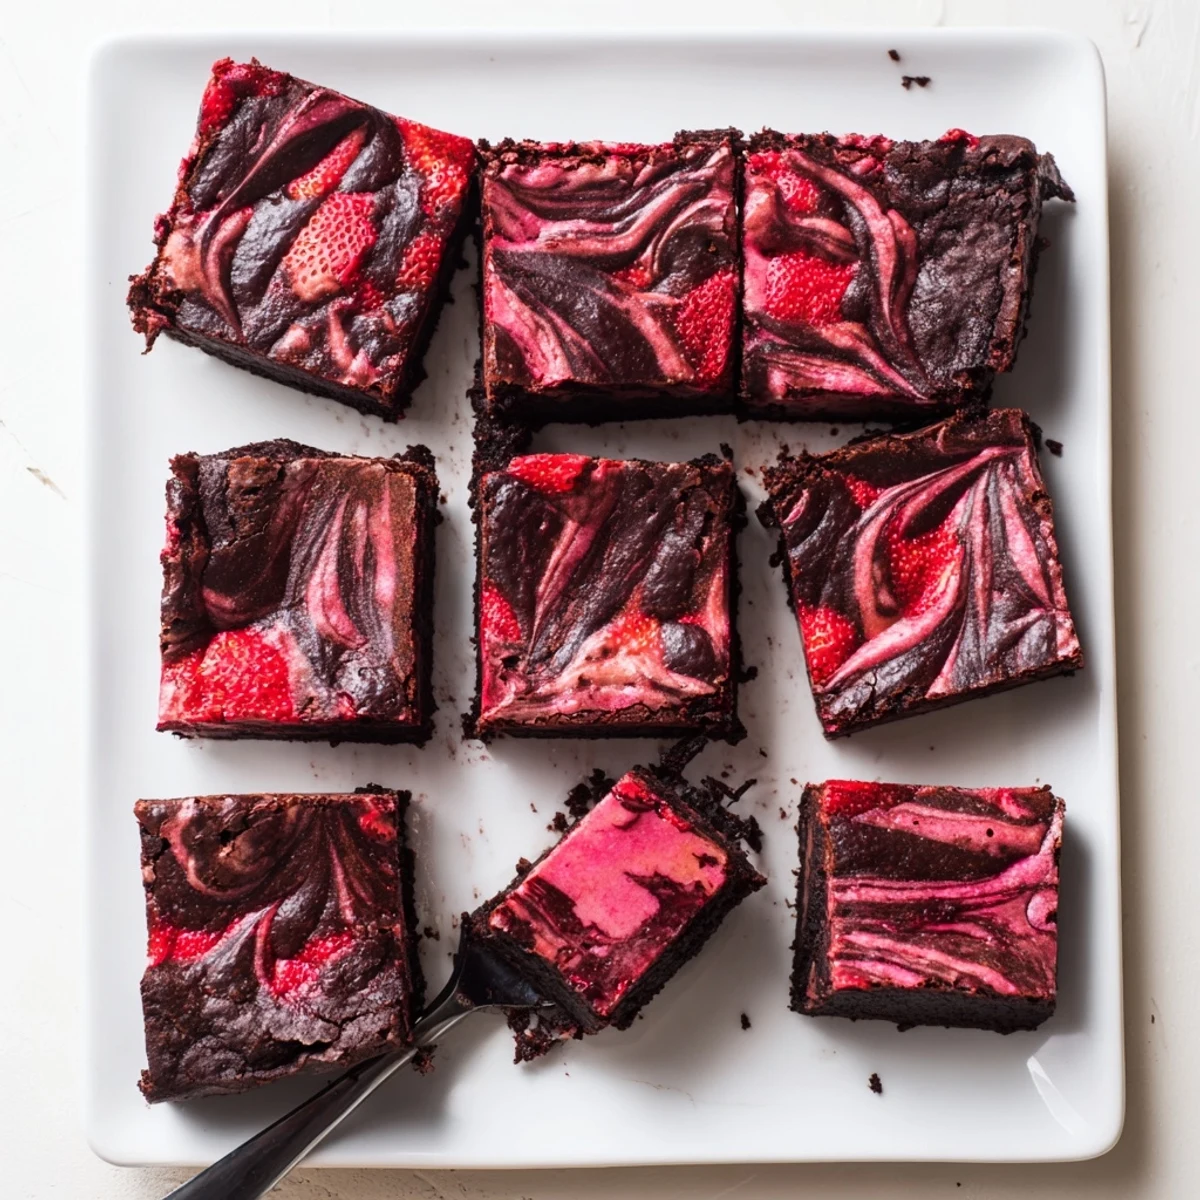
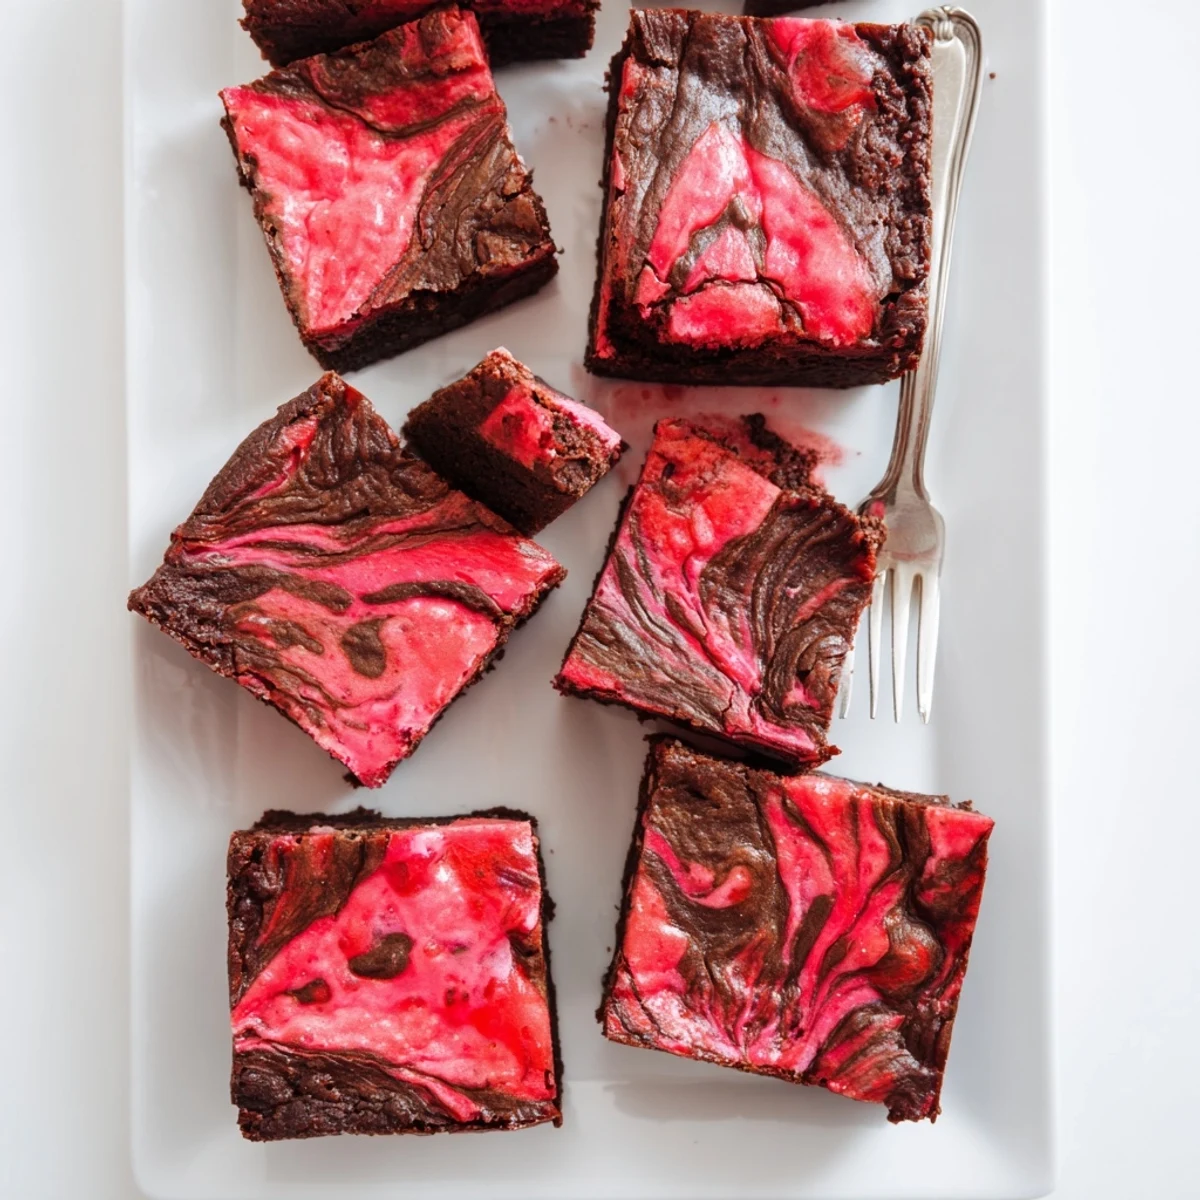
Save These luscious brownies combine a rich, fudgy chocolate base with ribbons of sweet-tangy strawberry puree. The batter comes together quickly by melting butter and bittersweet chocolate, then whisking with eggs and vanilla until glossy. After sifting in flour and cocoa, the dark batter gets swirled with vibrant strawberry puree cooked down with sugar and lemon juice. The result is an eye-catching marbled treat that bakes in under 30 minutes. Each square delivers the perfect balance of deep chocolate flavor and bright fruit notes, with a texture that's dense and moist inside while slightly crisp on top.
My friend Sarah brought these to a summer potluck last year, and I honestly thought they were going to be some weird health experiment until I took my first bite. The fudgy chocolate and bright strawberry swirl tasted like someone figured out how to bottle the best parts of summer. I begged for the recipe right there at the picnic table.
I made these for my sister's birthday instead of a regular cake, and she literally sent me a text three days later asking if I had any hidden stashed away. My nephew helped me with the swirling part and kept declaring himself an artist. Now every time strawberries come back into season, he asks when we're making the pretty brownies again.
Ingredients
- Fresh strawberries: Use ripe ones that smell fragrant, they'll break down beautifully into that glossy swirl and give way more flavor than anything out of season
- Bittersweet chocolate: This really matters, skip the baking chips and grab a good bar you'd actually want to eat plain, it makes such a difference in the final texture
- Unsalted butter: Lets you control exactly how much salt goes into the batter, which matters when you're balancing with that sweet strawberry puree
- Granulated sugar: Don't reduce this, you need the full amount for that crackly top that everyone loves on a good brownie
- Large eggs: Room temperature eggs will incorporate way better into your batter and help that glossy finish
- Vanilla extract: Pure stuff only, never imitation, it's the background note that makes everything taste complete
- Salt: Just a quarter teaspoon wakes up all the chocolate flavors without making it taste salty
- All purpose flour: Measure by spooning into your measuring cup and leveling off, don't scoop directly or you'll pack too much in
- Unsweetened cocoa powder: Sift it, seriously, those little lumps will never break down and you'll end up with dry pockets in your brownies
- Lemon juice: Just a teaspoon keeps the strawberry puree bright and prevents it from turning that weird brownish color
Instructions
- Get everything ready:
- Preheat your oven to 350°F and line that 8-inch pan with parchment paper, letting the edges hang over like little handles because you will thank yourself later when lifting these out.
- Make the strawberry swirl magic:
- Toss your strawberries, sugar, and lemon juice in a small saucepan over medium heat, stirring now and then for 5 to 7 minutes until everything's broken down and thickened up nicely.
- Smooth it out:
- Mash everything with a fork or give it a quick whirl with an immersion blender if you want it super smooth, then set it aside to cool down while you work on the chocolate base.
- Melt the chocolate foundation:
- Put your butter and chopped chocolate in a microwave-safe bowl and zap it for 30 seconds at a time, stirring in between until it's completely smooth and glossy.
- Build the batter:
- Let that chocolate mixture cool for just a couple minutes, then whisk in your sugar, eggs, vanilla, and salt until everything looks beautifully combined and kind of shiny.
- Add the dry ingredients:
- Sift your flour and cocoa powder right into the bowl and fold everything together gently, just until you don't see any dry pockets anymore, don't overwork it.
- Layer it up:
- Spread that gorgeous brownie batter evenly into your prepared pan, taking your time to get it level.
- Create the swirl:
- Drop spoonfuls of your cooled strawberry puree all over the batter, then grab a skewer or knife and gently drag it through to create those beautiful marble patterns.
- Bake to perfection:
- Slide it into the oven for 28 to 32 minutes, checking at the 28-minute mark with a toothpick, you want it to come out with a few moist crumbs clinging to it, not completely clean.
- The hard part:
- Let these cool completely in the pan, seriously, they slice so much cleaner when they're not warm.
- Cut and serve:
- Use those parchment handles to lift the whole thing out, then cut into squares and watch people's eyes light up.
 Save
Save These became my go-to dessert for new neighbors after the couple next door brought over homemade jam as a housewarming gift. Something about sharing food that looks a little fancy but tastes like comfort really breaks the ice.
Making Them Ahead
You can bake these a full day ahead, just wrap them tightly in the pan once they're completely cooled and they'll stay perfectly moist. I've even frozen individual squares wrapped in plastic and they thaw beautifully on the counter in about an hour.
Swirl Like a Pro
Work quickly once you start swirling, if you drag that knife through too many times the strawberry and chocolate will just blend together into this muddy color that doesn't look nearly as impressive. Four or five gentle passes through the pan is usually perfect.
Serving Ideas
These are incredible slightly warmed with a scoop of vanilla ice cream melting into all those little cracks and crevices. I've also served them with fresh strawberries on the side for a nice nod to what's inside.
- A dusting of powdered sugar right before serving makes them look extra fancy
- They're rich enough that small squares really satisfy everyone
- Store them at room temperature for up to three days
 Save
Save There's something about that first bite, the way the fudgy chocolate and bright strawberry hit you at the same time, that just makes people pause for a second.
Common Recipe Questions
- → Can I use frozen strawberries instead of fresh?
-
Yes, frozen strawberries work perfectly for the swirl. Thaw them completely and drain any excess liquid before cooking down with sugar and lemon juice. The resulting puree will be just as flavorful and vibrant as fresh.
- → How do I know when the brownies are done baking?
-
Insert a toothpick into the center of the pan. It should come out with a few moist crumbs clinging to it, not completely clean. This ensures the brownies remain fudgy rather than dry or cakey.
- → Why is my strawberry puree too watery?
-
If the puree seems thin after cooking, continue simmering for a few more minutes until it thickens to a jam-like consistency. The puree needs body to create distinct swirls rather than blending into the batter.
- → Can I add chocolate chips to the batter?
-
Absolutely. Fold in 1/2 cup of chocolate chips after incorporating the flour and cocoa. They'll melt slightly into pockets of extra chocolate throughout each bite.
- → How should I store these brownies?
-
Keep in an airtight container at room temperature for up to 3 days, or refrigerate for up to a week. The chilled brownies become even more fudgy. Bring to room temperature before serving for the best texture.
- → Can I make these strawberry brownies gluten-free?
-
Substitute the all-purpose flour with a 1-to-1 gluten-free flour blend. The texture should remain similarly fudgy, though the crumb might be slightly more delicate.
