 Save
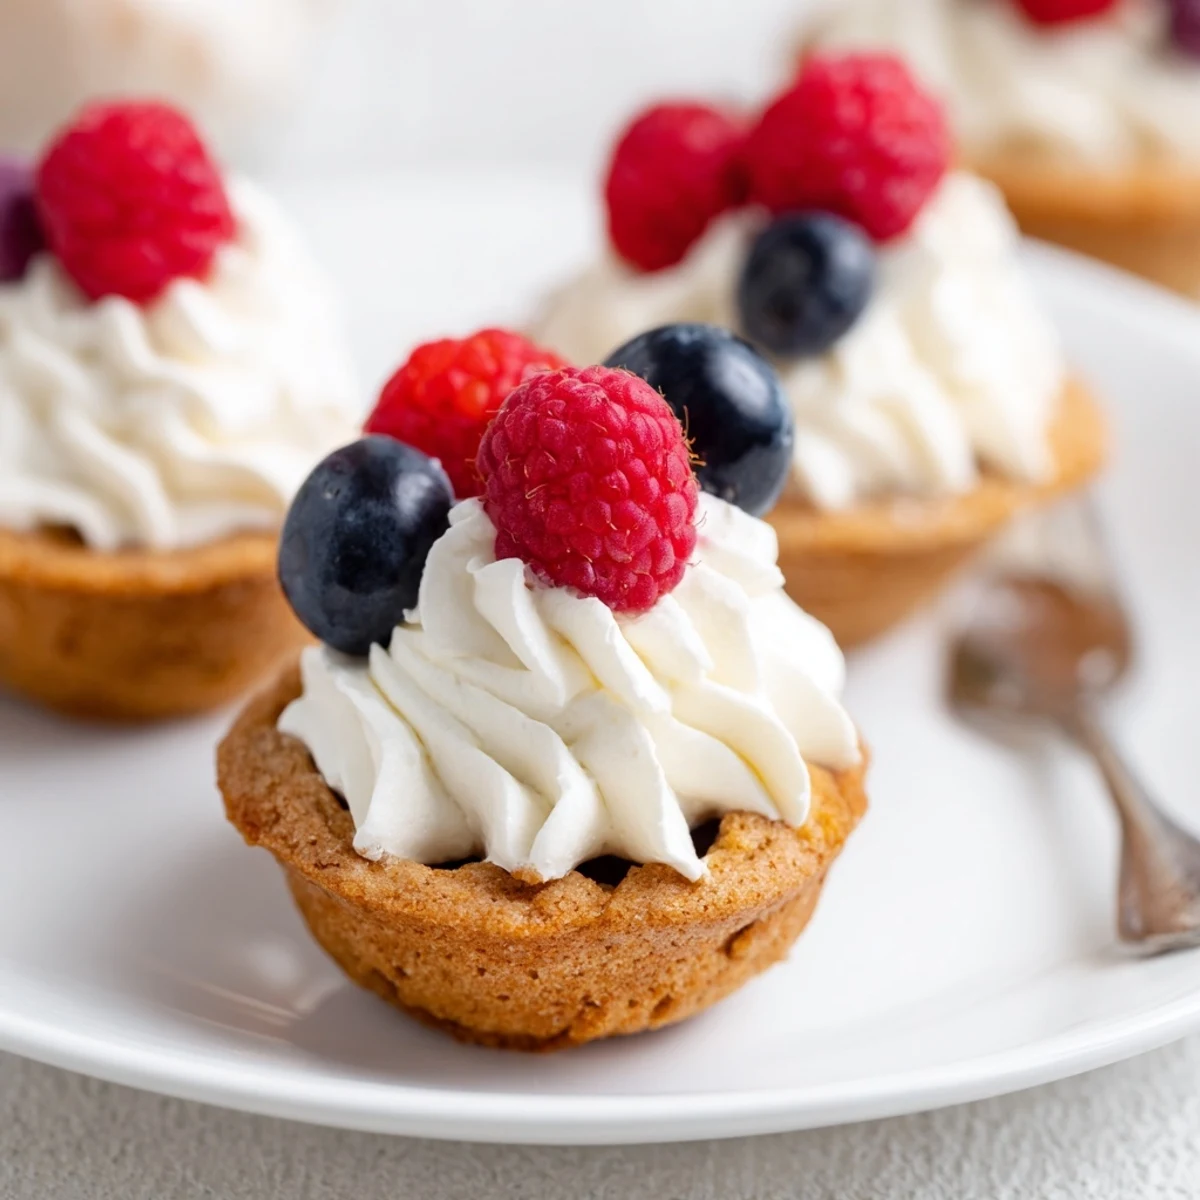
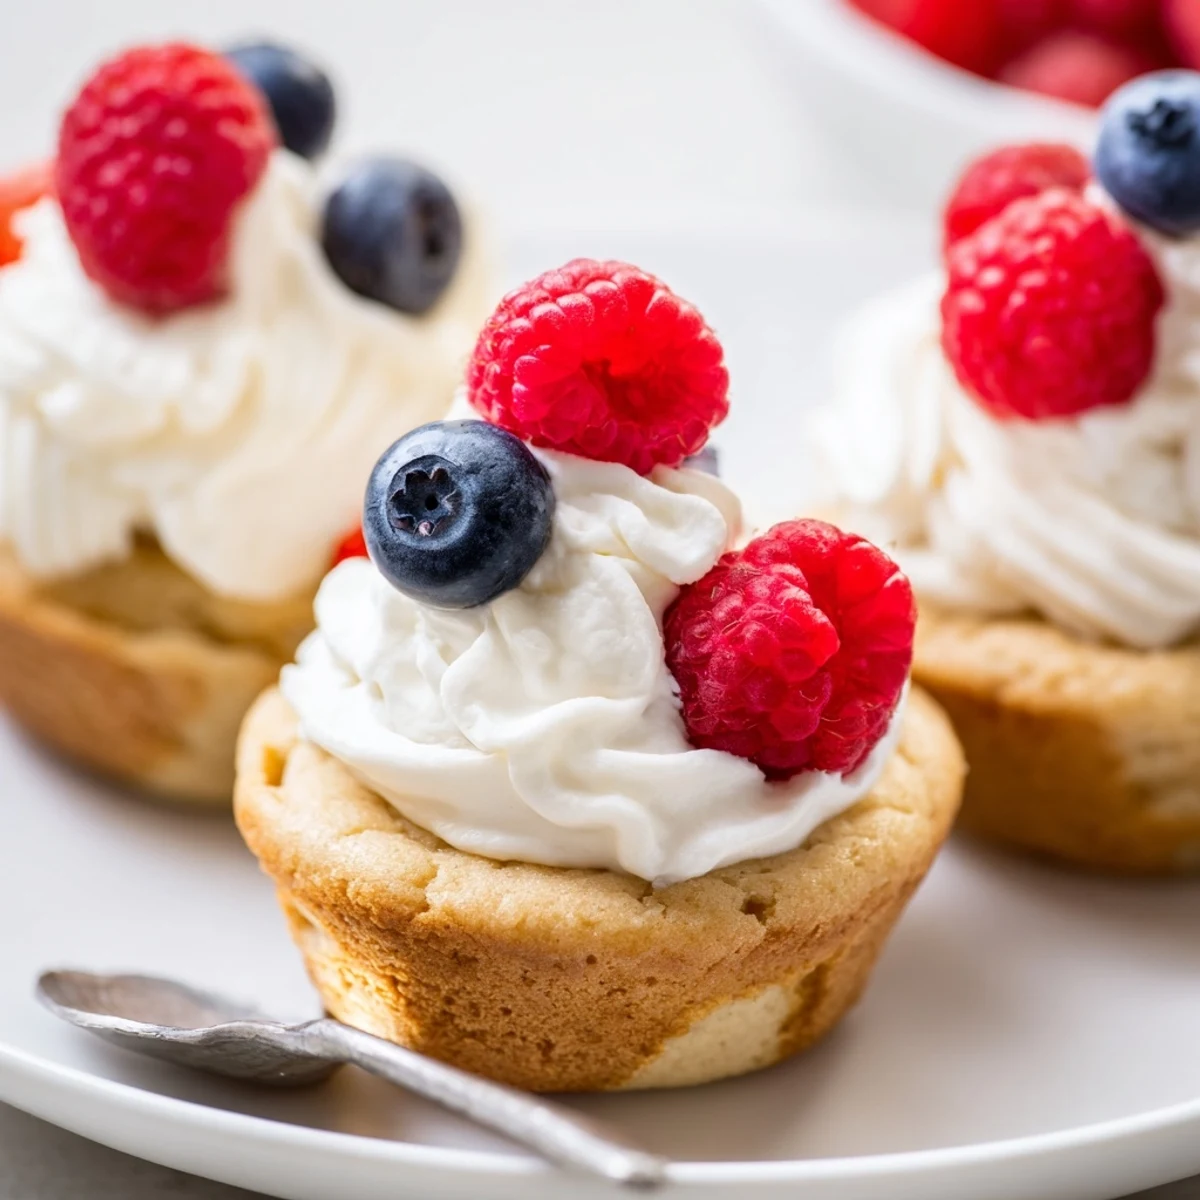
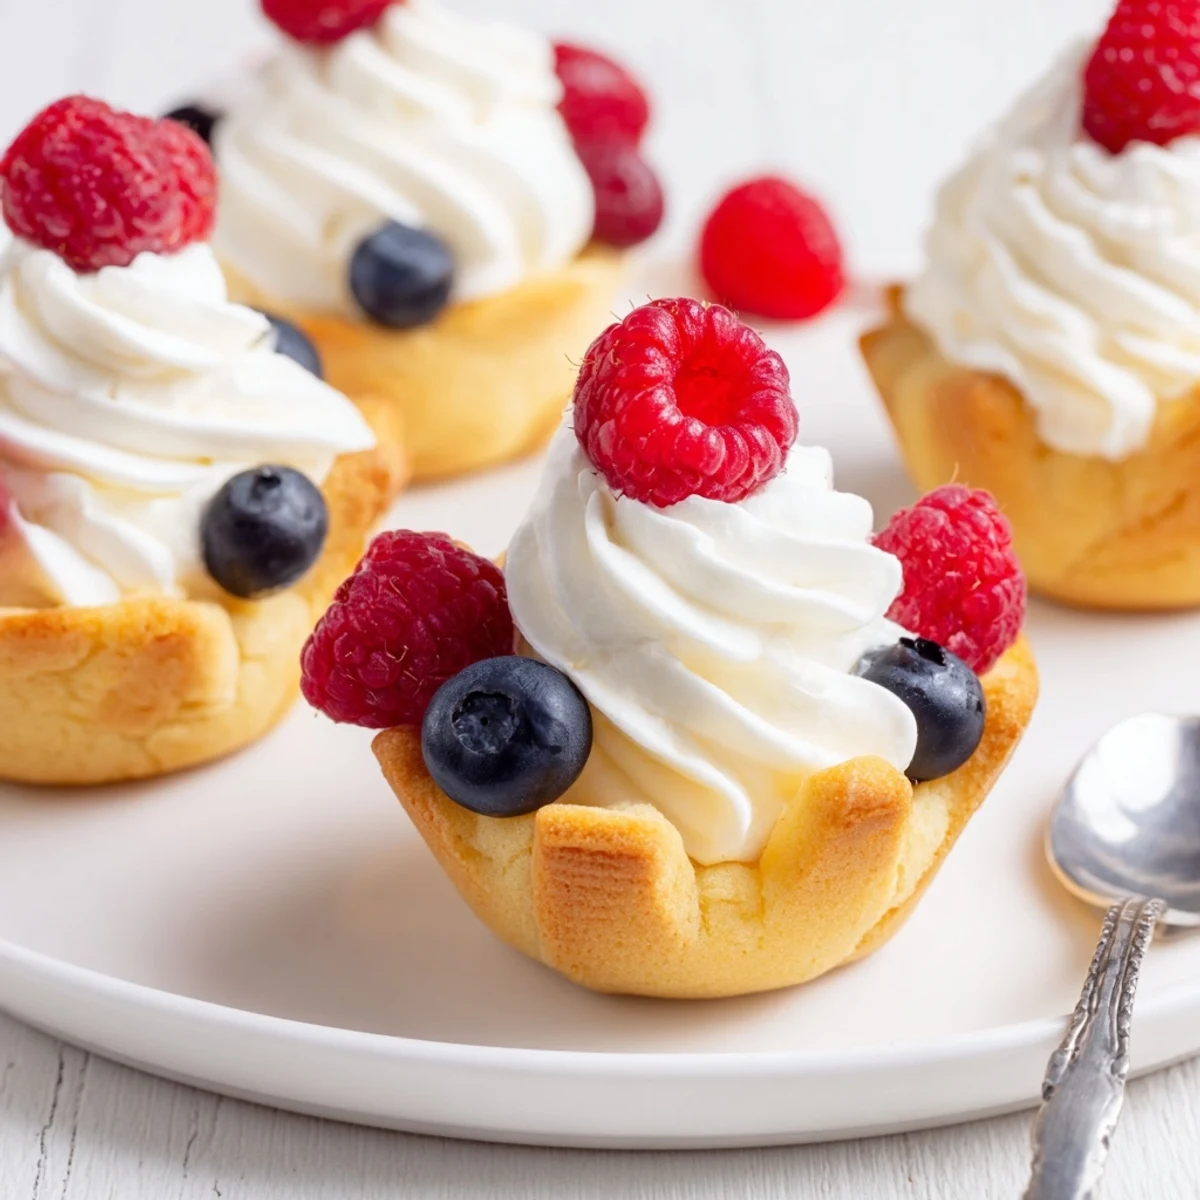
Save Create these delightful bite-sized sugar cookie cups by pressing dough into mini muffin tins and baking until golden. The result is a perfectly shaped edible cup ready to fill with whipped vanilla cream, fresh berries, sprinkles, or chocolate chips. These handheld treats are ideal for parties, gatherings, or whenever you want a fun dessert that guests can customize with their favorite toppings.
The first time I made these cookie cups was actually a happy accident. I had intended to make regular sugar cookies but grabbed the wrong pan, and honestly, it turned out to be one of my favorite kitchen mistakes ever. The way they hold those little puddles of cream or fruit is just delightful.
I brought a batch to my nephews birthday party last year and watched them disappear in record time. The kids went straight for the sprinkle topped ones while the adults gravitated toward the berry versions. By the end of the afternoon, my sister was already asking for the recipe.
Ingredients
- All-purpose flour: The foundation that gives these cups their structure and crumb
- Baking soda and salt: These work together to create the perfect lift and balance
- Unsalted butter: Use it softened to room temperature for that creamy texture
- Granulated sugar: Sweetness and crispness in every bite
- Large egg: The binder that holds everything together
- Pure vanilla extract: Never skip this, it is the soul of the cookie
- Heavy cream: Whipped to fluffy perfection for filling
- Powdered sugar: Just enough to sweeten the cream without making it too dense
Instructions
- Get your oven ready:
- Preheat to 350°F and generously grease your mini muffin tin so nothing sticks.
- Mix the dry team:
- Whisk flour, baking soda, and salt in a medium bowl until well combined.
- Cream the butter and sugar:
- Beat them together for about two minutes until they look pale and fluffy.
- Add the egg and vanilla:
- Mix until everything is incorporated and the batter looks smooth.
- Combine everything:
- Gradually stir in the dry ingredients just until you cannot see flour anymore.
- Shape the cups:
- Scoop dough into muffin cups and gently press up the sides to form little bowls.
- Bake until golden:
- Check at 10 minutes, looking for lightly golden edges.
- Create the cup shape:
- Press centers with a spoon while warm, then let them cool completely.
- Whip the cream:
- Beat heavy cream with powdered sugar and vanilla until stiff peaks form.
- Fill and decorate:
- Pipe or spoon cream into cooled cups and add your favorite toppings.
 Save
Save These became my go to contribution for every gathering after my friend Sarah texted me at midnight demanding the recipe. She said her husband kept talking about them for days.
Make Ahead Magic
I bake the cups on Sunday and store them in an airtight container. They stay fresh for three days, which means I can spend Friday afternoon just whipping cream and topping them.
Filling Ideas Beyond Cream
Lemon curd brings this bright zesty contrast that cuts through the sweetness. Chocolate ganache turns them into something incredibly indulgent, and Nutella makes them absolutely irresistible.
Serving Suggestions
Arrange them on a tiered stand for parties or pile them onto a pretty platter for casual gatherings. They look so impressive and nobody has to know how simple they were to make.
- Set up a topping bar and let guests customize their own
- Make them smaller using a regular sized muffin tin for bite sized treats
- Dust with powdered sugar right before serving for extra elegance
 Save
Save There is something wonderful about food you can eat with your fingers that still feels special. These cookie cups hit that perfect sweet spot between casual and celebratory.
Common Recipe Questions
- → How do I prevent the cookie cups from sticking to the muffin tin?
-
Lightly grease your mini muffin tin with butter or cooking spray before adding the dough. Allow the cups to cool in the tin for about 10 minutes after baking, which helps them set and release more easily. Use a small knife to gently loosen the edges if needed before transferring to a wire rack.
- → Can I make the cookie dough ahead of time?
-
Yes, you can prepare the cookie dough up to 2 days in advance and store it in the refrigerator wrapped tightly in plastic wrap. Let it soften slightly at room temperature for about 15-20 minutes before pressing into the muffin cups, as cold dough may be difficult to mold.
- → What other fillings work well in sugar cookie cups?
-
Beyond whipped cream, try filling these cups with lemon curd, chocolate ganache, Nutella, fruit preserves, peanut butter, or your favorite buttercream frosting. You can also fill them with ice cream just before serving for a frozen treat variation.
- → How should I store filled versus unfilled cookie cups?
-
Store unfilled cookie cups in an airtight container at room temperature for up to 3 days. Fill them shortly before serving for the best texture and appearance. Once filled with cream or perishable fillings, they should be refrigerated and consumed within 24 hours as the moisture will soften the cookies over time.
- → Can I freeze sugar cookie cups?
-
Yes, freeze the unfilled baked cups in a single layer on a baking sheet until firm, then transfer to a freezer-safe bag or container for up to 3 months. Thaw at room temperature before filling and serving. Do not freeze filled cups as the filling texture will be compromised.
- → How can I add color to these cookie cups?
-
Mix gel or liquid food coloring into the cookie dough before baking for vibrant cups. You can also tint your whipped cream filling with food coloring, or add colorful sprinkles and edible glitter to the tops for festive occasions. Natural options include matcha powder for green or freeze-dried fruit powder for pink hues.
