 Save
Save Create this delightful Japanese confection at home with just a few simple ingredients. Fresh strawberries blend with creamy coconut milk for a naturally sweet frozen center, while traditional glutinous rice flour creates that signature soft, chewy exterior. The beetroot powder adds a lovely pink hue without artificial coloring.
Though the process requires some patience for freezing stages, the result is an impressive dairy-free treat that rivals any specialty shop. The mochi dough comes together quickly in the microwave, and assembly is straightforward once your ice cream balls are firm.
Perfect for warm weather gatherings or as an elegant finish to an Asian-inspired meal. These handheld delights can be made ahead and stored in the freezer for whenever cravings strike.
The first time I tried mochi ice cream at a Japanese market, I was mesmerized by how something so simple could feel like such a revelation. I stood there watching my friend's eyes light up as she bit into that chewy, creamy bundle, and I knew I had to figure out how to make it myself. After a few failed attempts where my ice cream melted into sticky puddles, I finally nailed the technique. Now my freezer is never without a batch of these little pink gems.
Last summer, I made these for a dinner party where half the guests were vegan and the other half were skeptical about plant-based desserts. Watching everyone's faces when they bit into that first strawberry-filled mochi was pure magic. One friend actually asked if I'd secretly bought them from a specialty shop. Now whenever I see fresh strawberries at the farmers market, I know exactly what's coming next.
Ingredients
- Fresh strawberries: Use perfectly ripe berries for the sweetest, most vibrant ice cream base that needs minimal sweetener
- Full-fat coconut milk: This creates that luxurious creamy texture you absolutely need in mochi ice cream, so dont skimp on the fat content
- Maple syrup: Adds a deep caramel sweetness that plays beautifully with the strawberries and keeps everything refined sugar-free
- Sweet rice flour: Also called glutinous rice flour or Mochiko, this is what gives mochi its signature chewy elastic texture
- Potato starch: Essential for dusting your work surface and preventing the incredibly sticky mochi dough from becoming an unmanageable mess
Instructions
- Blend the strawberry base:
- Combine the fresh strawberries, coconut milk, maple syrup, vanilla extract, and salt in your blender until completely smooth and no berry chunks remain
- Churn or freeze the ice cream:
- Process the mixture in your ice cream maker according to the manufacturers instructions, or pour into a shallow dish and freeze while stirring every 30 minutes until scoopable
- Portion the ice cream:
- Using a small cookie scoop or spoon, form 8 evenly sized balls about 1.5 tablespoons each, place them on a parchment-lined tray, and freeze until completely firm
- Mix the mochi dough:
- Whisk together the sweet rice flour, sugar, water, and beetroot powder in a microwave-safe bowl until no lumps remain
- Cook the dough:
- Cover loosely with plastic wrap and microwave for 1 minute, stir thoroughly, then microwave for another minute before continuing in 30-second intervals until translucent and thick
- Rest and cool:
- Let the dough sit for about 10 minutes until it's cool enough to handle but still warm and pliable
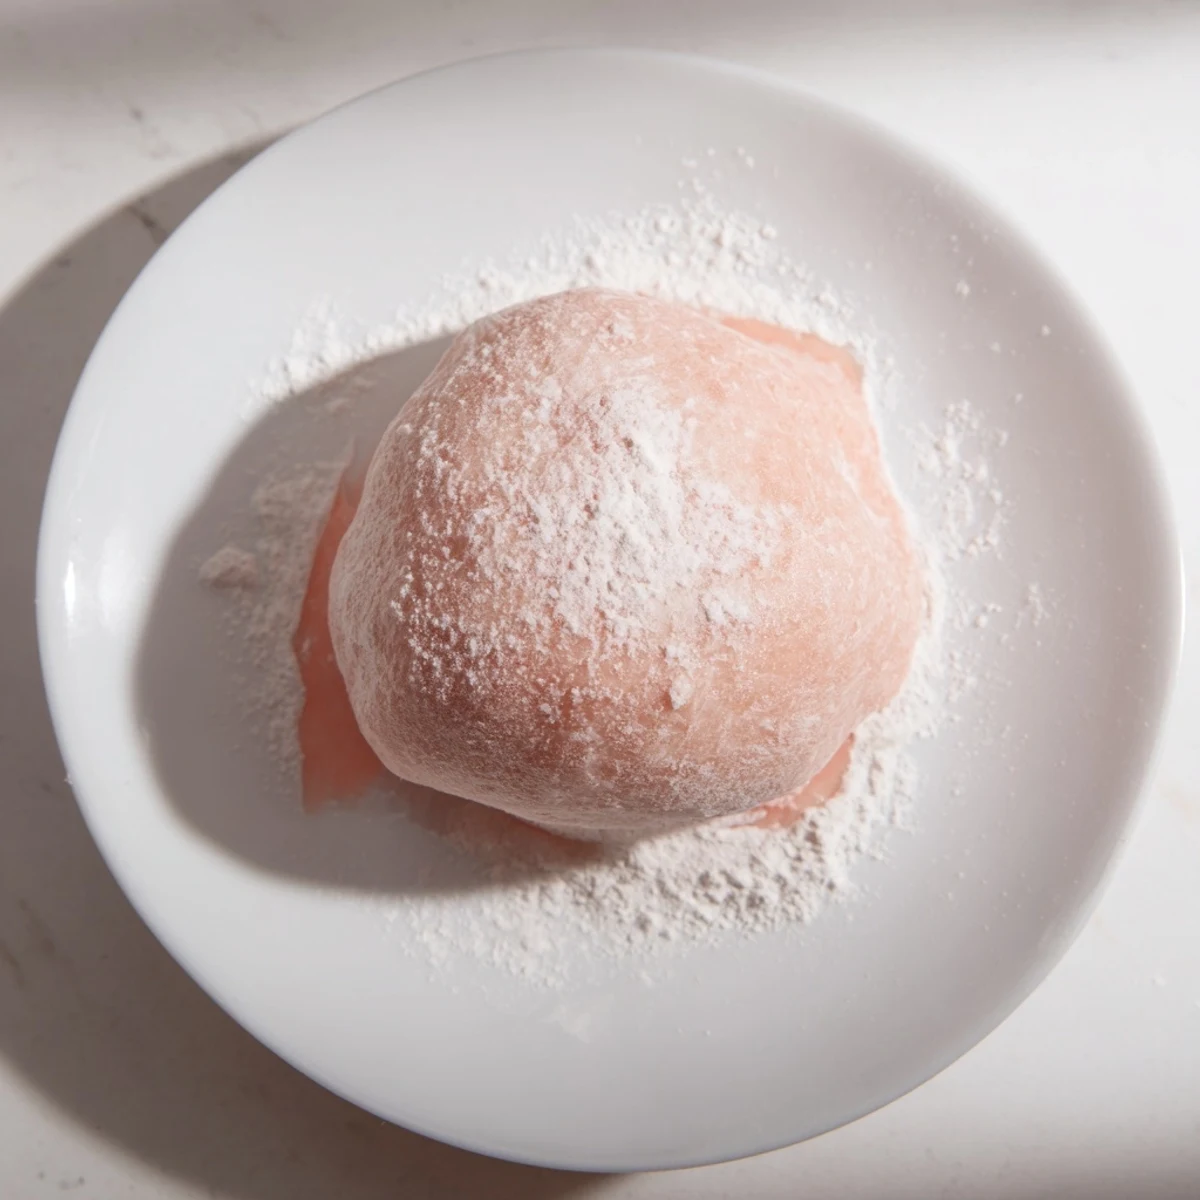
- Roll and cut:
- Dust your work surface generously with potato starch, roll the dough to about 1/4-inch thickness, and cut 8 circles using a 3.5-inch round cutter
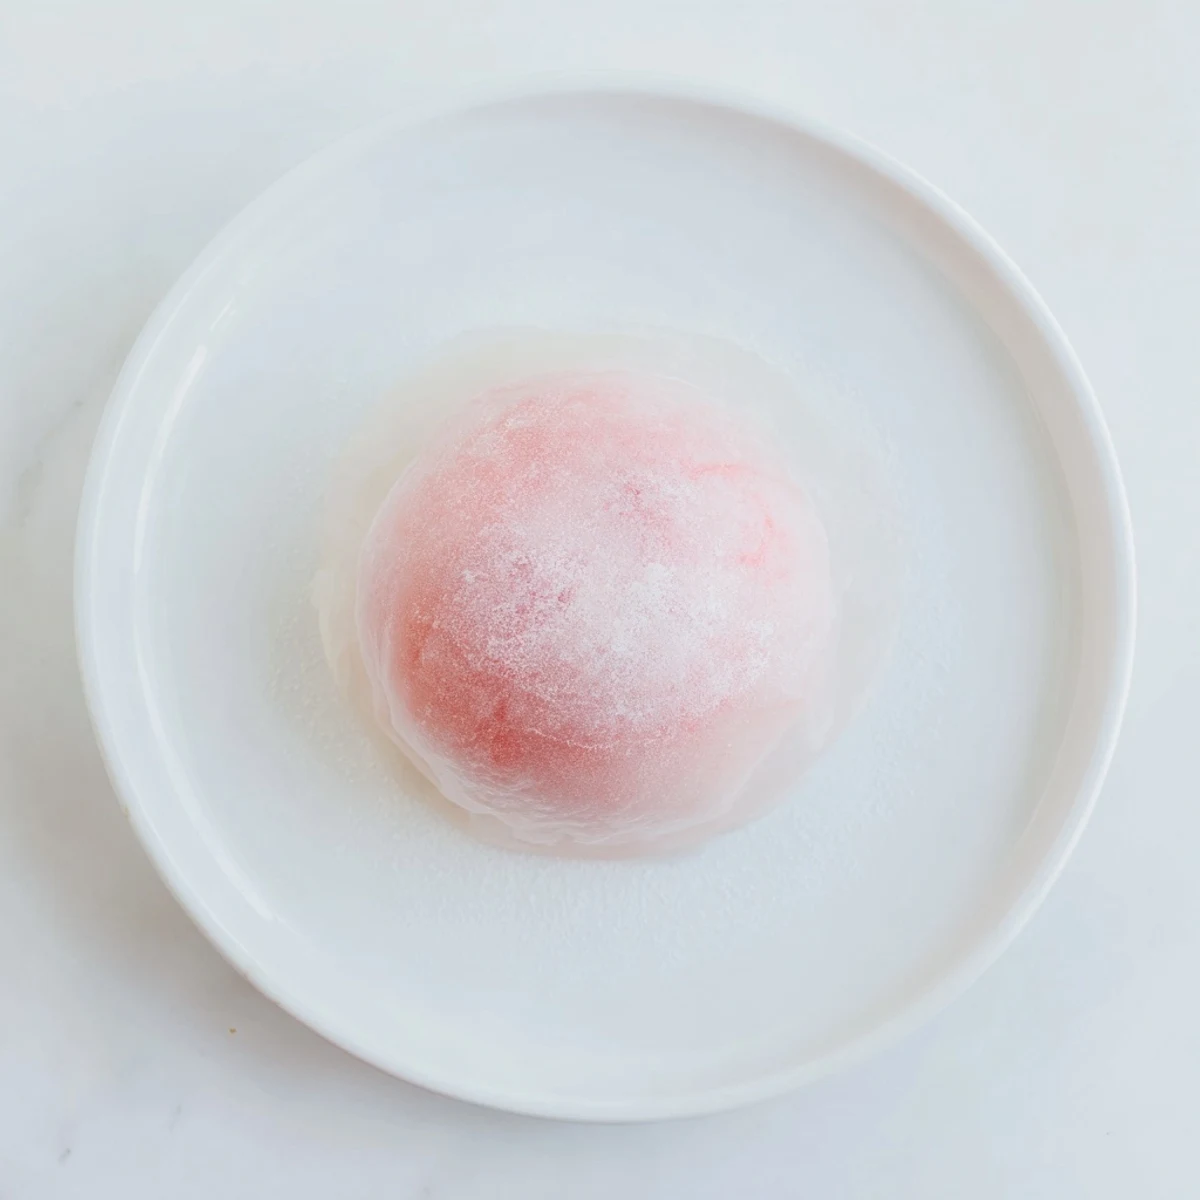
- Wrap the ice cream:
- Working quickly with cold hands, place a frozen ice cream ball in the center of each mochi circle, pinch the edges together to seal completely, and place seam-side down in cupcake liners
- Final freeze:
- Freeze the assembled mochi ice cream for at least 1 hour until firm before serving
 Save
Save My daughter now requests these for every special occasion, and I've started experimenting with different flavors like mango and matcha. There's something so satisfying about pulling out a homemade tray of these perfectly round, blushing pink treats and watching friends try to guess how I made them.
Making Ahead
I always make a double batch because these disappear faster than expected and having extras in the freezer feels like having a secret stash of happiness. The mochi wrapper stays perfectly chewy for weeks, and the ice cream never develops that icy freezer taste thanks to the coconut milk base.
Serving Suggestions
Let these sit at room temperature for about 3 minutes before serving for the ideal texture where the mochi is soft but the ice cream is still firm. A cup of hot green tea on the side creates this beautiful temperature contrast that makes each bite feel like a tiny meditation.
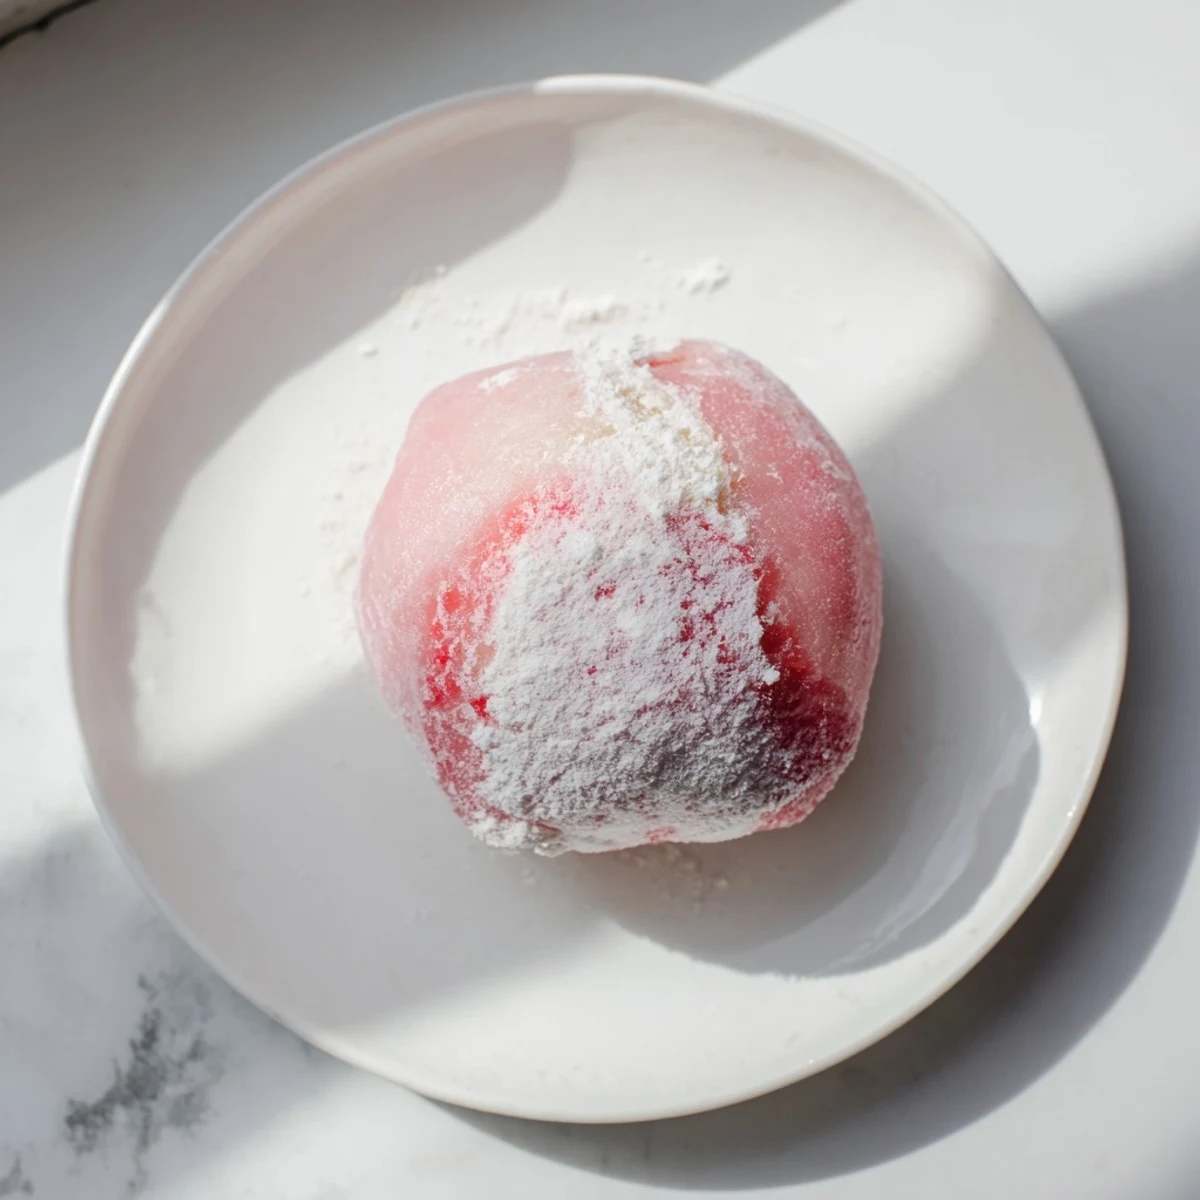
Troubleshooting Your Mochi
If your mochi dough feels too dry and is cracking at the edges, add water one teaspoon at a time until smooth. When the dough is too sticky to handle despite dusting, simply refrigerate it for 5 minutes to firm up slightly.
- Work with one piece of mochi at a time and keep the rest covered with a damp cloth
- Use a glass to cut circles if you dont have proper cookie cutters
- Always have extra potato starch within arms reach while assembling
 Save
Save These little strawberry clouds have become my go-to gift for birthdays and housewarmings because they feel special without requiring hours of work. Theres nothing quite like pulling a homemade treat from the freezer that makes people feel seen and celebrated.
Common Recipe Questions
- → Can I make mochi dough without a microwave?
-
Yes, steam the mochi dough mixture in a heatproof bowl over boiling water for about 15 minutes, stirring occasionally, until thick and translucent. The texture will be identical to the microwave method.
- → How long do these keep in the freezer?
-
Stored properly in an airtight container with parchment paper between layers, these will maintain their texture for up to 2 weeks. For best quality and texture, enjoy within the first week.
- → Can I use frozen strawberries instead of fresh?
-
Absolutely. Thaw frozen strawberries completely before blending, and drain any excess liquid to prevent your ice cream base from becoming too icy. You may need slightly less maple syrup since frozen berries can be sweeter.
- → What if I don't have an ice cream maker?
-
The freeze-and-stir method works beautifully. Pour your blended mixture into a shallow dish and freeze, stirring vigorously every 30 minutes for 2-3 hours until smooth and scoopable. The texture will still be wonderfully creamy.
- → Is there a substitute for sweet rice flour?
-
Sweet rice flour (glutinous rice flour or mochiko) is essential for proper chewy texture. Regular rice flour or all-purpose flour will not work. Look for it in Asian markets or the international aisle of well-stocked grocery stores.
- → Can I make these without beetroot powder?
-
Yes, the color is purely optional. Your mochi will be naturally white without it, or you can use a drop of natural pink food coloring, freeze-dried strawberry powder, or matcha for a green version.
