 Save
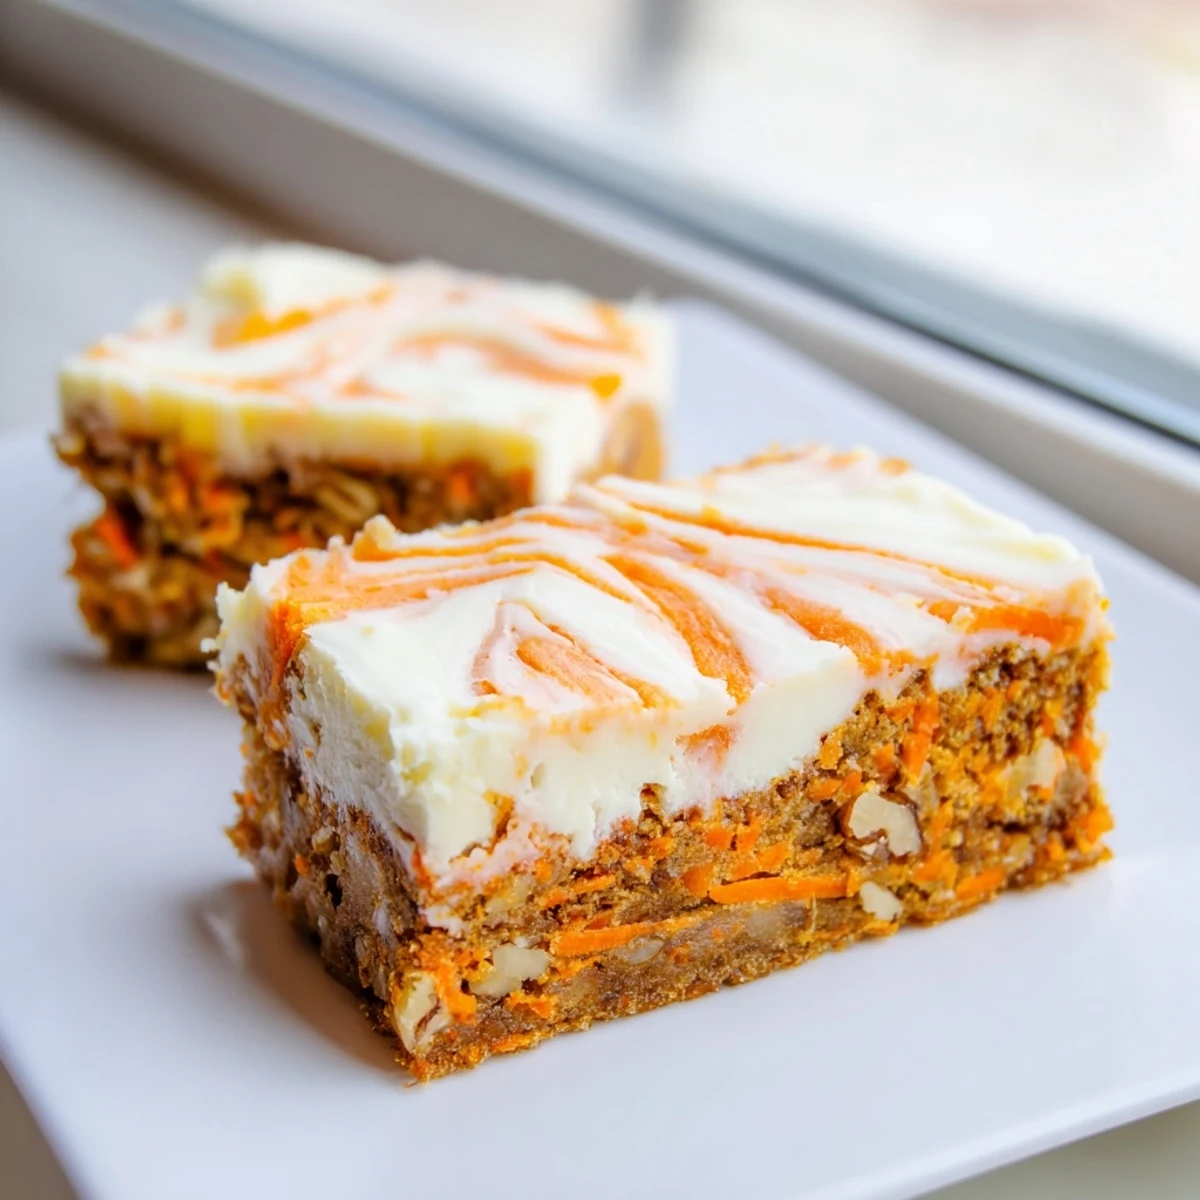
Save These bars combine two beloved desserts into one irresistible treat. A moist, spiced carrot cake batter made with freshly grated carrots, warm cinnamon and nutmeg gets swirled with a rich cream cheese layer. The result is a beautiful marbled pattern that looks impressive but comes together with simple techniques. Perfect for spring gatherings, Easter dessert, or whenever you want something special.
The bars need time to chill before slicing, which makes them ideal for preparing ahead. They keep well in the refrigerator for several days, and the flavors actually improve after a night of chilling. The optional pineapple adds moisture and subtle sweetness, while toasted nuts bring a satisfying crunch to every bite.
My grandmother had this rule about spring desserts that they needed to feel like sunshine on a plate. These bars came from one of those rainy April afternoons when I wanted something cozy but fresh, and now they are my most requested recipe. The way the cheesecake ripples through the spiced carrot cake makes people pause before their first bite.
Last spring I made three pans of these for my daughters birthday celebration because I misjudged how quickly they disappear. Watching friends reach for seconds while talking about their own family carrot cake memories reminded me why recipes like this stick around. The pineapple secret was something I learned from a bakery owner who swore it kept the cake tender forever.
Ingredients
- All-purpose flour: The foundation that gives these bars their structure without becoming dense
- Baking powder and soda: These work together to create the perfect rise for both layers
- Salt, cinnamon, and nutmeg: The warm spice trio that makes carrot cake taste like home
- Light brown sugar: Adds moisture and a deep caramel note that white sugar alone cannot provide
- Vegetable oil: Keeps the cake layer incredibly moist for days
- Finely grated carrots: Grate them yourself for better texture and fresh flavor
- Crushed pineapple: The secret ingredient that makes these bars exceptionally tender
- Cream cheese: Use full fat and let it soften completely for the smoothest swirling layer
Instructions
- Get your oven ready:
- Preheat to 350°F and line an 8x8 pan with parchment letting the edges hang over for easy removal later
- Mix the dry ingredients:
- Whisk together the flour baking powder baking soda salt cinnamon and nutmeg in a medium bowl
- Prepare the carrot batter:
- Whisk the sugars eggs oil and vanilla until smooth then fold in the carrots pineapple and nuts
- Combine everything:
- Stir the dry ingredients into the wet mixture just until no flour streaks remain
- Make the cream cheese layer:
- Beat the cream cheese until completely smooth then add the sugar egg and vanilla
- Layer and swirl:
- Spread most of the carrot batter in the pan add the cream cheese mixture then dollop remaining batter on top and swirl gently with a knife
- Bake to perfection:
- Bake for 38 to 42 minutes until a toothpick comes out mostly clean then cool completely before chilling
 Save
Save These bars have become my go to for potlucks because they please everyone from kids who think they hate vegetables to grandparents who remember carrot cake from childhood. Something about the marbled pattern makes people feel special before they even take a bite.
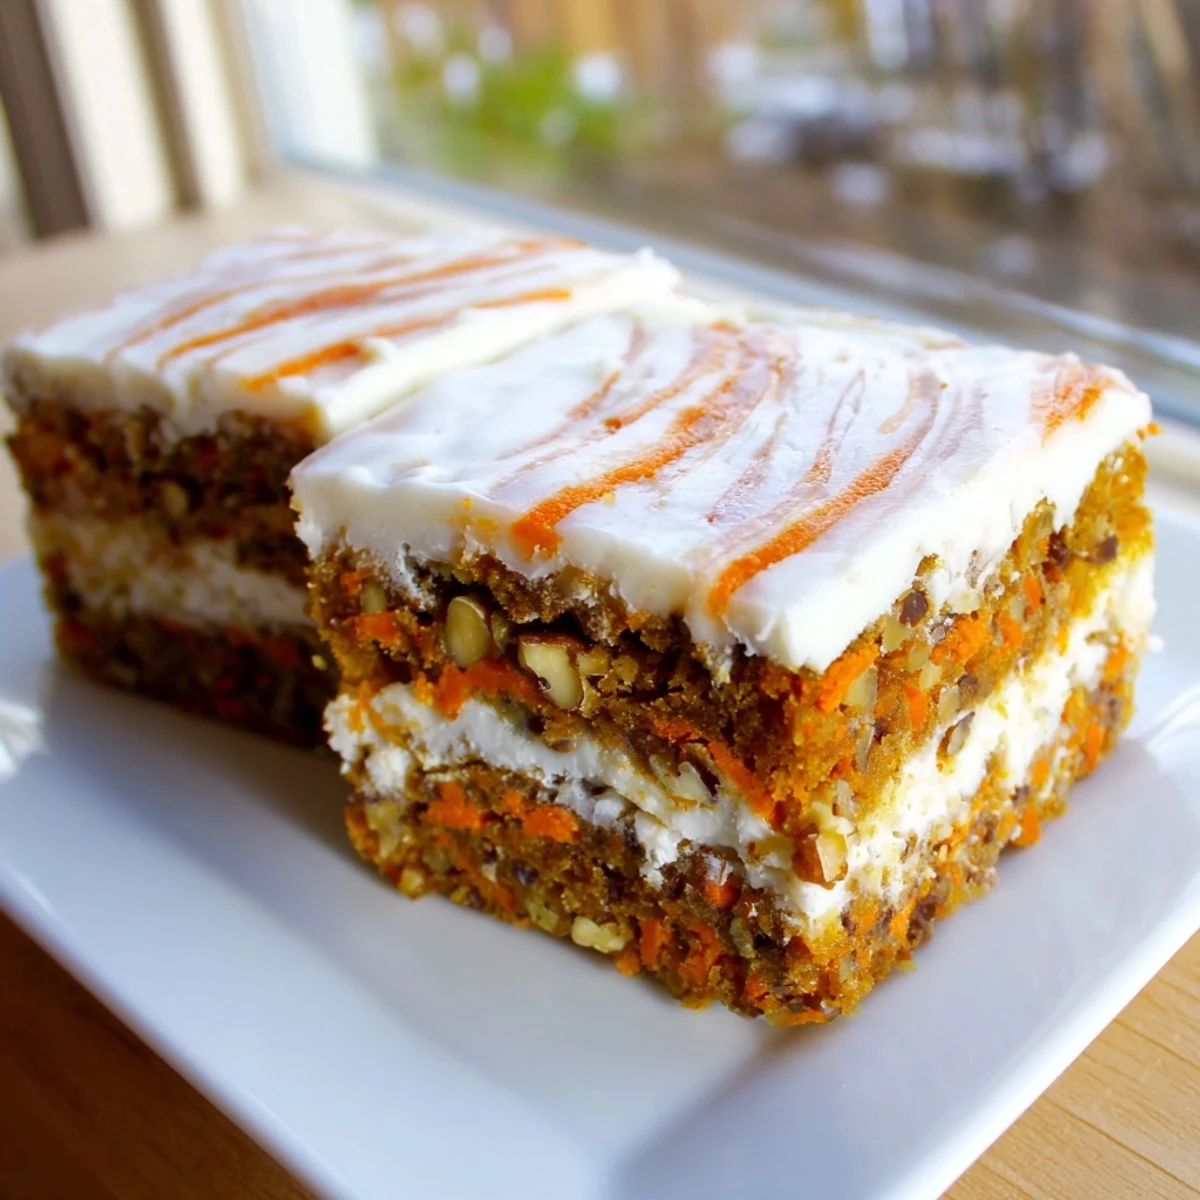
Making The Swirl Pattern
I learned the hard way that swirling too much turns the distinct layers into muddy batter. Run your knife through the batters just three or four times in opposite directions and resist the urge to keep going. The most beautiful bars have distinct ribbons of cream cheese running through them.
Room Temperature Matters
Cold cream cheese will never blend into a smooth filling no matter how long you beat it. Take it out of the fridge at least an hour before you start baking and the same goes for your eggs. Room temperature ingredients combine into a silky batter that bakes evenly.
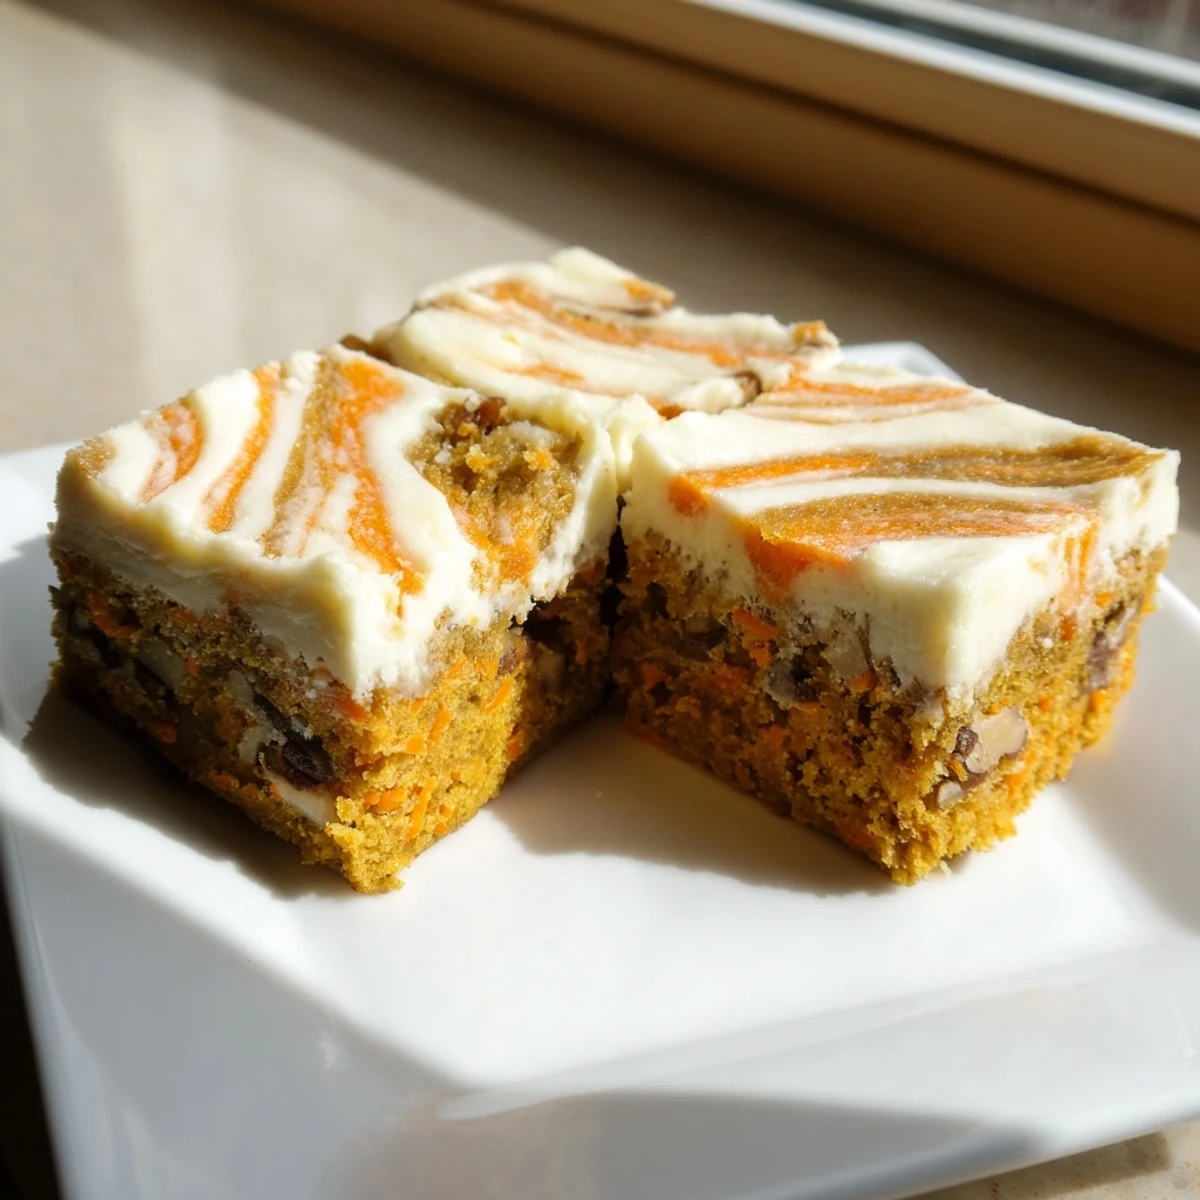
Storage and Serving
These bars need to chill completely before cutting or you will end up with messy edges and frustrated serving attempts. The refrigerator firms up both layers making clean slices possible.
- Use a sharp knife wiped clean between cuts for the prettiest bars
- Let them sit at room temperature for 15 minutes before serving for the best texture
- They freeze beautifully wrapped individually for quick treats later
 Save
Save There is something comforting about a dessert that feels familiar but still surprises you with every bite. Hope these bars bring as much joy to your table as they have to mine.
Common Recipe Questions
- → Can I make these bars ahead of time?
-
Yes, these bars actually improve after chilling. You can make them up to 2 days before serving and store them in the refrigerator. The chilling time also makes them much easier to cut into clean, neat squares.
- → Why is there pineapple in the carrot cake layer?
-
The crushed pineapple adds extra moisture and subtle sweetness to the cake layer. It's completely optional but creates a more tender texture. If you use it, make sure to drain it well to avoid adding too much liquid to the batter.
- → How do I get clean slices when cutting the bars?
-
The key is chilling the bars completely before cutting. Run your knife under hot water and wipe it clean between cuts for the cleanest edges. You can also lift the entire batch out of the pan using the parchment paper overhang for easier slicing on a cutting board.
- → Can I freeze these bars?
-
Yes, they freeze beautifully. Wrap individual bars in plastic wrap and place in an airtight container. They'll keep for up to 3 months in the freezer. Thaw overnight in the refrigerator before serving for the best texture.
- → My bars sank in the middle — what went wrong?
-
Slight sinking is normal for cheesecake-style bars due to the dense cream cheese layer. However, excessive sinking can mean they're underbaked. Make sure to bake until a toothpick comes out mostly clean, and let them cool gradually in the pan rather than exposing them to sudden temperature changes.
- → Can I use a different size pan?
-
An 8x8-inch pan creates the ideal thickness. If you use a 9x9-inch pan, the bars will be thinner and may need a few minutes less baking time. A 9x13-inch pan would make very thin bars better suited as squares rather than dessert bars, so we recommend sticking to the 8x8 size for best results.
