 Save
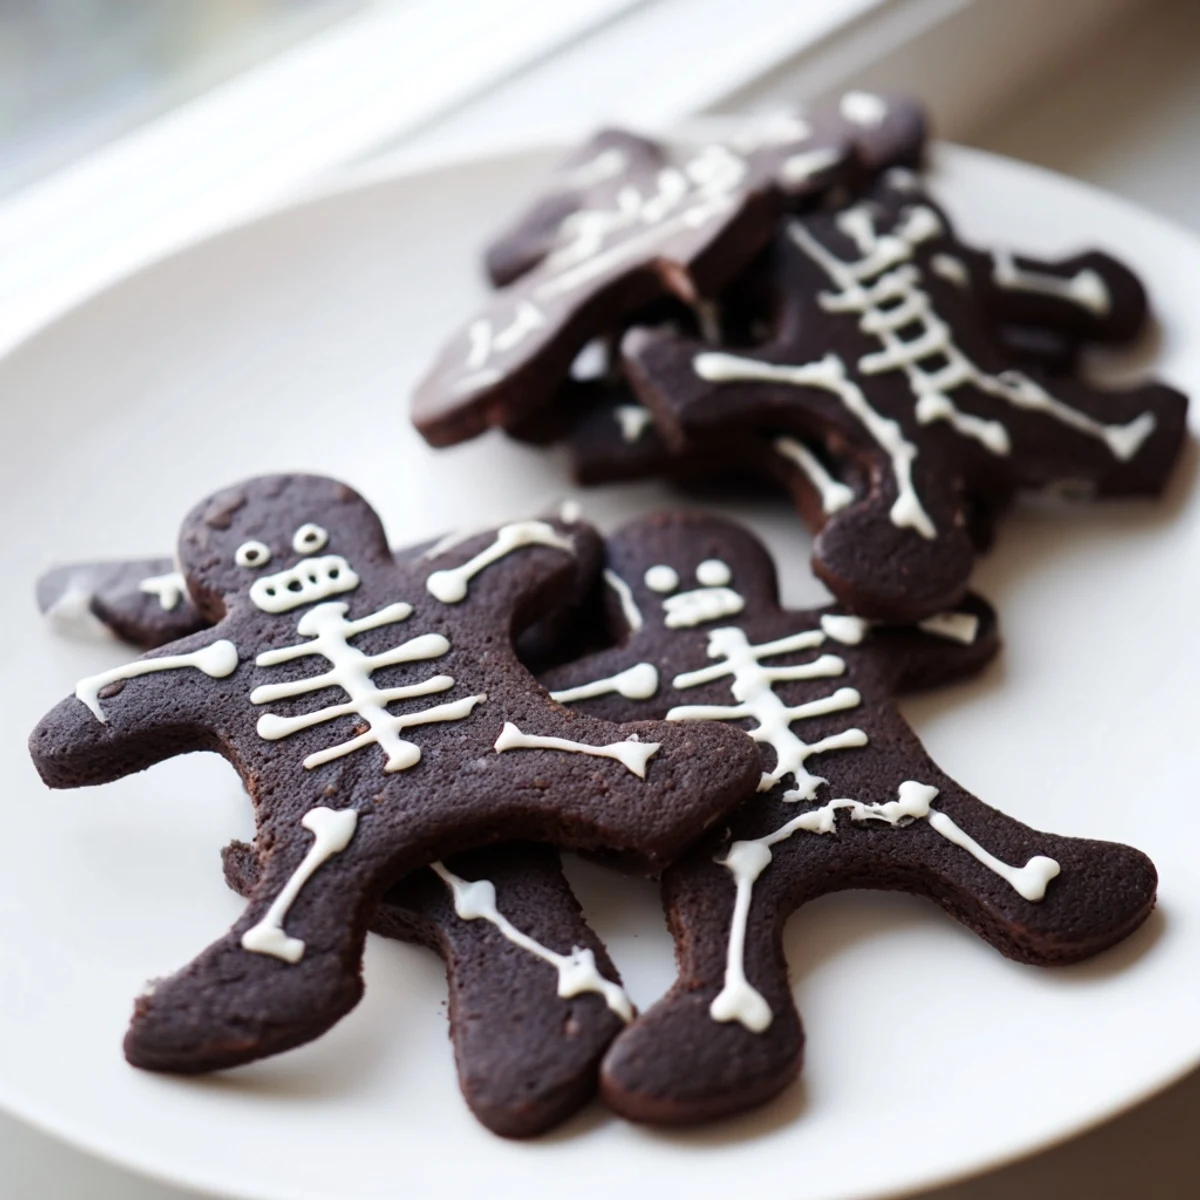
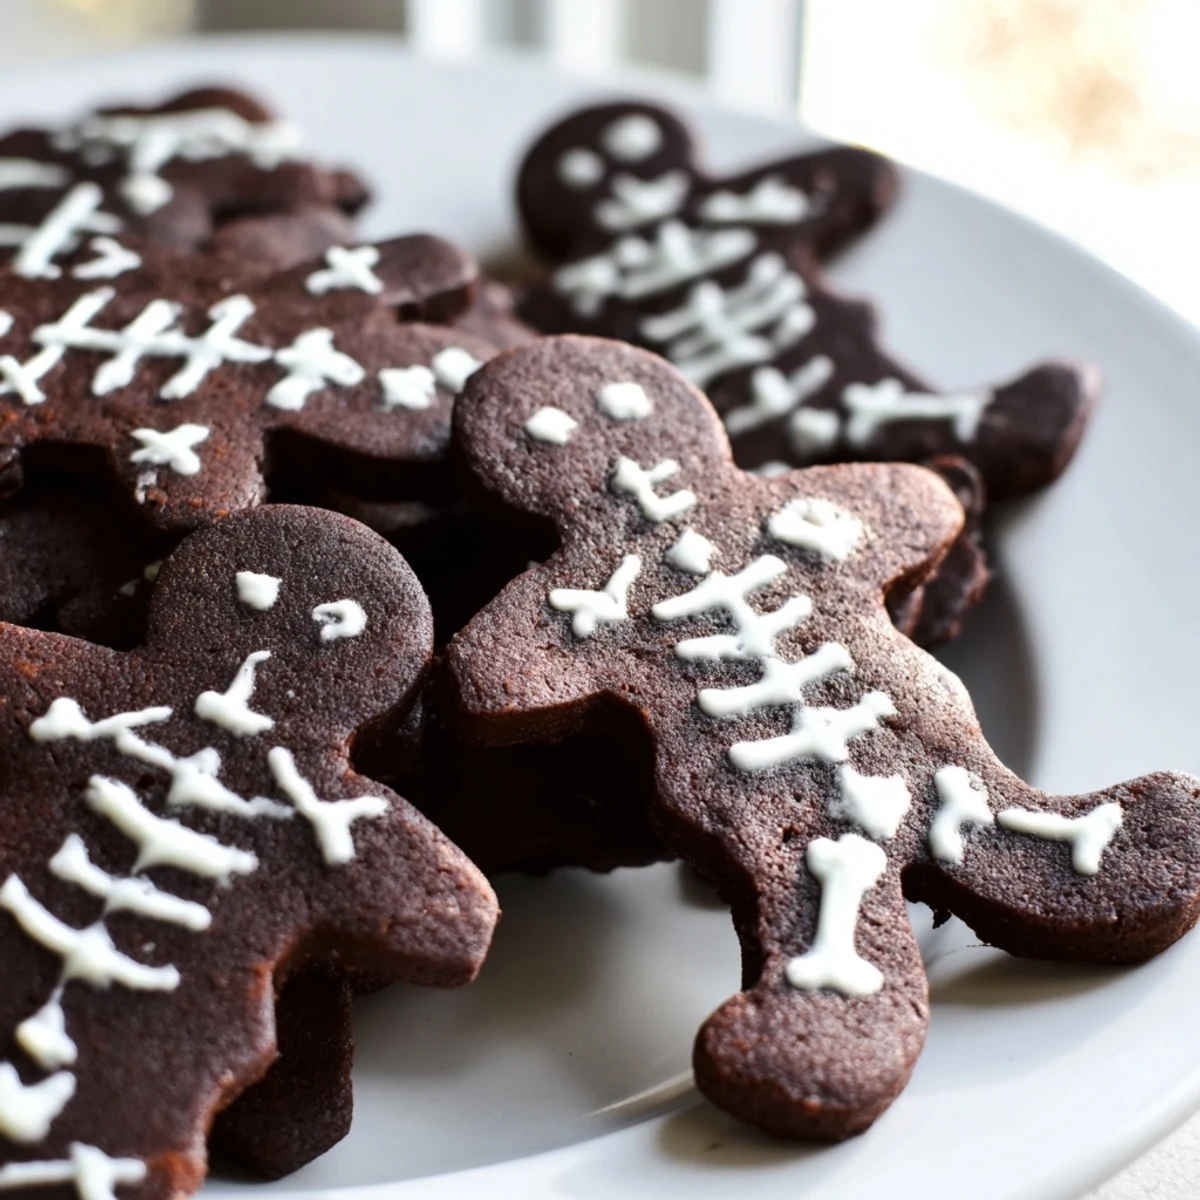
Save Create these hauntingly delicious chocolate cinnamon skeleton cookies for your next Halloween gathering. The rich cocoa dough flavored with warm cinnamon cuts perfectly into skeleton shapes, then gets decorated with pipeable royal icing for that classic skeletal look. With just 25 minutes of active preparation and a quick 12-minute bake, you'll have 2 dozen spooky treats ready for any autumn celebration.
My kitchen looked like a chocolate crime scene last October. Cocoa powder covered every surface, skeleton-shaped cookies were cooling on racks, and I was trying to pipe tiny rib bones onto gingerbread men while my roommate doubled over laughing. These aren't your typical sugar cookies—the combination of dark cocoa and warm cinnamon gives them an unexpected sophistication that somehow makes the silly skeleton shapes even better.
I brought a batch to my niece's class party and her teacher asked for the recipe before the last cookie disappeared. The best part was watching the kids argue over who got the skeleton with the crooked smile I'd accidentally piped sideways. These have become the one Halloween treat I actually look forward to making all year.
Ingredients
- All-purpose flour: Provides the structure for a dough that holds its shape during baking
- Unsweetened cocoa powder: Deep chocolate flavor without making the cookies too sweet
- Ground cinnamon: Warm spice that pairs beautifully with dark chocolate
- Baking powder: Helps the cookies puff slightly while maintaining crisp edges
- Salt: Essential for balancing the sweetness and intensifying the chocolate flavor
- Unsalted butter: Creates a tender crumb and rich flavor profile
- Granulated sugar: Sweetens and helps create crisp edges when creamed with butter
- Egg: Binds the dough and adds structure
- Vanilla extract: Rounds out the chocolate and cinnamon flavors
- Powdered sugar: Creates a smooth, pipeable royal icing that dries firm
- Egg white: The traditional base for royal icing that hardens to a glossy finish
- Water: Adjusts the icing consistency for easy piping
Instructions
- Whisk the dry ingredients:
- In a medium bowl, combine flour, cocoa powder, cinnamon, baking powder, and salt until evenly distributed
- Cream the butter and sugar:
- Beat butter and sugar in a large bowl until light and fluffy, about 2 minutes
- Add the wet ingredients:
- Mix in the egg and vanilla extract until fully incorporated into the butter mixture
- Combine the dough:
- Gradually add the dry ingredients to the wet mixture, mixing just until a dough forms
- Chill the dough:
- Divide dough in half, flatten into disks, wrap in plastic, and refrigerate for at least 30 minutes
- Prepare the oven:
- Preheat oven to 350°F and line baking sheets with parchment paper
- Roll and cut:
- Roll dough to 1/4 inch thickness on a floured surface and cut out skeleton shapes
- Bake until set:
- Bake cookies for 10 to 12 minutes until edges are firm, then cool completely on wire racks
- Make the royal icing:
- Beat egg white with powdered sugar and water until smooth and pipeable
- Decorate the skeletons:
- Transfer icing to a piping bag and create skeleton designs, then let dry completely
 Save
Save My friend's daughter asked if we could make 'zombie princess' cookies by adding pink icing to some of the skeletons, and honestly, it was brilliant. These cookies have become a canvas for whatever weird Halloween creativity strikes.
Making Them Your Own
A pinch of cayenne pepper in the dough adds a subtle heat that makes people pause and wonder what's different. White chocolate chips pressed into the dough before baking create spooky skeleton eyes without any extra work.
Storage and Make-Ahead
The dough disks freeze beautifully for up to three months—just thaw overnight in the refrigerator before rolling. Baked and decorated cookies stay fresh in an airtight container for about a week, though they rarely last that long in my house.
Decorating Without Stress
Simple stick figures are more charming than anatomically correct skeletons. If your piping hand shakes, lean into it—crooked bones and lopsided skulls just make them look more like dancing party guests.
- Practice your skeleton face on a plate before piping on actual cookies
- Keep a damp paper towel wrapped around your piping bag tip when not in use
- Let the base icing dry completely before adding details to prevent bleeding
 Save
Save These cookies have a way of turning even the most Halloween-resistant person into someone who happily eats a chocolate skeleton. Happy haunting.
Common Recipe Questions
- → How long should I chill the cookie dough?
-
Refrigerate the dough for at least 30 minutes. This chilling period helps the dough firm up, making it easier to roll out and cut into clean skeleton shapes without sticking.
- → Can I make the dough ahead of time?
-
Yes, you can refrigerate the wrapped dough disks for up to 2 days before baking. Let them soften slightly at room temperature for about 10 minutes before rolling out.
- → What type of cookie cutter works best?
-
A gingerbread man cutter creates the perfect skeleton shape. Look for one that's about 4-5 inches tall for best results with the icing details.
- → How do I get the right icing consistency?
-
Add water gradually, starting with 2 tablespoons. The icing should be thick enough to hold its shape when piped but smooth enough to flow easily through a fine tip.
- → Can I freeze the decorated cookies?
-
It's best to freeze undecorated baked cookies. Freeze them in layers between parchment paper for up to 3 months. Thaw completely before adding royal icing decorations.
- → What's the best way to store finished cookies?
-
Keep decorated cookies in an airtight container at room temperature for up to a week. Place parchment paper between layers to prevent the icing from smudging.
