 Save
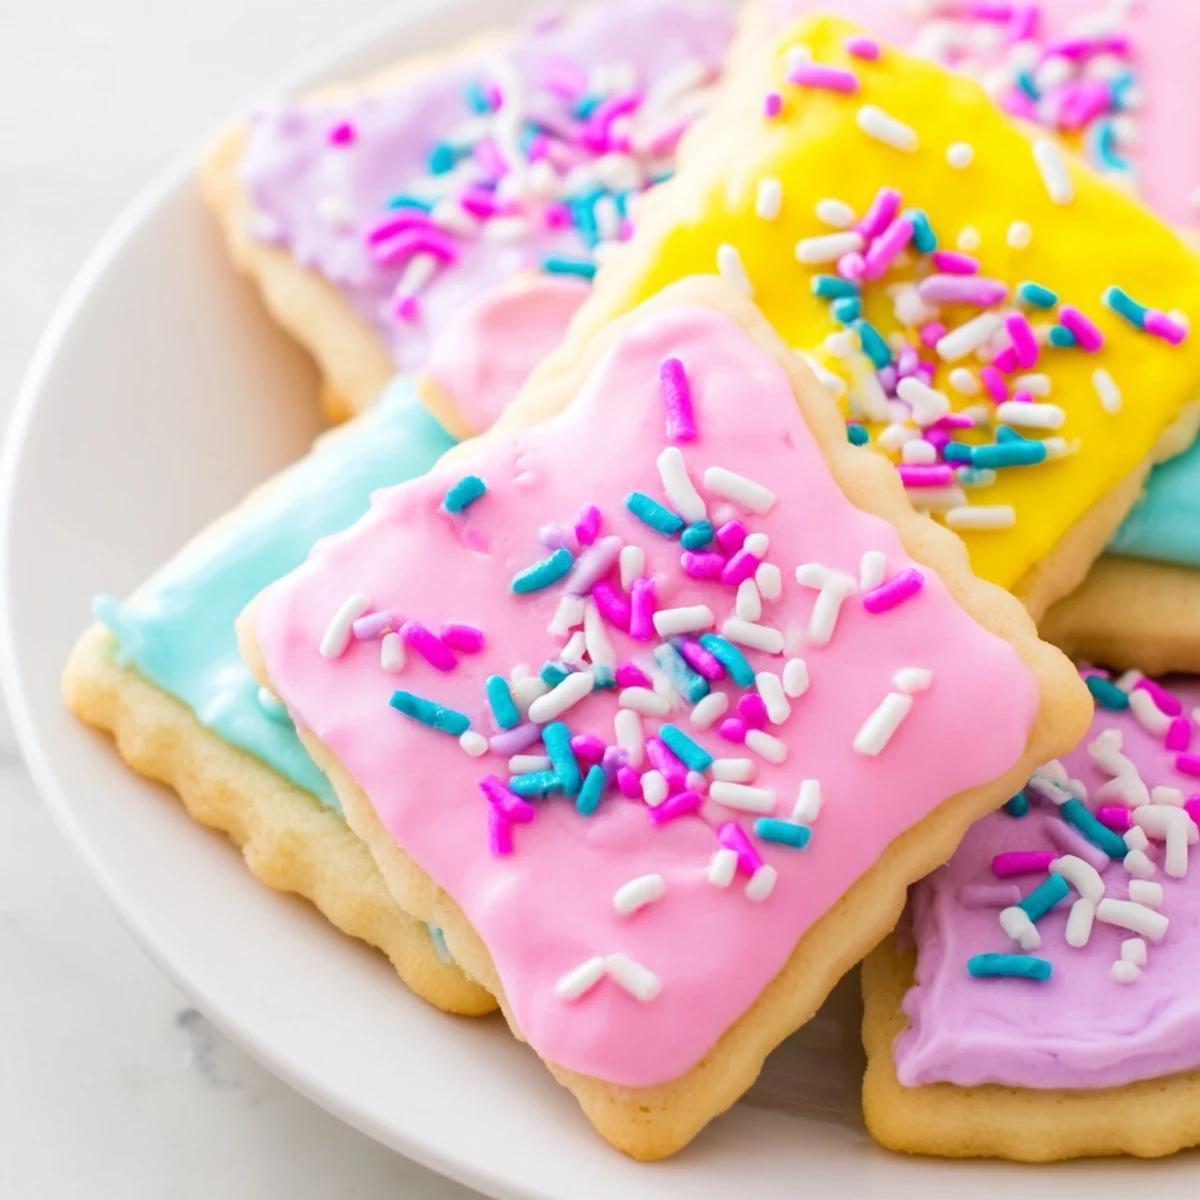
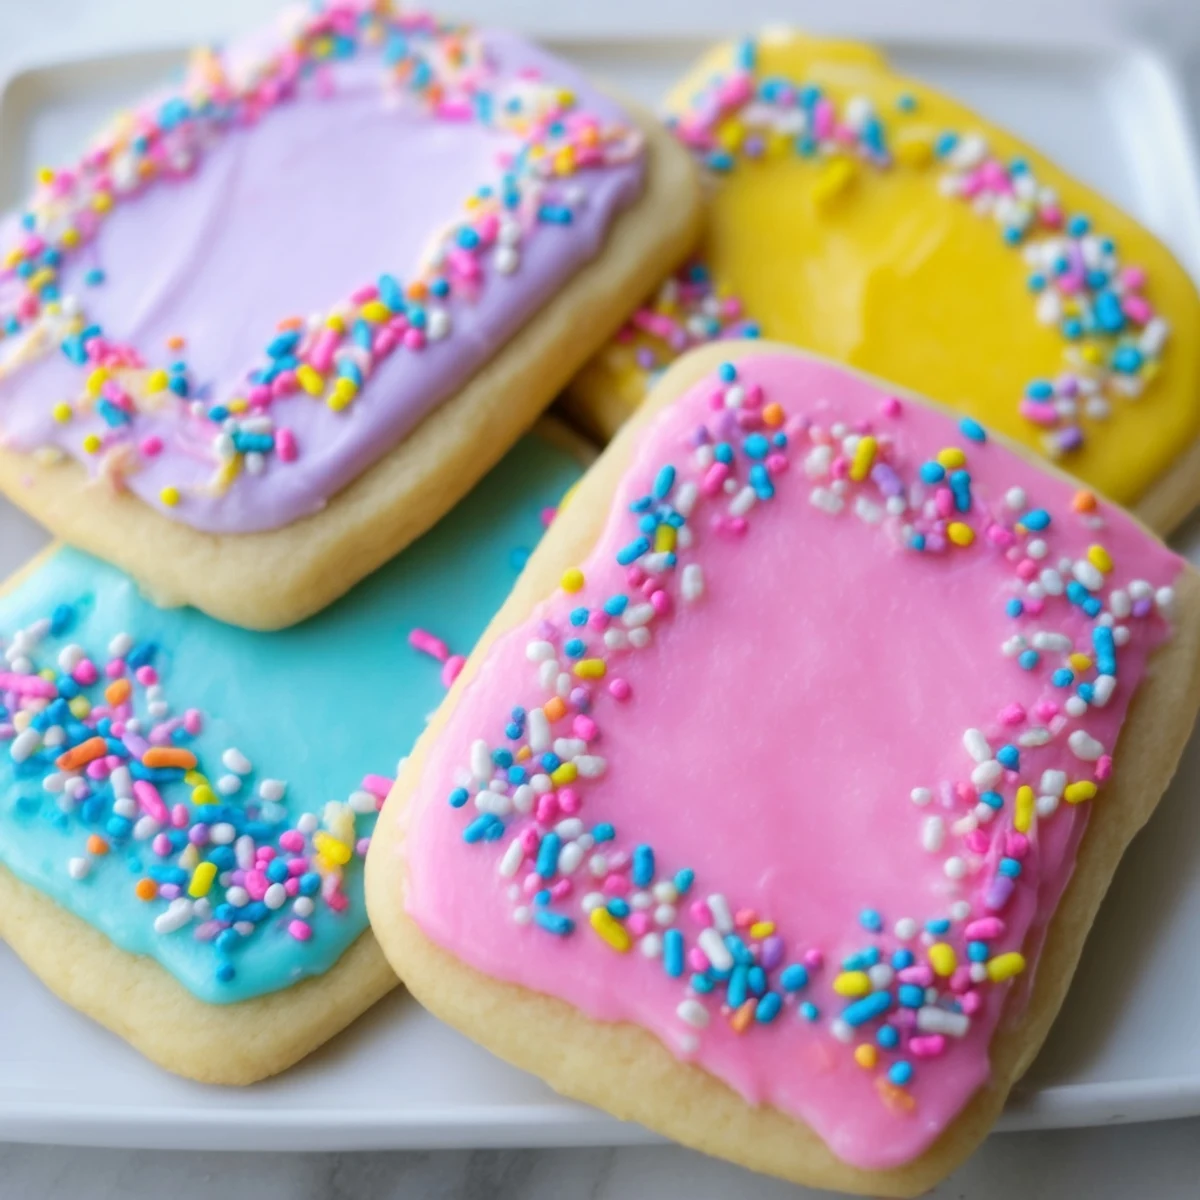
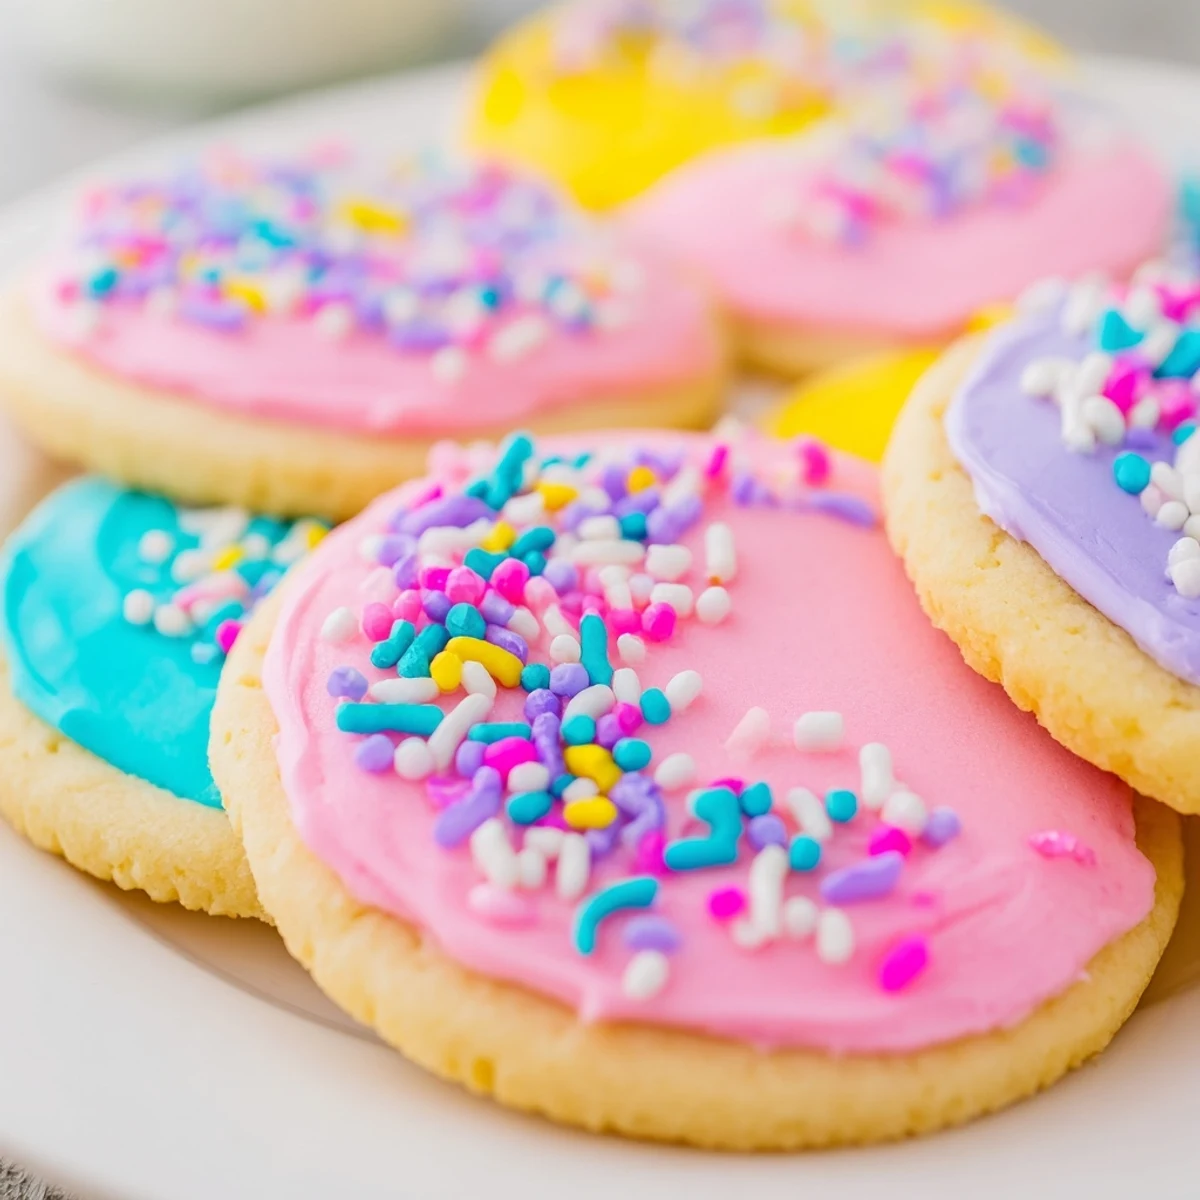
Save These tender sugar cookies feature a classic buttery vanilla base that rolls out beautifully for Easter-themed shapes. The accompanying royal icing creates a smooth canvas for pastel colors and decorative sprinkles, making them perfect for spring festivities. With just 25 minutes of active prep time, you can create two dozen decorated cookies that bring joy to any gathering.
The kitchen filled with butter and vanilla while my preschooler stood on a chair, covered in flour and absolutely certain she could cut out better Easter bunnies than me. Those first few cookies came out misshapen and lopsided, but they were the ones everyone fought over because they were made with such genuine joy. Now Easter cookie decorating has become our most anticipated tradition, complete with pastel icing everywhere and zero concern for perfection.
Last spring I made three batches for our neighborhood egg hunt, and I learned quickly that having extras is nonnegotiable. The teenagers who usually pretend to be too cool for everything were caught redhanded at the decorating table, piping icing onto egg shapes and arguing over who got the last of the purple sprinkles. Something about these cookies brings out the playful side in everyone.
Ingredients
- All-purpose flour: The structure that holds everything together, measure by weight if possible for consistent results
- Baking powder: Just enough to give the cookies a subtle lift without making them cakey
- Salt: A tiny pinch that balances the sweetness and makes all the flavors pop
- Unsalted butter: Room temperature is nonnegotiable here, cold butter will give you a tough dough
- Granulated sugar: Creates that classic crisp edge while keeping centers tender
- Large egg: Binds the dough and adds richness, let it come to room temperature too
- Pure vanilla extract: Do not skip or substitute, this is the backbone of the flavor profile
- Powdered sugar: Must be sifted or your icing will have stubborn lumps that ruin the smooth finish
- Milk or water: Start with less and add drop by drop until you reach your desired consistency
- Light corn syrup: The secret ingredient that makes icing harden beautifully with a glossy sheen
- Food coloring: Gel colors give more vibrant shades with less liquid, which keeps your icing from getting too thin
Instructions
- Whisk your dry ingredients:
- Combine flour, baking powder, and salt in a medium bowl, then set it aside and resist the urge to rush this step
- Cream the butter and sugar:
- Beat them together for a full two to three minutes until the mixture looks pale and fluffy, this incorporates air for lighter cookies
- Add the egg and vanilla:
- Mix until everything is completely combined, scraping down the sides of the bowl to catch any butter hiding at the bottom
- Combine wet and dry:
- Gradually add the flour mixture, mixing just until you no longer see dry streaks, overworking makes tough cookies
- Chill the dough:
- Divide in half, flatten into disks, wrap tightly, and refrigerate for at least thirty minutes, this prevents spreading in the oven
- Prep your space:
- Heat oven to 350°F and line baking sheets with parchment paper before you start rolling out the chilled dough
- Roll and cut:
- Work with one disk at a time, roll to quarterinch thickness on a floured surface, and cut shapes close together to minimize rerolling
- Bake to perfection:
- Arrange cookies one inch apart and bake for eight to ten minutes until edges look set but centers remain soft
- Cool completely:
- Let them rest on the baking sheet for five minutes before moving to a wire rack, warm cookies will melt your icing right off
- Make the royal icing:
- Whisk powdered sugar, liquid, corn syrup, and extract until smooth, then adjust consistency as needed
- Decorate your hearts out:
- Tint portions with food coloring, pipe or spread onto cooled cookies, and add sprinkles before the icing sets
 Save
Save My grandmother kept her decorated cookies in a pretty tin on the counter, and I swear they tasted better on day three after the flavors had melded together. The icing would develop this delicate crackle that made each bite absolutely perfect with a cup of tea. Some traditions persist for good reason.
Making Ahead
You can make the dough up to three days in advance and keep it wrapped tightly in the refrigerator, or freeze it for up to a month. Just let it thaw overnight in the fridge before rolling. The icing keeps in airtight containers for about a week, but separate colors if you plan to store it.
Decorating With Kids
Set up a decorating station with plastic tablecloths, small bowls of sprinkles, and thicker icing that is easier for little hands to control. I have found that giving each child their own small piping bag prevents arguments over who gets which color. The results may not be Instagram perfect, but the memories absolutely will be.
Storage Secrets
Once the icing is completely dry, layer the cookies between sheets of wax paper in an airtight container to prevent sticking. They stay fresh at room temperature for up to a week, though in my house they rarely last longer than two days.
- Undecorated cookies freeze beautifully for up to three months
- Thaw frozen cookies in the container to prevent condensation from making the icing sticky
- Never store soft and crisp cookies together or the soft ones will make the crisp ones soggy
 Save
Save May your kitchen be dusted with flour and your heart full of the simple joy that only cookie decorating can bring.
Common Recipe Questions
- → How long should I chill the cookie dough?
-
Chill the dough for at least 30 minutes wrapped in plastic. This prevents spreading during baking and makes rolling easier. You can chill overnight if needed—let it soften slightly at room temperature before rolling.
- → Can I make these cookies ahead of time?
-
Yes! Undecorated baked cookies store well in an airtight container for up to 1 week. You can also freeze the dough disks for up to 3 months. Decorated cookies keep best when the icing has fully set—usually 4-6 hours at room temperature.
- → What's the best way to get smooth icing?
-
Sift your powdered sugar first to remove lumps. Adjust the icing consistency with small amounts of milk or water—thicker for outlining, thinner for flooding. Let each layer dry completely before adding details.
- → Why did my cookies spread too much?
-
This usually happens when dough is too warm. Keep dough chilled until baking, and work in batches. Also measure flour correctly—spoon into your measuring cup and level off, rather than scooping directly which compacts the flour.
- → Can I use different cookie cutters?
-
Absolutely! These work with any shape cutters you have. Just adjust baking time slightly—smaller shapes may need 1-2 minutes less, while larger ones might need a bit longer. Watch for the edges being set as your cue.
