 Save
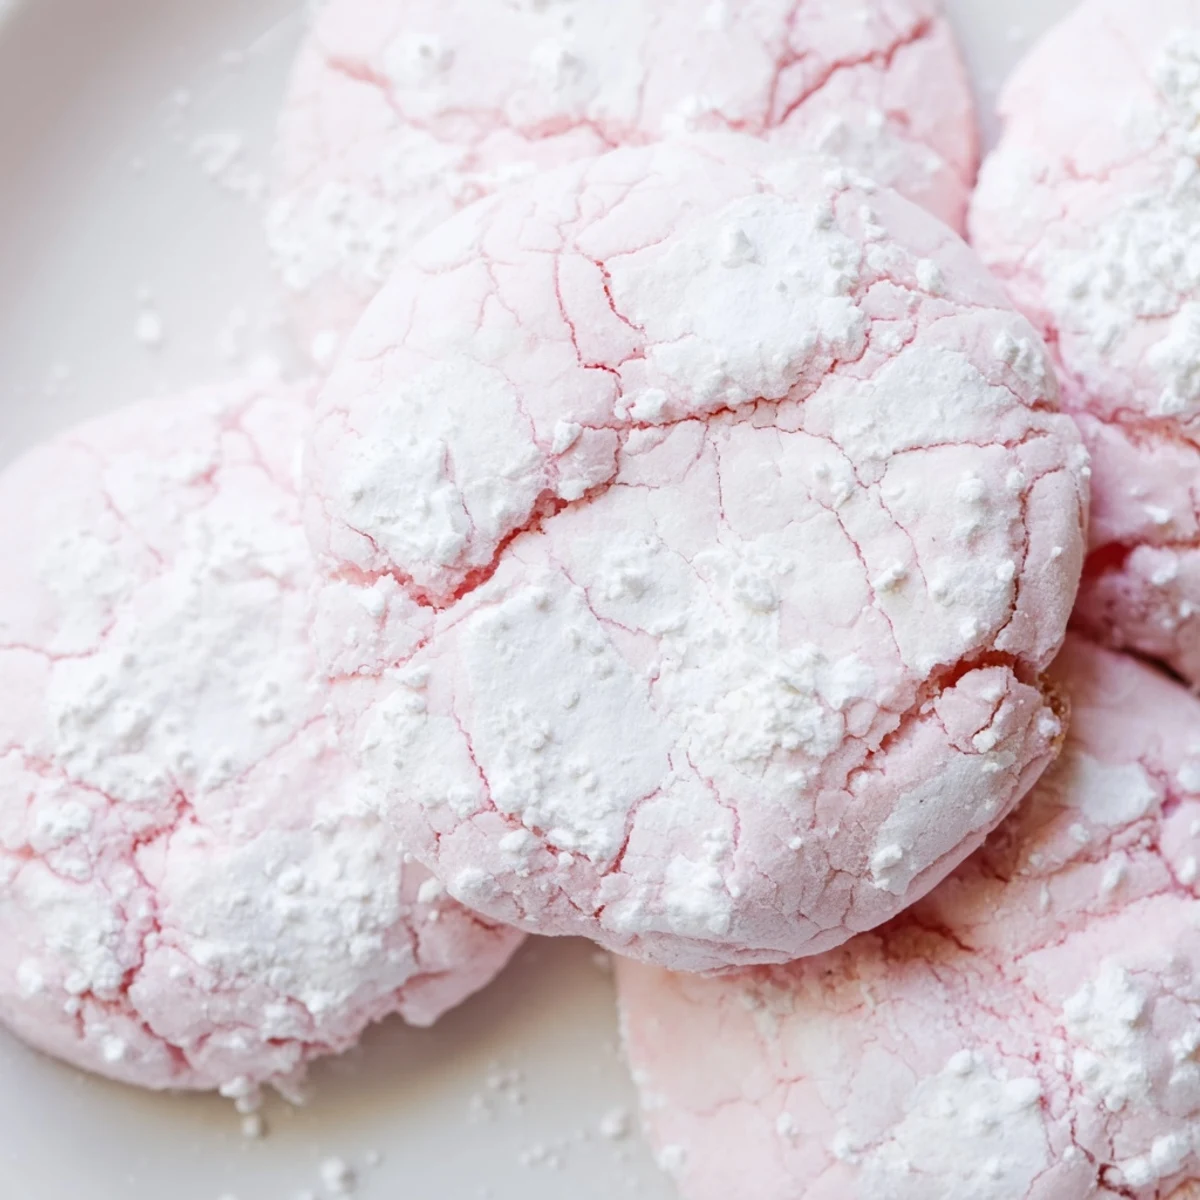
Save These soft and chewy pastel crinkle cookies feature a beautiful crackled appearance from rolling the colored dough in powdered sugar before baking. The result is a delicate, tender cookie with a crisp sugar coating that's perfect for spring celebrations, baby showers, birthdays, or any occasion calling for something sweet and visually stunning.
The dough comes together quickly with basic pantry ingredients, then gets divided and tinted with gel food coloring in your choice of pastel shades. A brief chill ensures the cookies hold their shape while baking, creating those signature cracks as they spread.
Ready in just 30 minutes from start to finish, these cookies are as fun to make as they are to eat. The powdered sugar coating creates a beautiful contrast against the pastel colors, making them irresistible to both eyes and taste buds.
The first time I made these pastel crinkle cookies was for my daughter's spring birthday party. I remember standing in my kitchen with pastel streaks of food coloring all over my hands, feeling like I'd wandered into a cotton candy explosion. When they came out of the oven with those beautiful crackled tops, my daughter actually gasped and said they looked like edible clouds. Now they're the one thing she requests every single year without fail.
Last Easter I made triple batches because my sister insisted on taking some home to her coworkers. I had powdered sugar dusting every surface of my kitchen and dough in four different pastel shades sitting in bowls across the counter. My husband walked in, looked at the colorful chaos, and asked if I'd started a bakery. The best part was watching my niece carefully choose which color cookie she wanted, treating each one like it was a precious gem.
Ingredients
- 2 cups all purpose flour: The foundation of your cookie dough providing structure for that perfect crackle
- 1½ tsp baking powder: Essential for the lift that creates those beautiful cracks as the cookies bake
- ¼ tsp salt: Balances the sweetness and enhances all the flavors
- ½ cup unsalted butter softened: Creates a rich tender crumb so use real butter for best results
- 1 cup granulated sugar: Sweetens the dough while helping create the crackly exterior we love
- 2 large eggs: Provides structure and richness helping bind everything together
- 2 tsp vanilla extract: Pure vanilla extract makes all the difference in flavor here
- ¼ cup whole milk: Adds moisture for that soft chewy texture we are after
- Gel food coloring: Use gel colors not liquid to avoid thinning your dough too much
- ¾ cup powdered sugar: This coating creates that signature snowy crackle effect as it bakes
Instructions
- Preheat your oven:
- Set your oven to 350°F and line two baking sheets with parchment paper so nothing sticks
- Mix the dry ingredients:
- Whisk together flour baking powder and salt in a medium bowl until well combined
- Cream butter and sugar:
- Beat softened butter and granulated sugar until fluffy and pale about 2 to 3 minutes
- Add wet ingredients:
- Beat in eggs one at a time then stir in vanilla extract until fully incorporated
- Combine everything:
- Add flour mixture alternating with milk mixing just until no dry streaks remain
- Divide and color:
- Split dough into 3 or 4 bowls and tint each with different gel food colorings for pastel shades
- Chill if needed:
- Let dough rest for 20 minutes if it feels too soft to handle
- Coat and bake:
- Roll balls in powdered sugar place on baking sheets and bake 10 to 12 minutes until set but soft
- Cool completely:
- Let them rest on the baking sheet for 5 minutes then move to a wire rack to cool
 Save
Save These cookies have become my go to for baby showers and spring gatherings. I love how something so simple can bring such joy to people's faces when they see the pastel colors peeking through the snowy sugar coating. My friend actually cried when I brought her a batch during her pregnancy saying they were exactly the cheerful pick me up she needed.
Making Your Colors Pop
I have learned through many batches that the secret to vibrant yet soft pastel colors is adding gel food coloring a tiny bit at a time. Start with just one drop then mix thoroughly before adding more. It is always easier to deepen a color than to fix one that has become too dark and intense. Remember the colors will deepen slightly as the cookies bake so aim a shade lighter than your final goal.
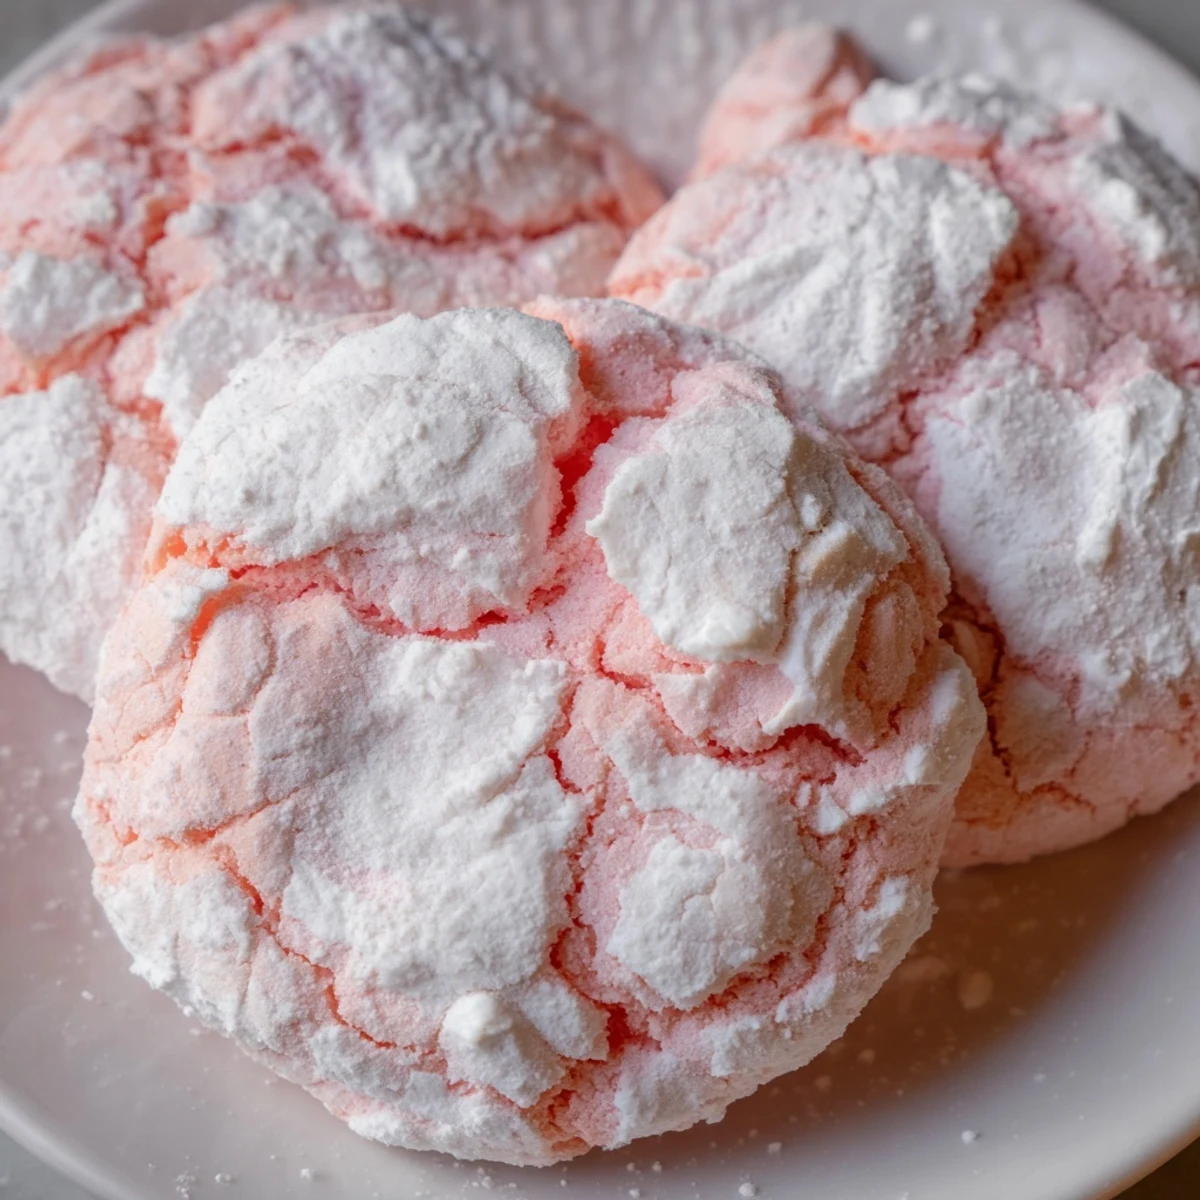
Perfect Crinkle Technique
The most important thing I have discovered about getting those gorgeous cracks is making sure your powdered sugar coating is generous and even. I like to pour the sugar into a small bowl and really roll each dough ball around until it is completely covered. Do not shake off excess because that thick layer is what creates the dramatic cracking pattern as the cookie spreads in the oven.
Storage and Make Ahead Tips
These cookies stay beautifully soft for days when stored properly. I keep them in an airtight container with a piece of bread which helps maintain their chewy texture even longer. You can also freeze the unballed dough for up to a month letting it thaw overnight in the refrigerator before rolling and baking.
- The dough balls can be frozen on a baking sheet then transferred to a freezer bag for quick fresh cookies anytime
- Let baked cookies cool completely before storing or they will become soggy from trapped steam
- These actually taste even better on day two as the flavors have time to meld together
 Save
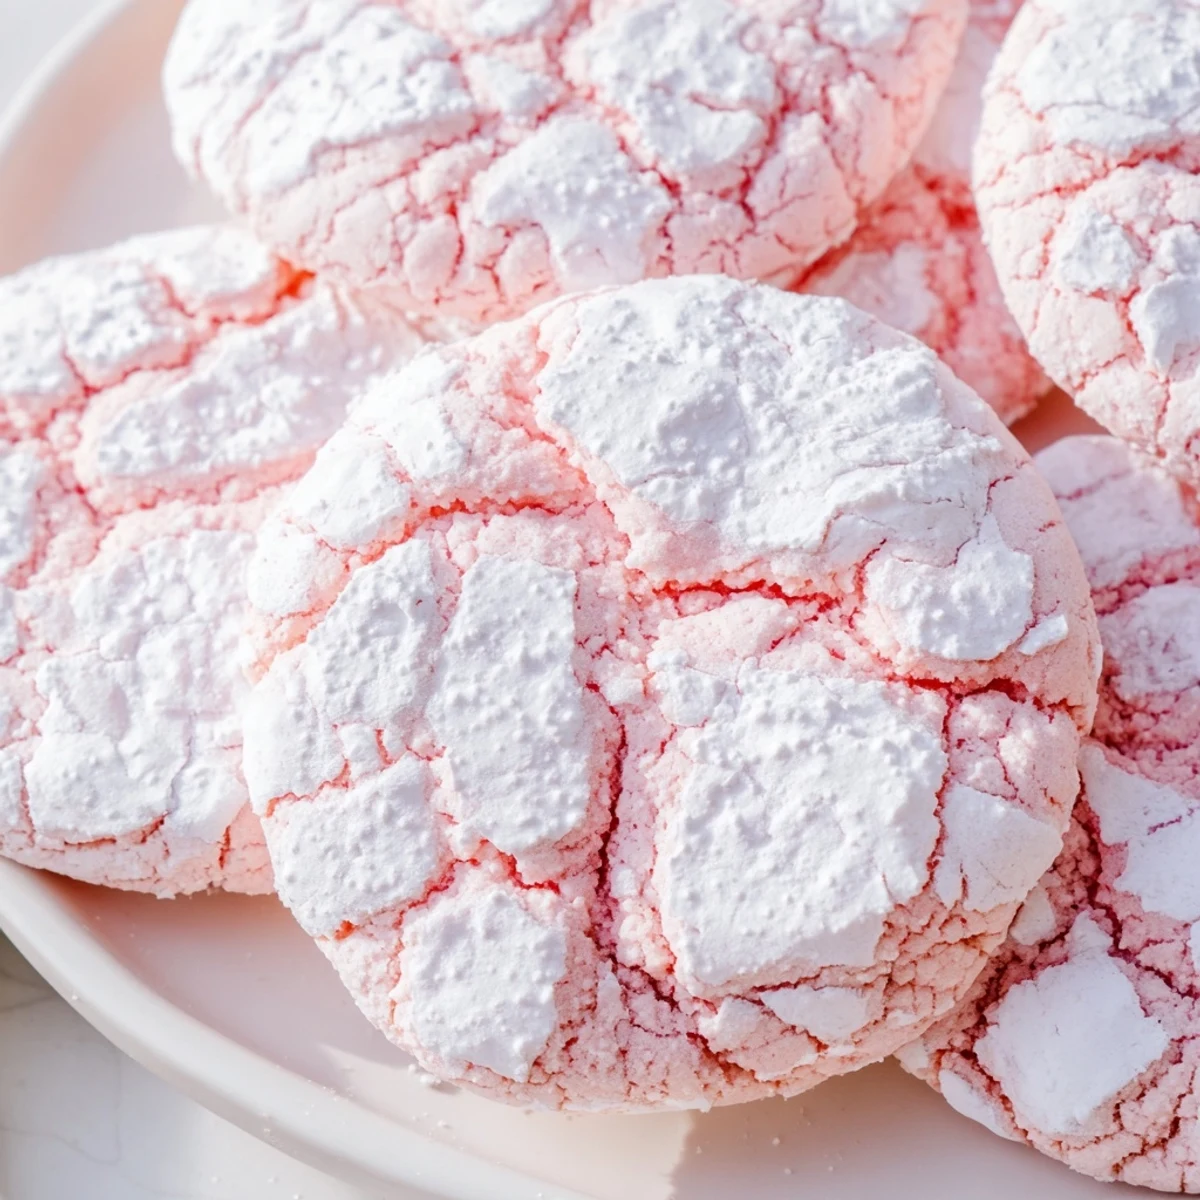
Save There is something so satisfying about pulling a tray of these colorful cookies out of the oven and seeing those perfect crackles forming. I hope they bring as much joy to your kitchen as they have to mine.
Common Recipe Questions
- → Why do my cookies lose their crackled pattern?
-
The crackled pattern forms when the powdered sugar coating splits as the cookies spread in the oven. If your dough is too warm or the sugar layer is too thin, you may not get distinct cracks. Chill the dough for 20 minutes before rolling and ensure a generous coating of powdered sugar for the best results.
- → Can I make the dough ahead of time?
-
Yes, you can prepare the colored dough and refrigerate it for up to 24 hours before baking. Let it soften slightly at room temperature for 10-15 minutes before scooping and rolling in sugar. The dough can also be frozen for up to 3 months—thaw overnight in the refrigerator before baking.
- → What type of food coloring works best?
-
Gel food coloring is ideal because it provides vibrant color without adding excess liquid to the dough. Liquid food coloring can make the dough too sticky and affect the texture. Start with a small amount and add more gradually until you reach your desired pastel shade.
- → How do I know when the cookies are done?
-
The cookies are ready when the edges are set and lightly golden, but the centers still feel soft to the touch—about 10-12 minutes. They will continue cooking slightly on the baking sheet, so remove them before they look completely firm. Overbaking will result in dry cookies instead of soft and chewy ones.
- → Can I use different colors or fewer colors?
-
Absolutely! You can use any combination of colors you prefer. Try two-tone cookies for a simpler look, or use seasonal colors for holidays. Just keep in mind that darker colors may require more gel coloring, which could slightly affect the dough consistency.
- → Why did my cookies spread too much?
-
Excessive spreading usually happens when the dough is too warm or if there's not enough flour. Make sure to chill the dough for 20 minutes if it feels soft, and measure your flour accurately by spooning it into the measuring cup and leveling off the top. Room temperature butter also helps control spreading.
