 Save
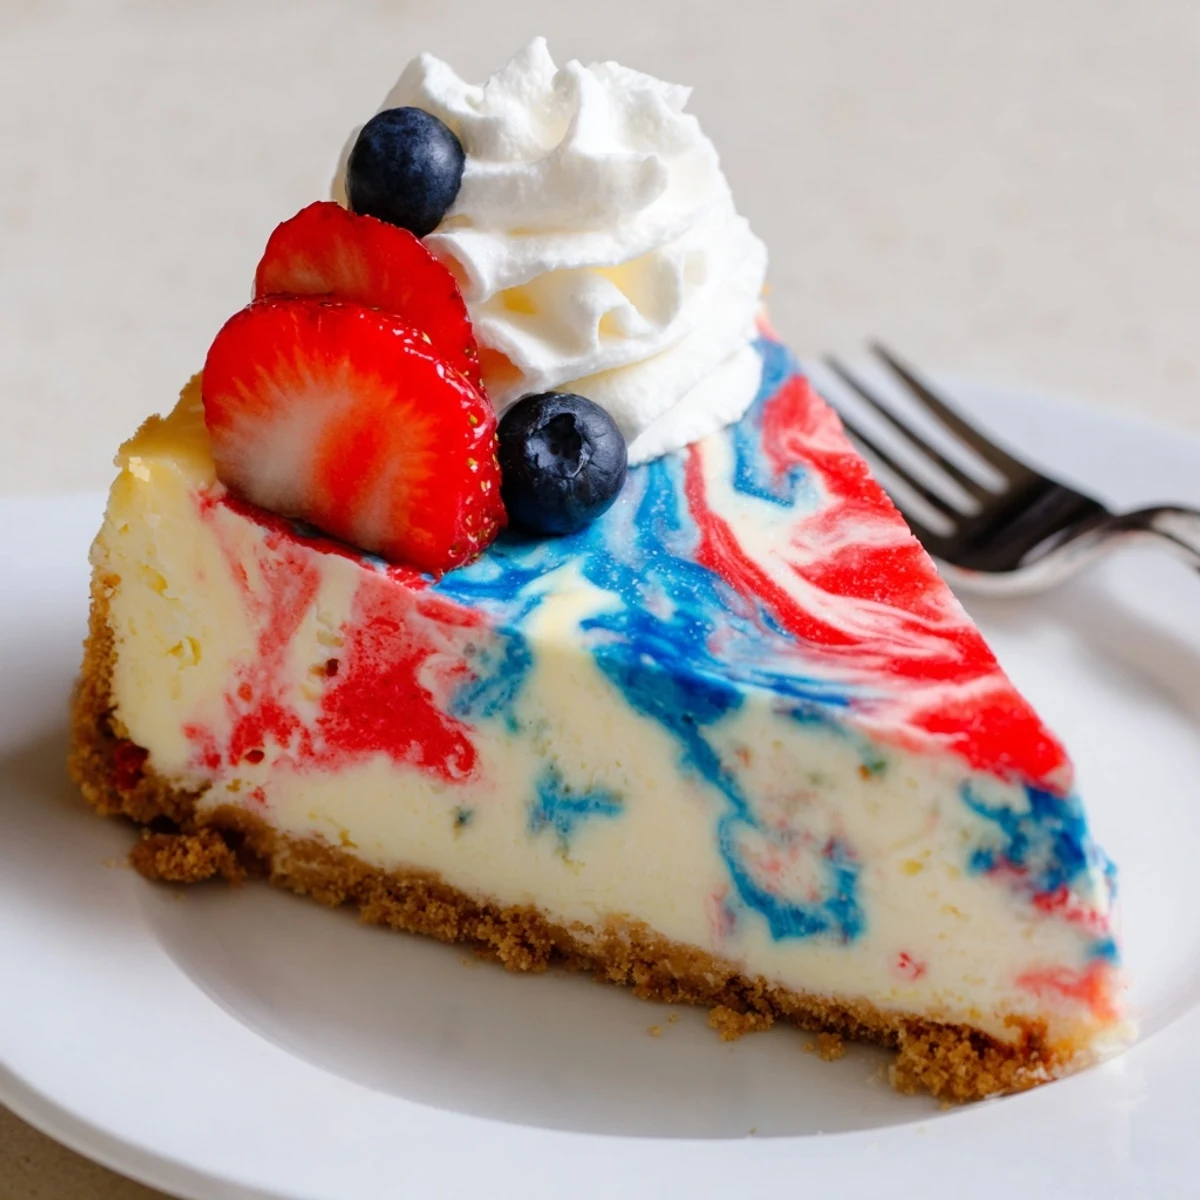
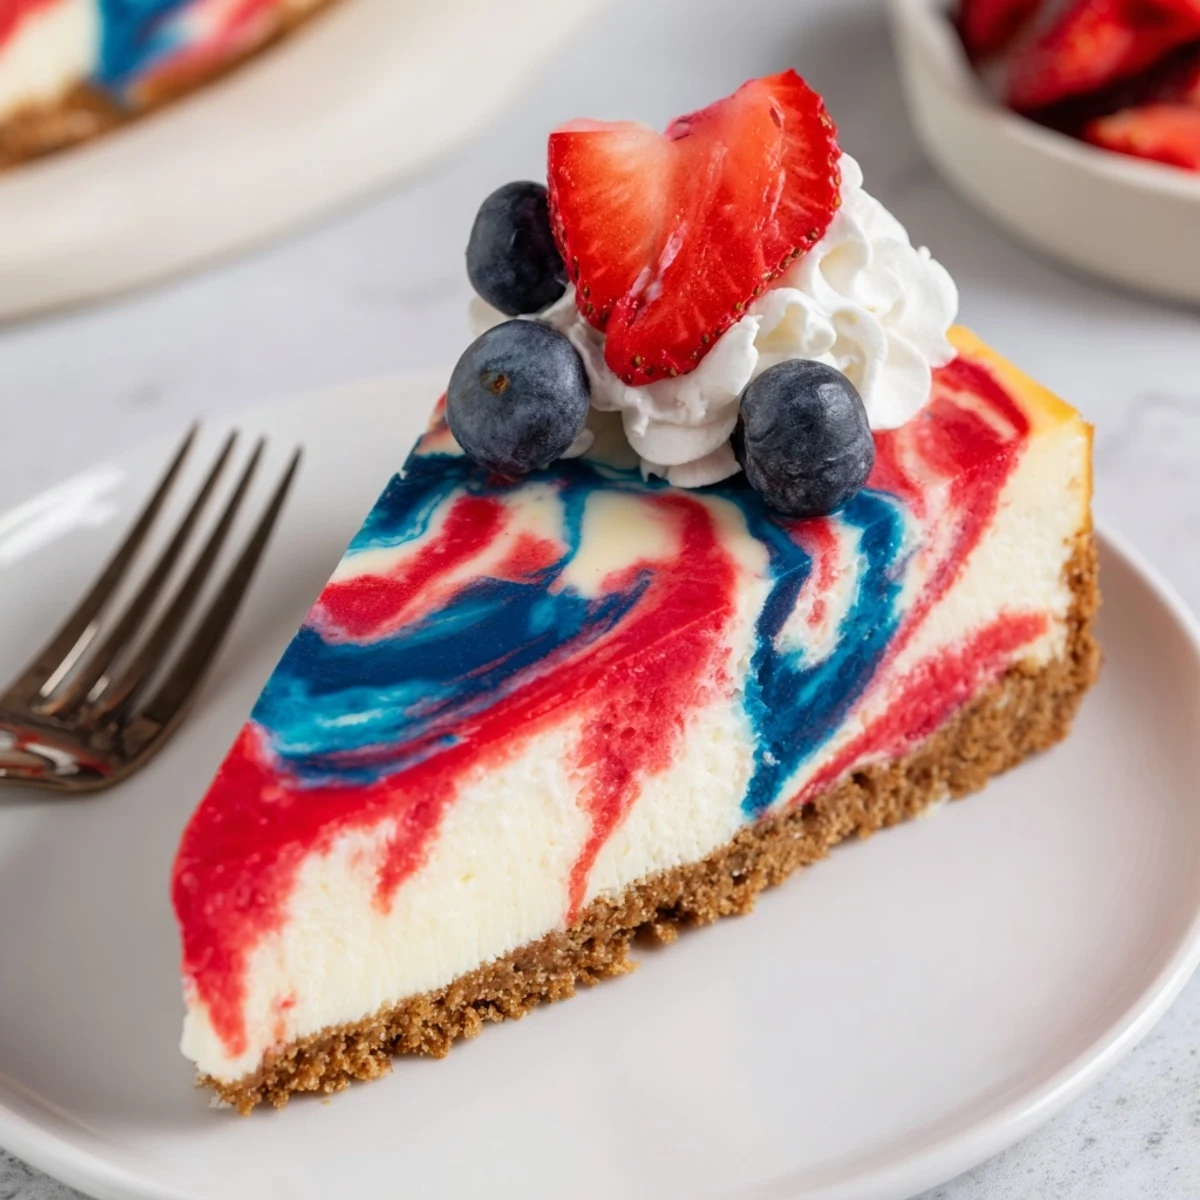
Save This festive cheesecake begins with a baked graham crust and a smooth cream cheese filling. The batter is divided into three portions—one plain, one tinted red, one tinted blue—then layered and gently swirled for a marbled effect. Bake until the center is just set, cool in the oven with the door cracked, then chill at least three hours. Use gel colors and avoid overmixing to keep vivid bands.
The first time I tried making this patriotic swirl cheesecake, there was a sudden hush in the kitchen as colors started weaving through the creamy batter. It’s funny how red and blue food coloring can turn an ordinary afternoon into a giddy celebration. While the oven gently warmed the room, my cat watched, mesmerized by the swirling motion in the pan. Even before tasting, I suspected this would win over any crowd with its eye-catching marbled charm.
I once brought this cheesecake to a Fourth of July barbecue, praying it would hold up in the heat and that the colors wouldn't blend into a purple disaster. Kids immediately gravitated to the bold slices, comparing which color they got more of, and I caught adults sneaking second helpings by the picnic table. That little moment of sharing dessert on a plaid blanket made all the swirling worth it.
Ingredients
- Graham cracker crumbs: The finer you crush them, the smoother your crust will be; press them in firmly for a solid base that doesn’t crumble.
- Unsalted butter: Melted butter brings the crumbs together and gives the crust a golden richness—I always let it cool for a minute to avoid hot spots.
- Granulated sugar (for crust and filling): Adds just enough sweetness to balance the tangy filling; don’t pack it when measuring.
- Pinch of salt: The secret to intensifying buttery, toasty crust flavor, never skip it.
- Cream cheese: Let it come fully to room temp—that’s how you avoid lumps and ensure a silky batter.
- Vanilla extract: One teaspoon leaves just the right perfumed hint; don’t overdo or it muddles the colors.
- Eggs: Add them one by one—if you rush, you’ll end up with a dense cheesecake.
- Sour cream: Adds a pillowy lightness and tang; full-fat works best for texture.
- All-purpose flour: A spoonful thickens the batter enough to hold those festive swirls together during baking.
- Red and blue gel food coloring: Gel helps colors pop without thinning out your batter—I’ve found toothpicks make swirling easier for clean lines.
Instructions
- Get everything ready:
- Preheat your oven to 325°F and line a 9-inch springform pan with parchment—the crinkle it makes against the tin is the start of something special.
- Crust creation:
- Mix graham crumbs, sugar, salt, and melted butter until it feels like wet sand; press into the pan and listen for the soft crunch. Bake for 10 minutes then let it cool while you revel in the sweet aroma.
- Mix the filling:
- Let the mixer whip cream cheese until smooth, scraping down sides. Blend in sugar and vanilla, then eggs one at a time—pause to scrap down a second time for absolute smoothness.
- Add sour cream and flour:
- Stir in both gently, just until the last bit of flour disappears and the batter looks glossy and thick.
- Divide and color:
- Spoon the batter evenly into three bowls; stir red gel into one, blue into another, and leave the third plain—don't overmix or you'll muddy the hues.
- Swirl magic:
- Drop spoonfuls of each color randomly over the crust, creating a cheerful patchwork. Glide a skewer or knife in loops to swirl, but restraint is your friend—distinct ribbons look best.
- Into the oven:
- Bake for 50-60 minutes till the center is just set but slightly jiggly; turn off oven, crack the door, and cool inside for an hour as cracks are quietly prevented.
- Chill completely:
- Transfer to fridge and chill at least 3 hours—waiting is the hardest part, but it ensures those swirls slice cleanly.
 Save
Save The first time someone called this the 'fireworks cheesecake,' my face hurt from smiling all evening. It’s not just about taste, but watching friends eagerly pick their favorite swirl slice that makes baking this worthwhile.
How to Get Bold Swirls
I learned that gel food coloring is non-negotiable if you want those bright pops of red and blue—you really just need a toothpick and a steady hand. Swirl just enough to blend, but stop while you see clear lines; too much fiddling dulls both color and mood.
Making Clean Slices Every Time
A knife dipped in hot water then wiped dry before every cut keeps every piece photo-worthy and stops colors from smearing together. It’s the kind of simple touch that gets comments at the dessert table without anyone knowing why your slices look so perfect.
Serving It Up for the Party
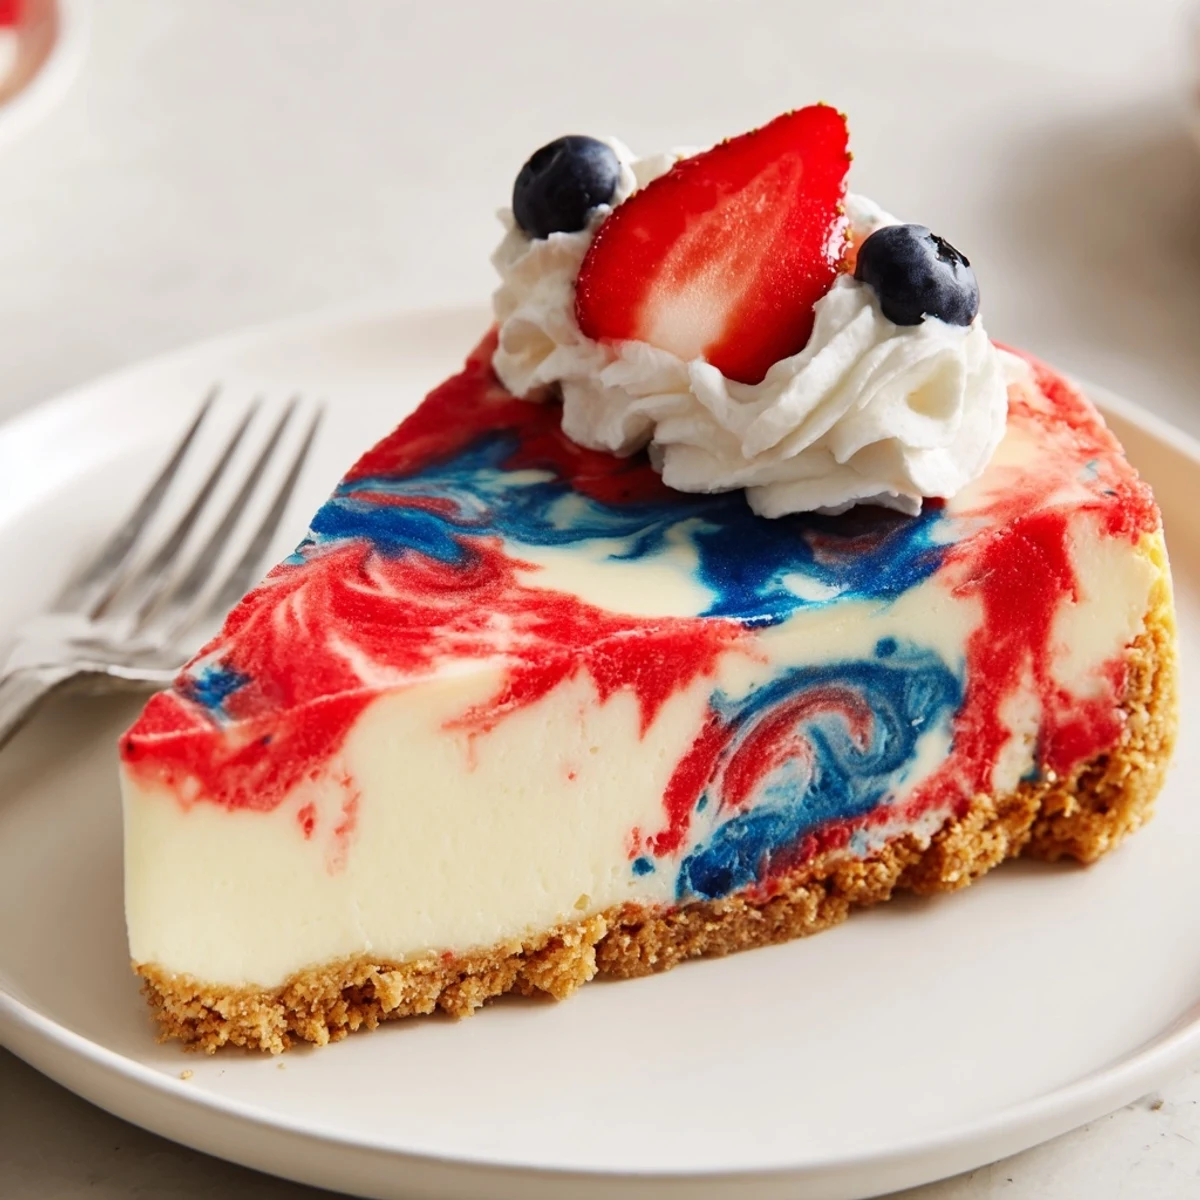
This cheesecake loves a festive table, especially when topped with clouds of whipped cream and a scatter of berries. I’ve found that serving it slightly chilled but not cold brings out the creamy texture best.
- Set the cheesecake out for 20 minutes before slicing for smooth, creamy bites.
- If the top cracks, just cover with whipped cream or extra berries—no one will know.
- For extra wow, alternate berry colors on each slice for a flag-like flair.
 Save
Save Celebration or not, this cheesecake brings a festive spirit and makes every guest feel special. Whether you swirl for a holiday or just a fun night in, you’ll find yourself reaching for this recipe again and again.
Common Recipe Questions
- → How do I keep the swirls distinct?
-
Use gel food coloring for concentrated color, divide the batter into separate bowls, and add spoonfuls rather than pouring. Swirl gently with a skewer and avoid overmixing so the colors remain defined.
- → What prevents cracks on the surface?
-
Bake until the center is just set and slightly jiggly, then turn off the oven and let it cool inside with the door cracked for about an hour. Avoid overbeating the eggs and chill thoroughly before slicing.
- → Is a water bath necessary?
-
A water bath can reduce cracking and promote even baking, but the method here works well with slow cooling inside the oven. If using a water bath, wrap the springform pan in foil to prevent leaks.
- → Can I swap the crust?
-
Yes—substitute crushed shortbread or digestive biscuits for graham crumbs and adjust the melted butter to achieve a pressable texture. Bake the crust briefly before adding the filling for a firmer base.
- → How long should it chill before slicing?
-
Chill at least three hours, though overnight yields the cleanest slices and best texture as the filling fully firms up.
- → How should it be stored and served?
-
Keep chilled in the refrigerator, tightly covered, for up to 3 days. Add whipped cream and fresh berries just before serving to preserve the swirl appearance.
