 Save
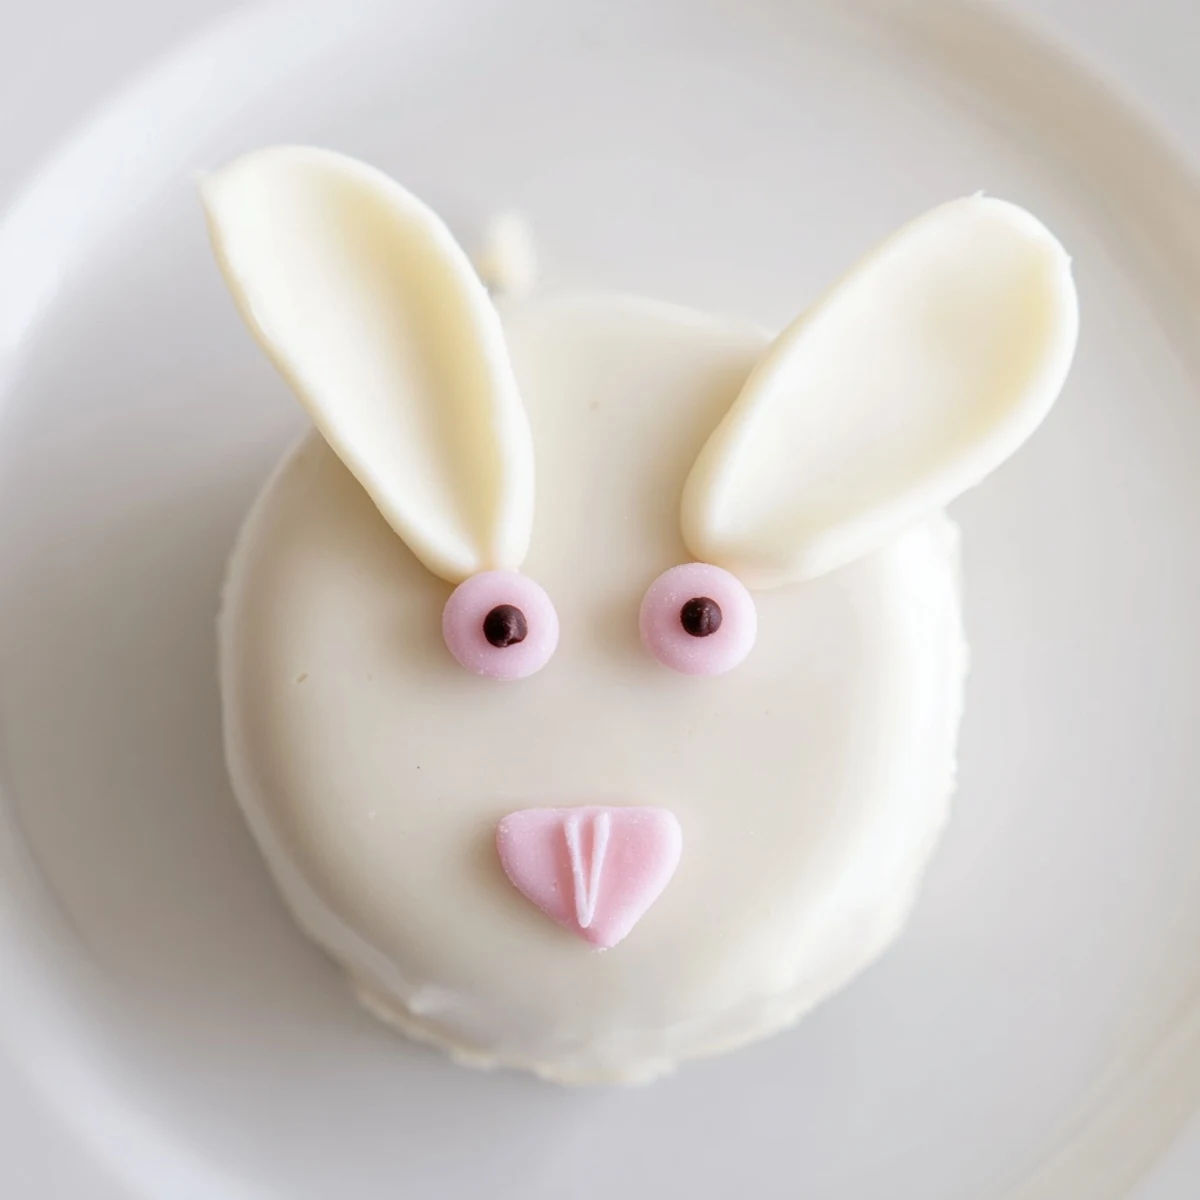
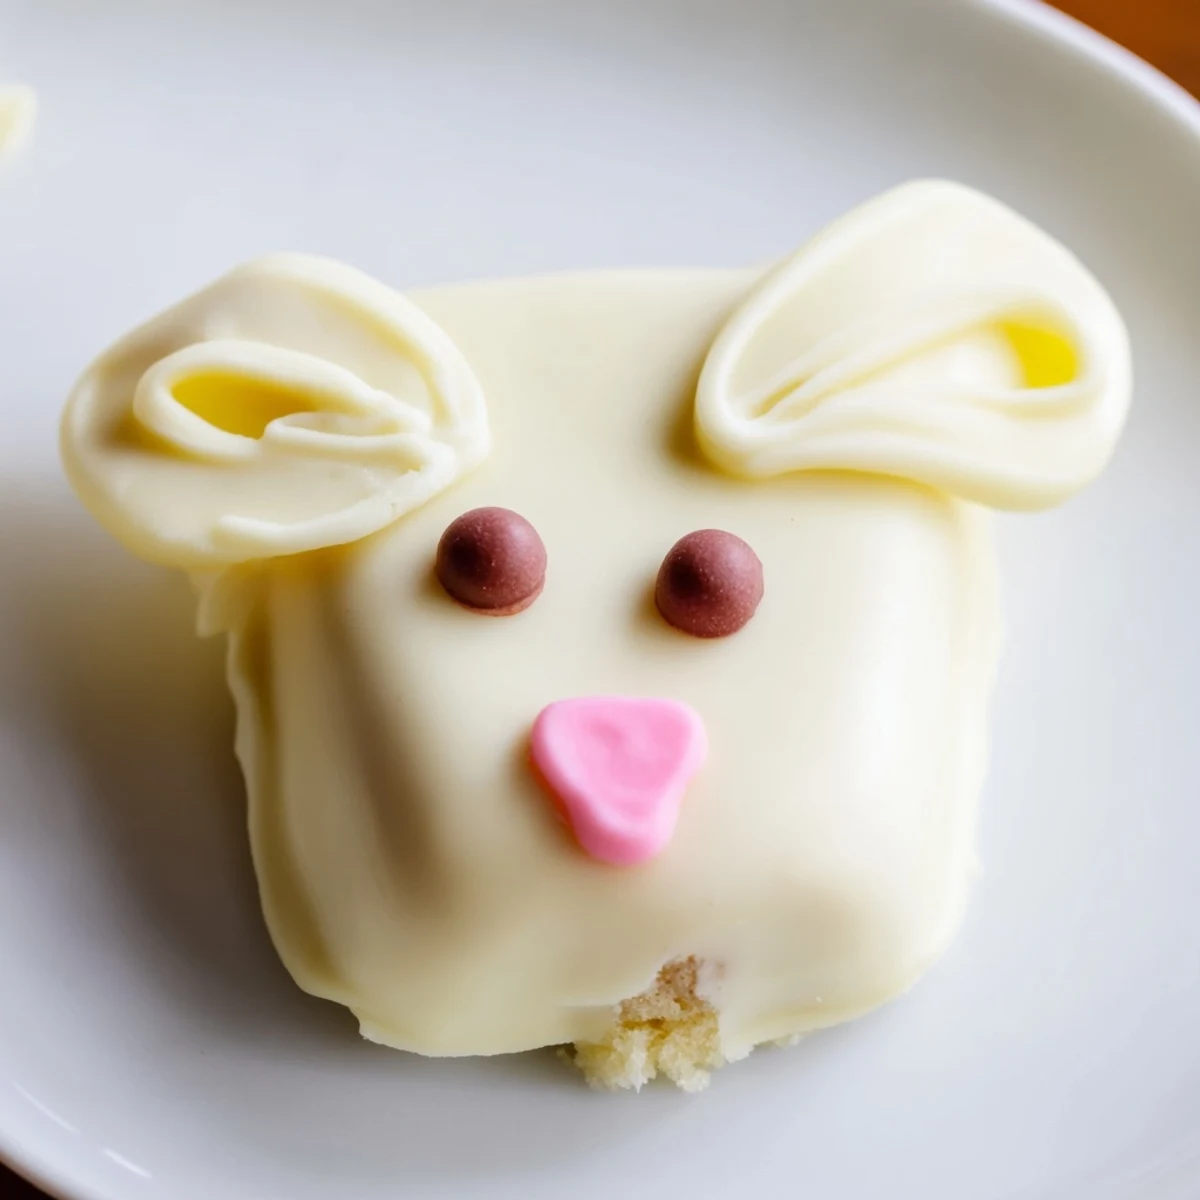
Save These delightful bunny-shaped treats combine moist vanilla cake crumbs with creamy white chocolate for an irresistible Easter dessert. The cake mixture blended with cream cheese creates a perfectly fudgy center, while the smooth white chocolate coating provides satisfying sweetness. Each cakesicle features adorable bunny details using candy eyes, sprinkles, or fondant ears that make them perfect for spring gatherings.
The process comes together in under an hour, making them ideal for last-minute Easter entertaining. Kids will love helping shape the bunny faces and decorating with colorful toppings. These handheld treats eliminate the need for plates and forks, plus they're easily customizable with different cake flavors and decoration styles.
Last Easter, my daughter spotted bunny cakesicles on social media and immediately declared them mandatory for our celebration. I'll admit, I was skeptical about molding cake into shapes and dipping them in chocolate without disaster. But seeing her face light up as she carefully placed candy eyes on each white chocolate bunny face made every messy moment worth it. Now they're requested for every spring gathering.
I made three dozen of these for a neighborhood egg hunt last year, and they disappeared faster than the hidden chocolate eggs. My neighbor's son asked if I could make them for his birthday instead of a regular cake. There's something about food on a stick that makes everything taste better, especially when it's shaped like an adorable bunny.
Ingredients
- Vanilla cake crumbs: Using slightly stale cake works perfectly here—homemade or storebought both create that ideal fudgy texture
- Cream cheese: Room temperature is non-negotiable for binding everything together smoothly
- Unsalted butter: Adds richness without competing with the white chocolate coating
- Powdered sugar: Just enough sweetness to hold the mixture together without making it cloying
- White chocolate: High-quality melts make or break this—cheap coating can seize or taste waxy
- Cakesicle sticks: Insert them before chilling so the cake firms around the stick for stability
Instructions
- Prepare your cake mixture:
- Mix cake crumbs, cream cheese, butter, powdered sugar, and vanilla until it holds together when squeezed. The mixture should feel like Play-Doh—not too sticky, not crumbling apart.
- Shape your bunnies:
- Divide into 8 portions and flatten each into an oval. Press gently to form subtle ear bumps at the top. Keep them slightly rounded rather than perfectly flat for a more handmade feel.
- Add the sticks:
- Push a cakesicle stick about halfway into each bunny. Gently press the cake around the stick to seal it in place. Chill for 20-30 minutes until firm to the touch.
- Melt the coating:
- Heat white chocolate in 30-second bursts, stirring between each interval. Stop when there are just a few small lumps remaining—stirring will melt them completely without overheating.
- Dip and decorate:
- Dip each chilled cake straight down into the chocolate. Lift and gently tap to remove excess. While the coating is wet, add candy eyes and sprinkle ears. Work quickly before it sets.
 Save
Save These became an instant tradition when my niece asked to take some home in her Easter basket. Now I keep a stash of white chocolate melts in the pantry year-round, ready for any occasion that calls for something impossibly cute.
Making Ahead
Shape the cake mixture and insert sticks up to 2 days before dipping. Store them layered between parchment paper in an airtight container. Dip and decorate the day of serving for the freshest appearance.
Coating Troubleshooting
If your chocolate seizes into a grainy mess, whisk in a teaspoon of vegetable oil to smooth it out. For stubborn thick chocolate, add coconut oil in tiny amounts. Never add water or any liquid-based ingredient.
Decoration Ideas
Set up a decorating station with various toppings and let family members customize their own bunnies.
- Pink candy melts piped into inner ear details
- Edible glitter on the cheeks for extra whimsy
- Mini chocolate chips pushed in as noses before coating sets
 Save
Save These bunny cakesicles bring out the kid in everyone who sees them. Happy Easter!
Common Recipe Questions
- → What makes these bunny treats special for Easter?
-
The playful bunny shape combined with creamy white chocolate coating creates festive handheld treats perfect for spring celebrations. They're adorable, easy to serve, and delight both children and adults with their charming appearance and satisfying texture.
- → How far in advance can I prepare these cakesicles?
-
You can make these up to 3 days ahead and store them in an airtight container in the refrigerator. The white chocolate coating helps keep the cake center fresh. Bring them to room temperature 15-20 minutes before serving for the best texture and flavor.
- → Can I customize the decorations?
-
Absolutely! Use candy eyes, fondant ears, sprinkles, or edible markers to create unique bunny faces. Pink food coloring can be swirled into the white chocolate for a marbled effect. Pretzel sticks or modeling chocolate also make great ear decorations.
- → What if my white chocolate coating is too thick?
-
Add 1 teaspoon of coconut oil or vegetable shortening to thin the melted chocolate for easier dipping. Stir thoroughly until smooth and glossy. The coating should flow freely but still cling to the cakesicle without dripping excessively.
- → Can I use different cake flavors?
-
Yes! Chocolate, lemon, red velvet, or carrot cake crumbs work wonderfully. Just ensure the crumbs are fine and the mixture holds together when shaped. Adjust the amount of cream cheese as needed—start with less and add more until the dough forms a workable consistency.
- → Do I need a special mold for bunny shapes?
-
No mold required! Simply shape the cake mixture into flattened ovals by hand. A cakesicle mold can help create uniform shapes if you prefer consistency, but hand-shaping adds charming homemade character to each bunny face.
